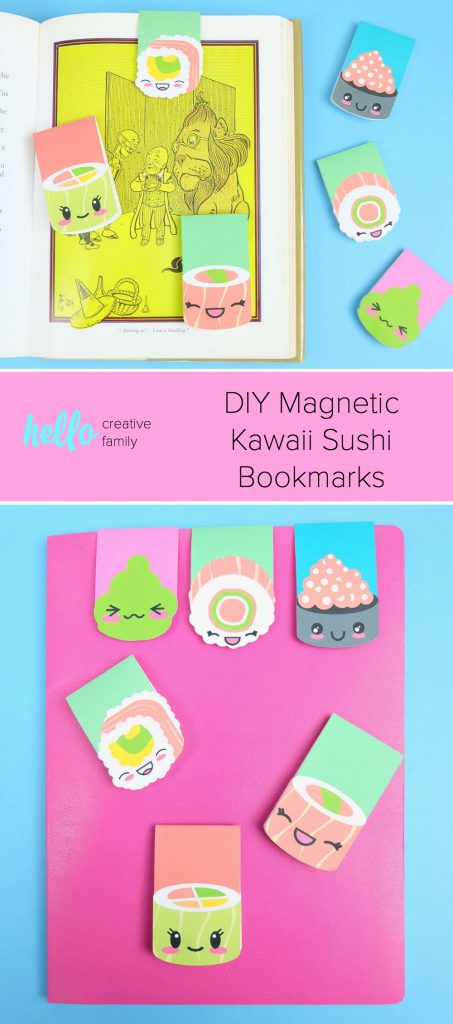
DIY Magnetic Kawaii Sushi Bookmarks
This post and the photos within it may contain Amazon or other affiliate links. If you purchase something through the link, I may receive a small commission at no extra charge to you.
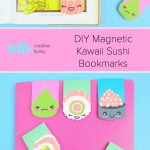
Create DIY Magnetic Kawaii Sushi Bookmarks in minutes with this quick and easy craft! Use your Cricut’s Print & Cut Feature to make this adorable project that’s perfect for inexpensive stocking stuffers and party favors!


If you had my kids make a list of their 10 favorite things in the world, books and sushi would be right up there. My top 10 list also includes books, sushi and my Cricut! That’s why I’m so excited to share this DIY with you!
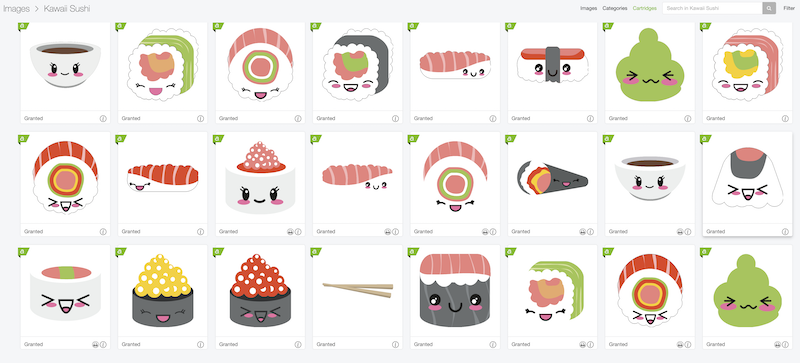
I swear that each time I log into Cricut Design Space and check out the cut files available through Cricut Access that it’s like Christmas morning. They add new images every single week, and there is so much cute stuff!
I logged in a few months ago and saw an adorable set of Kawaii Sushi images. See the little A in the upper left hand corner? That means that all of those images are included in Cricut Access!
I used the images to create a card for my daughter’s friend for her birthday… but I knew their cuteness needed more of a permanent use that would be used every single day!
My kids love bookmarks, and since I want to encourage them to read I’m usually a pushover when they ask me to buy them new bookmarks. So instead I decided to make them some!
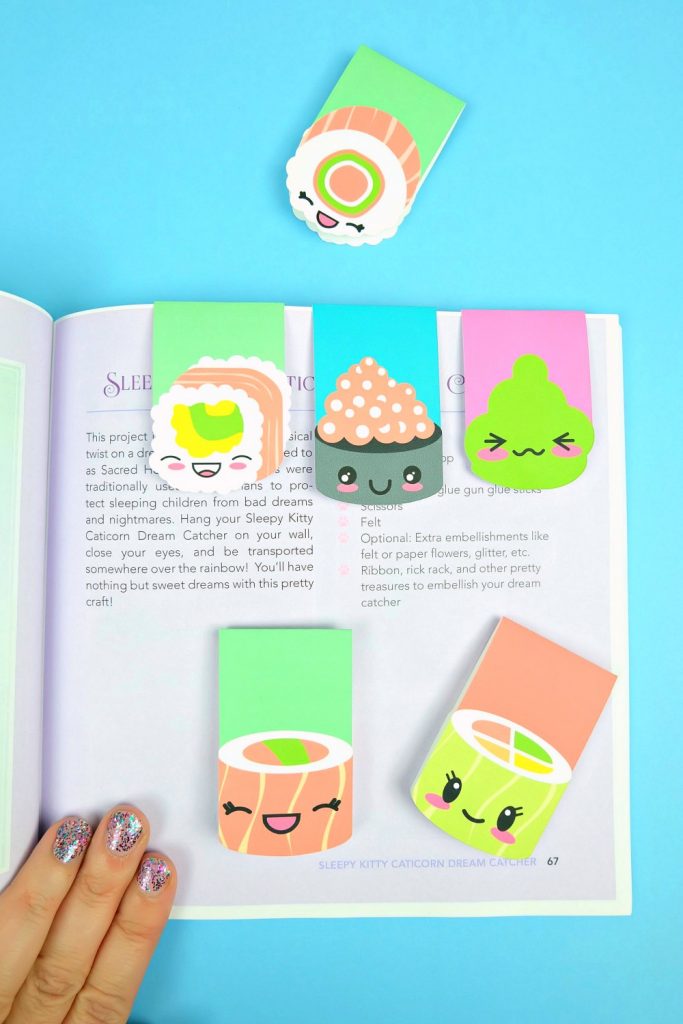
In my opinion these are even cuter than store bought bookmarks and they would make excellent little stocking stuffers, party favors, small Christmas gifts for friends, a little gifty for Valentine’s day or just about any occasion that you need a little gift for!
Ready to learn how to make these DIY Magnetic Kawaii Sushi Bookmarks? Read on!
DIY Magnetic Kawaii Sushi Bookmarks
Materials:
-White card stock
-Printer (This is the one we have. It has an “instant ink” subscription that we love. It monitors ink use and sends you a new ink cartridge automatically when you are starting to get low!)
–Cricut Maker or Cricut Explore
–Scoring Wheel or Scoring Stylus
-Magnets (These are the ones I used)
-A glue gun and glue sticks (This is the one I own)
Optional: Cricut Brayer
Directions:
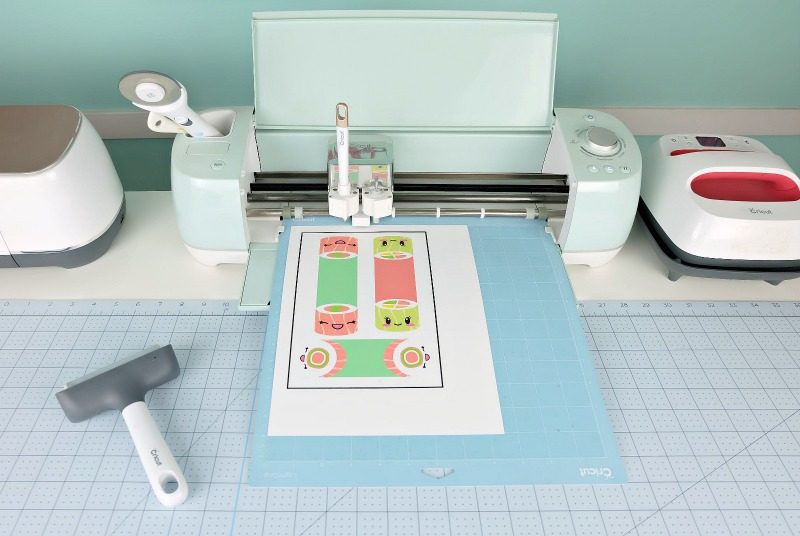
Step 1: Log into Cricut Design Space and then open my Bookmark Cut File.

Click “Make It” in the upper right hand corner.
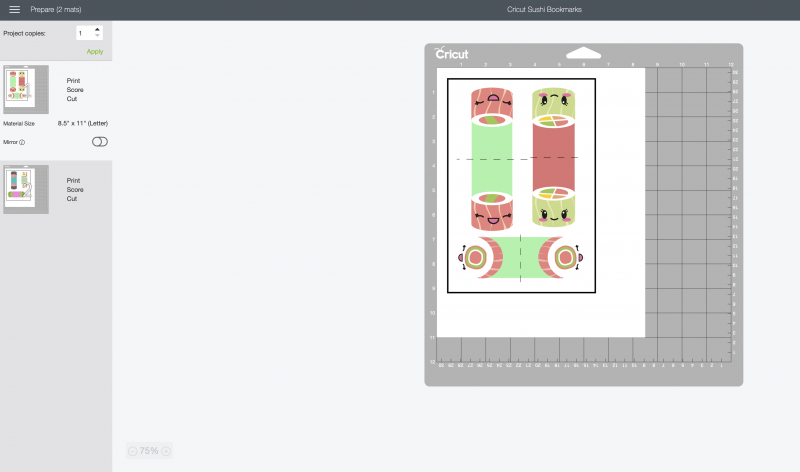
Print the pages using your printer, then lay the printout on your cutting mat. (I like to use the Brayer Tool to make sure the paper is nicely affixed to the mat).
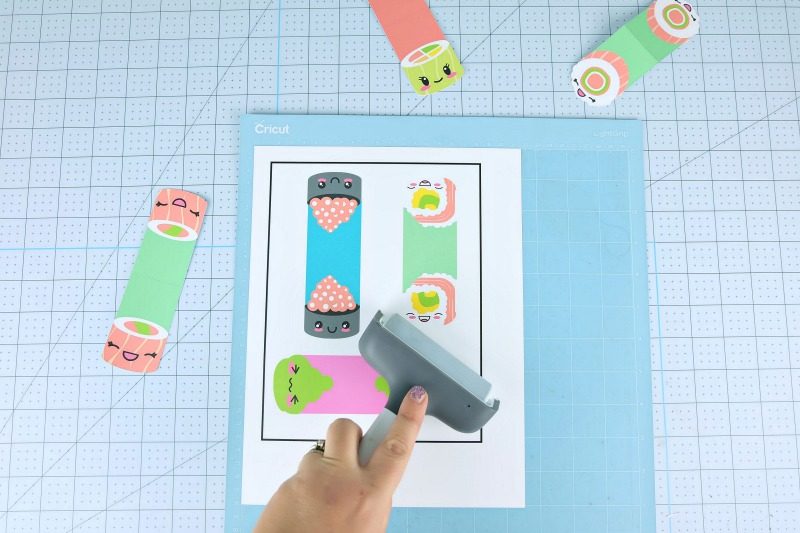
Load your cutting mat into your Cricut and press the cute little flashing C. Your machine will cut out the bookmarks.
Step 2: Fold your bookmarks in half along the score line.
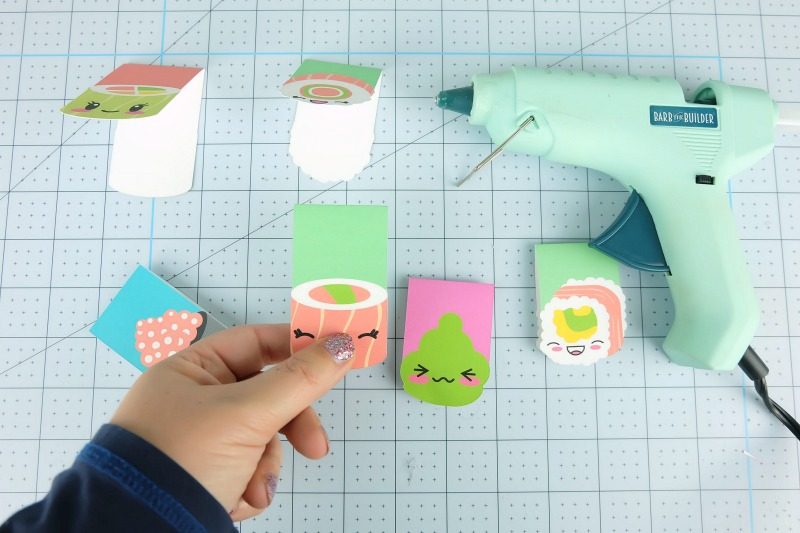
Use your glue gun to glue magnets to the inside of your bookmarks. I do this by attaching two magnets together making sure that the sides that attract each other are facing each other (as opposed to the sides of the magnets that repel each other). Keeping your magnets sandwiched together, add a drop of hot glue to the back of each magnet. Stick it inside your bookmark and then pinch it together using your fingers to make sure the glue adheres to your bookmark.
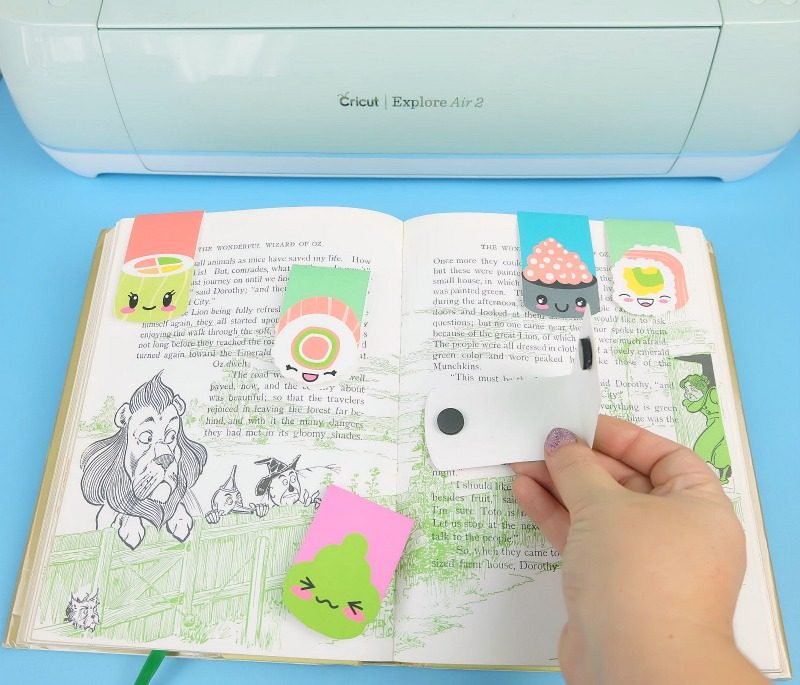
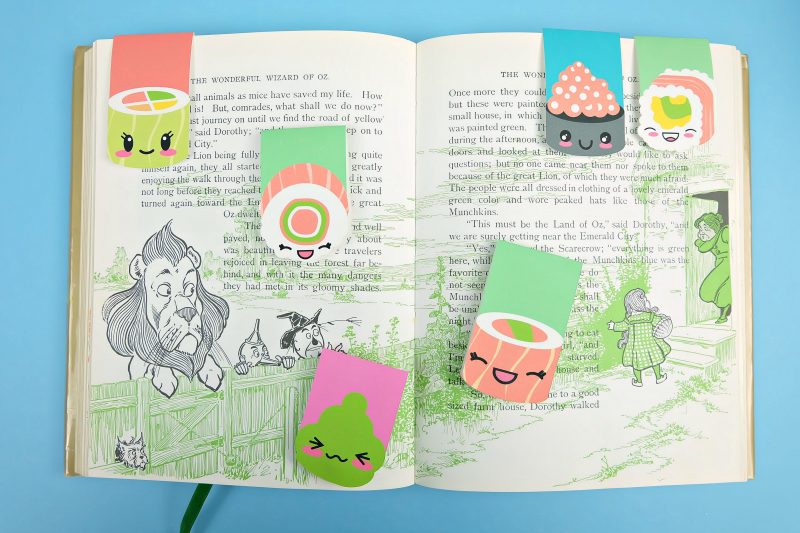
Voila! You have a pile of brand new adorable DIY Magnetic Kawaii Sushi Bookmarks!

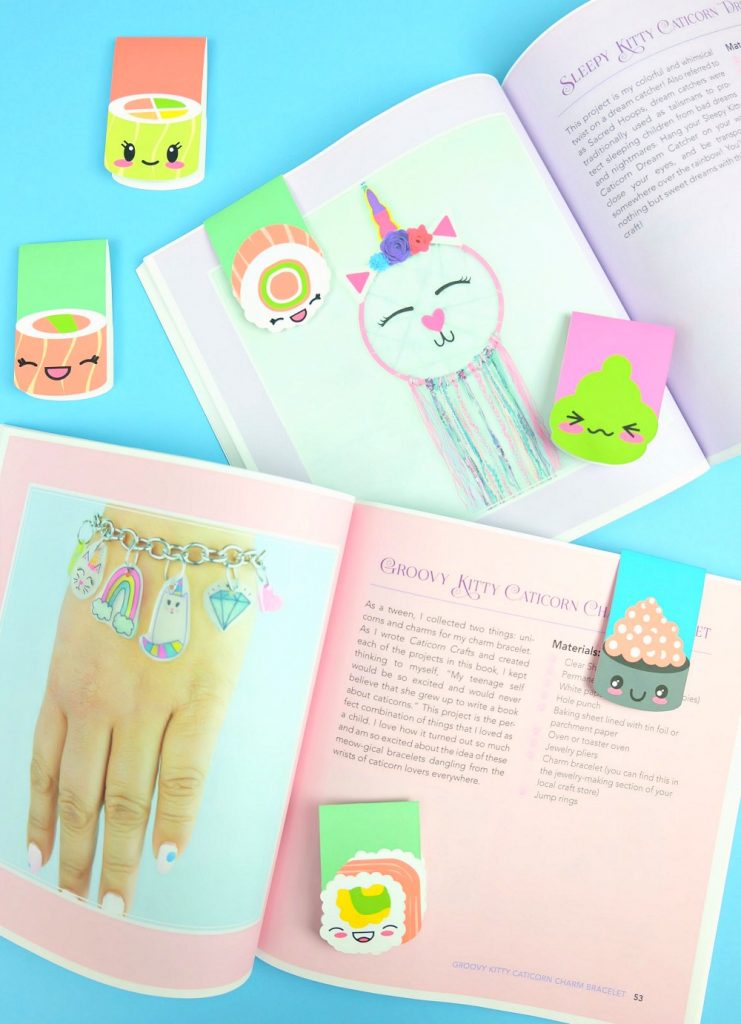
Aren’t they just the cutest? Want to know the first thing I’m doing with them? Using them to mark the pages of my advanced ready copy of Caticorn Crafts!
Tell me… Do you have a Cricut cutting machine? What are some of the reasons that you love your Cricut?
Like this post? We’d love for you to pin it for later!
Looking for even more Cricut Ideas? We have them all in one handy place for your convenience! Find our Cricut Section Here.

Like this post? We think you’ll like these ones too!