


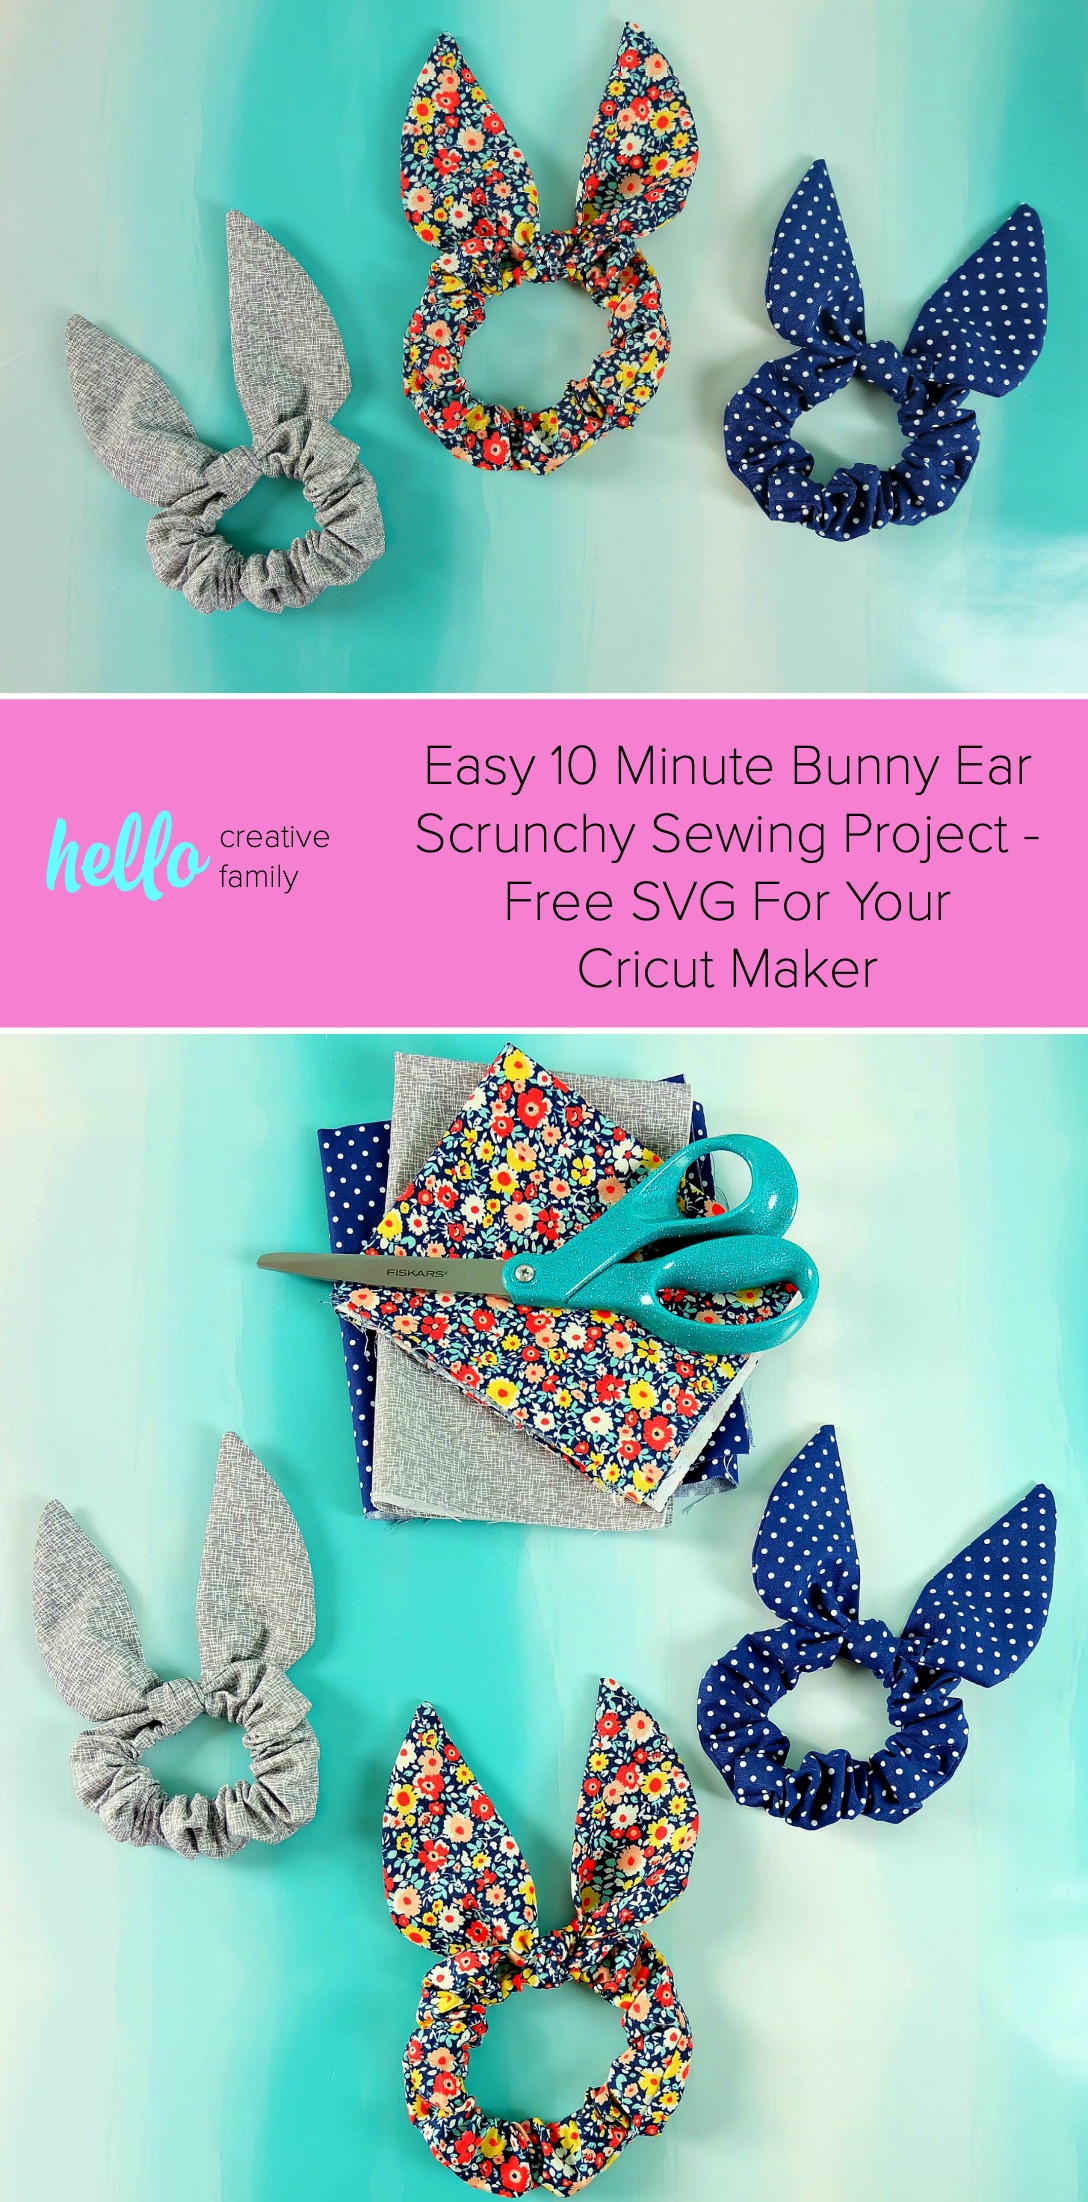
Easy 10 Minute Bunny Ear Scrunchy Sewing Tutorial – With Free SVG To Cut Fabric With Your Cricut Maker
This post and the photos within it may contain Amazon or other affiliate links. If you purchase something through the link, I may receive a small commission at no extra charge to you.
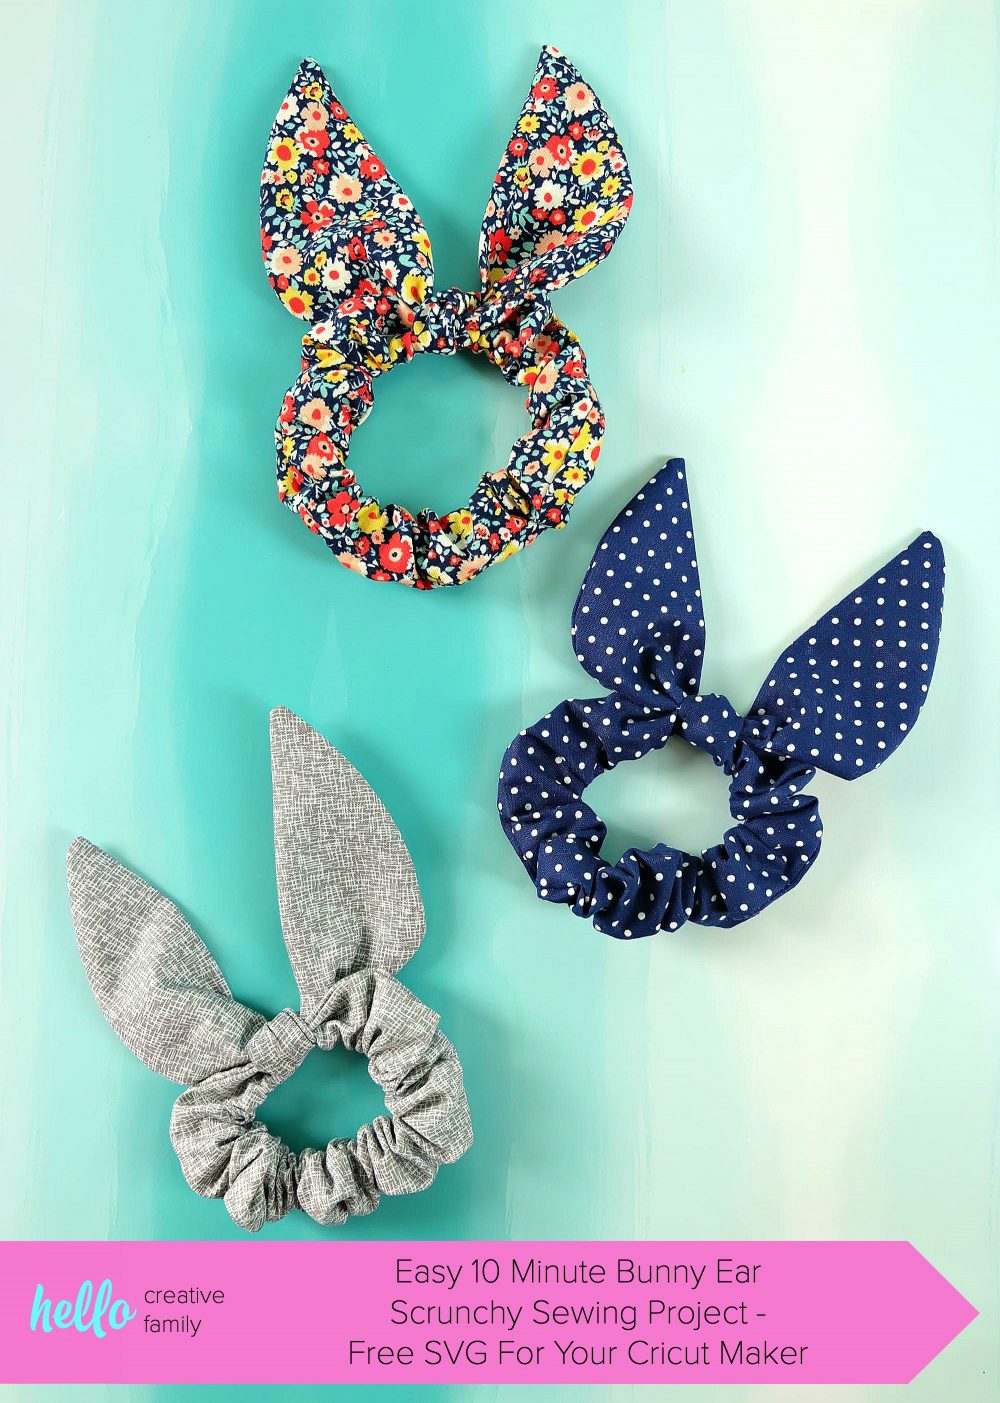
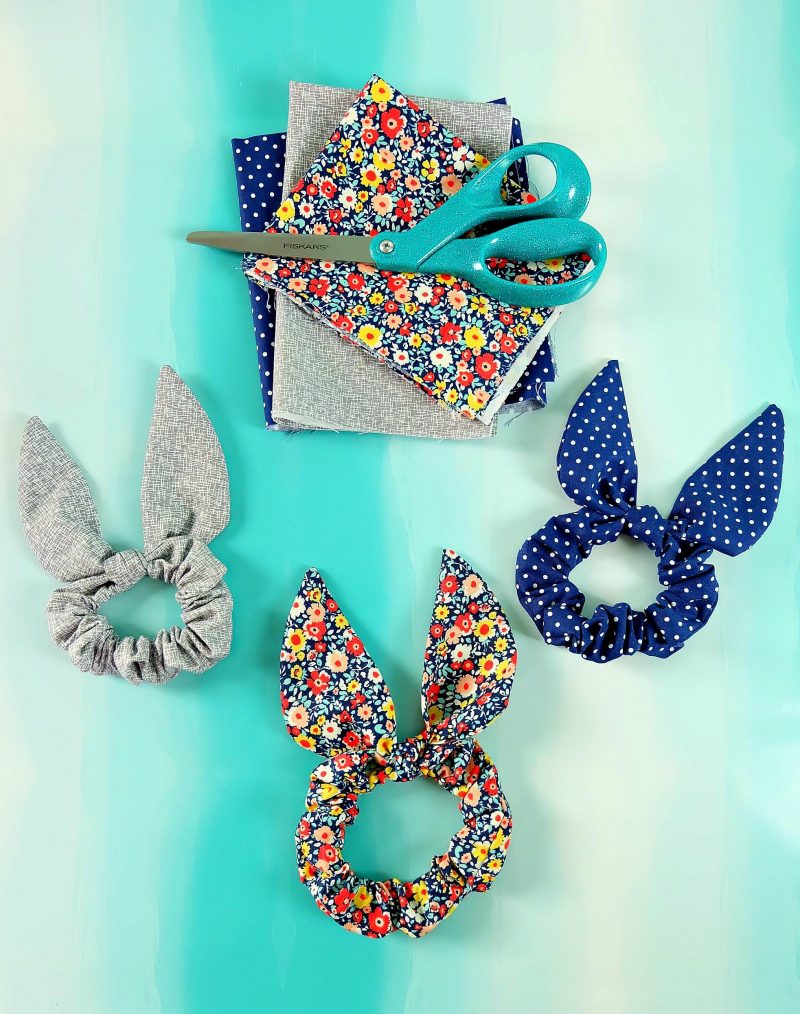
Some people call them a bunny ear scrunchy others a knot or bow scrunchy, whatever they are called, they sure are cute!. Sew one with our easy 10 minute sewing tutorial using our step by step instructions with photos and our free Cricut Maker SVG cut file! This quick and easy sewing project makes a great handmade gift! Perfect for Easter basket stuffers, stocking stuffers, presents for girls and party favors!
I was a kid during the 80’s and 90’s when scrunchies were a very big thing. You couldn’t walk past a group of high school girls without seeing scrunchies lined up on a girl’s wrist or holding back a ponytail. Then came the 2000’s and the scrunchy disappeared. I would occasionally walk into a friend’s bathroom and see a scrunchy sitting on the counter next to a bottle of face wash, but other than to hold hair back during skin cleansing routines it seemed like scrunchies were a thing of the past– until recently.
As with all good things, what once was hot always comes back around and it seems that scrunchies are back again, but this time they have a fun new twist! Bunny ears!!! Technically I think that what I see as ears are supposed to be a pretty little bow, but I can’t help but to see adorable floppy bunny ears each time I see one of these adorable scrunchies, so in my world it’s known as a bunny ear scrunchy. Especially given the fact that Easter is this weekend.
Scrunchies were one of those things I loved sewing in middle and high school because they were so stinking easy and so fun to customize with different colors of fabric. I’m pleased to say that the bunny ear scrunchy is just as easy to make, in fact using my awesome Bunny Ear Scrunchy SVG file you can make one of these bad boys using your Cricut Maker in 10 minutes flat! The bunny ears tie on like a little bow, and are easy to take off and switch from one scrunchy to another if you want to mix things up a bit! You could even tie the bunny ears to a regular hair elastic for another fun twist!
These sweet little bunny ear scrunchies would be super cute in an Easter basket, as a stocking stuffer, for party favors or even as birthday presents. They are a fun way to add a small handmade touch to just about any gift!
Ready to learn how to make a 10 Minute Bunny Ear Scrunchy? Read on!
Don’t have a Cricut Maker? No problem!
One of the things that I love about this project is that it’s not finicky at all! Use these shapes as a guide to create your own pattern. I’d suggest that your rectangle be 3 inches by 18 inches and that your “bunny ear” piece be approximately 4-5 inches wide and 10-12 inches long. Create your own template and then follow along with the sewing fun beginning at step 2 below!
[hr gap=”30″]Easy 10 Minute Bunny Ear Scrunchy Sewing Tutorial – With Free SVG To Cut Fabric With Your Cricut Maker[hr gap=”30″]

Enter your name and email address below and I’ll send the cut file immediately straight to your inbox. Accessing this free cut file will register you up for my e-newsletter and you’ll be notified when I release new free SVG files. Don’t worry if you are already subscribed to our enewsletter. You will only be subscribed once.
- This cut file is for personal use only.
- This file can be used in part or in whole for your personal projects.
- Digital reselling, sharing, redistributing of the files is NOT allowed. If you would like to share, please direct friends to the original blog post where you found this cut file.
Buy a commercial use licence:


Materials:
-Bunny Ear Scrunchy SVG File (Enter name and email in box above to have it sent to your inbox)
-10 inch by 20 inch piece of fabric
–12 inch by 24 inch Cricut Fabric Cutting Mat
-Elastic
-Sewing Machine (this is the one I have)
-Thread in coordinating colors
-Scissors
–Wonder clips or Pins
–Cricut EasyPress or iron
–Cricut Brayer (Optional but comes in handy if you are using an older mat that has started to lose it’s stick to really push your fabric down onto the mat)
Directions:
Step 1: Save my Bunny Ear Scrunchy SVG File (find the link in the materials list above) to your computer. Open Cricut Design Space and click the + sign to start a new project. In the toolbar on the left hand side of your screen click “upload”. On the next screen click “upload image”.

Select the Bunny Ear Scrunchy SVG File from your computer. Name the file and click “Save”.

Click on the image of the bunny ear scrunchy pieces and click “Insert Images”.

Click on the Bunny Ear Scrunchy Pieces in the tool bar on the right hand side of the screen to select them, then click “UnGroup”.

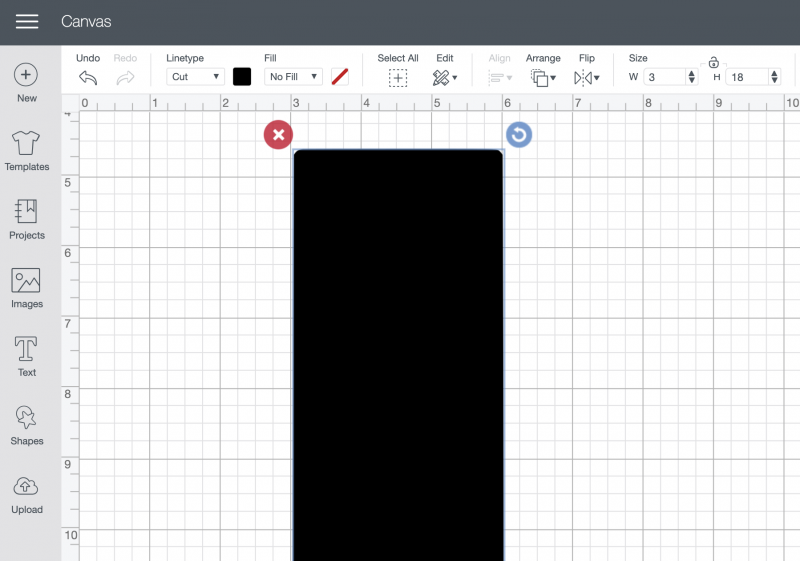
Next you want to size your pieces. Start with the long rectangle. Click on the piece and then locate the “Size” area in the top toolbar. Click on the unlock button and enter a width of 3 inches and a length of 18 inches.
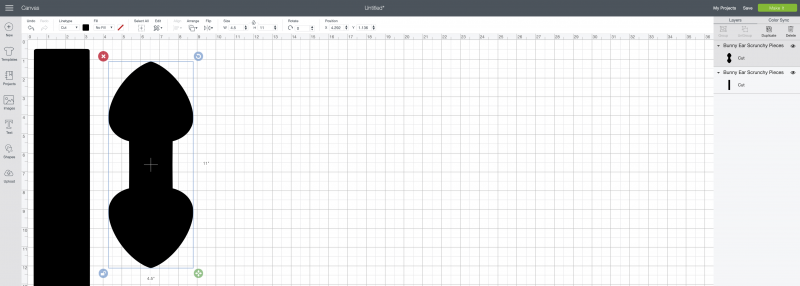
Next click on the pieces that will become the ears. Click on the piece and then locate the “Size” area in the top toolbar. Click on the unlock button and enter a width of 4.5 inches and a length of 11 inches. Once you are done sizing click the green “Make It” Button in the upper right hand corner of the screen.
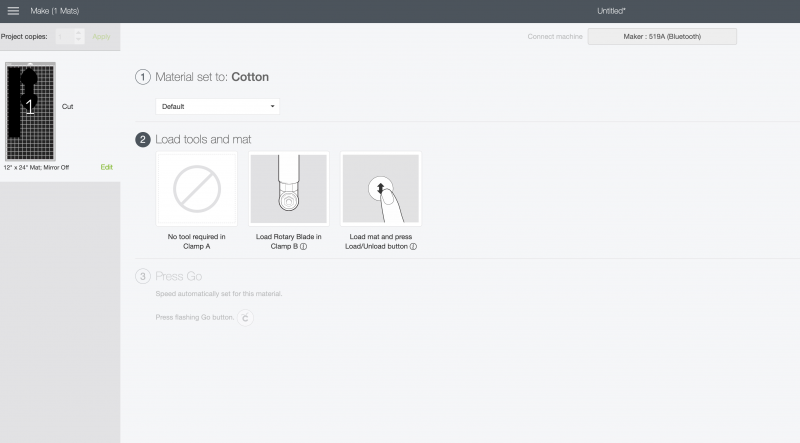
Click “Continue” and then select your Cricut cutting machine from the machine drop down. Next select your cutting material (in this case cotton). Load your Cricut Maker with your rotary blade. Place your fabric on your pink fabric cutting mat, making sure to smooth out any bumps or wrinkles and ensuring that the fabric is stuck firmly to the mat. Load your cutting mat into your Cricut and push the little flashing Cricut C.
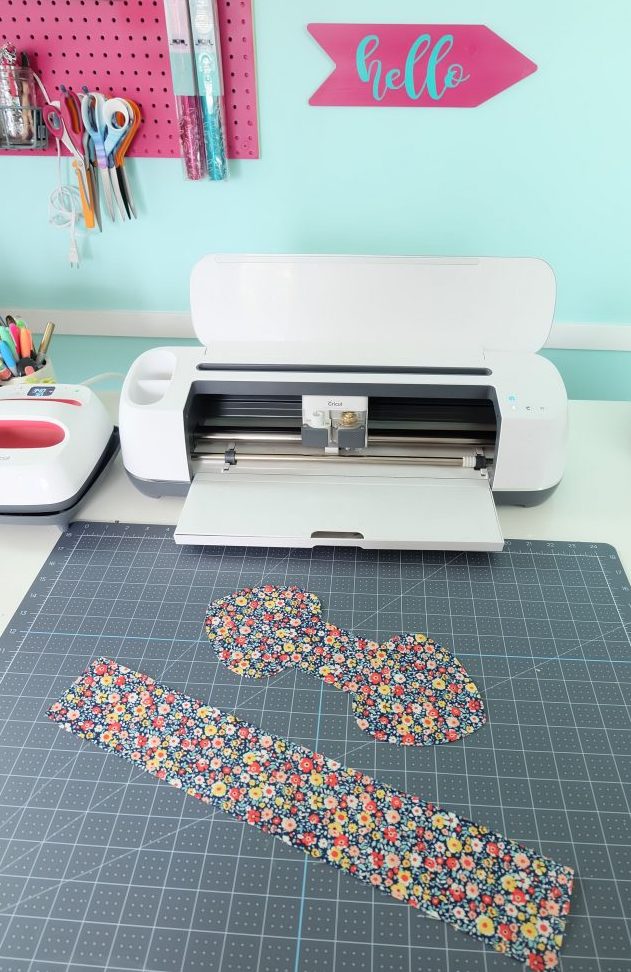
Step 2: Once your fabric is cut you will have two pieces of fabric that look like this.
Lets start with the bunny ears shall we? Fold the bunny ears in half lengthwise with the printed fabric facing in and pin or wonder clip in place.
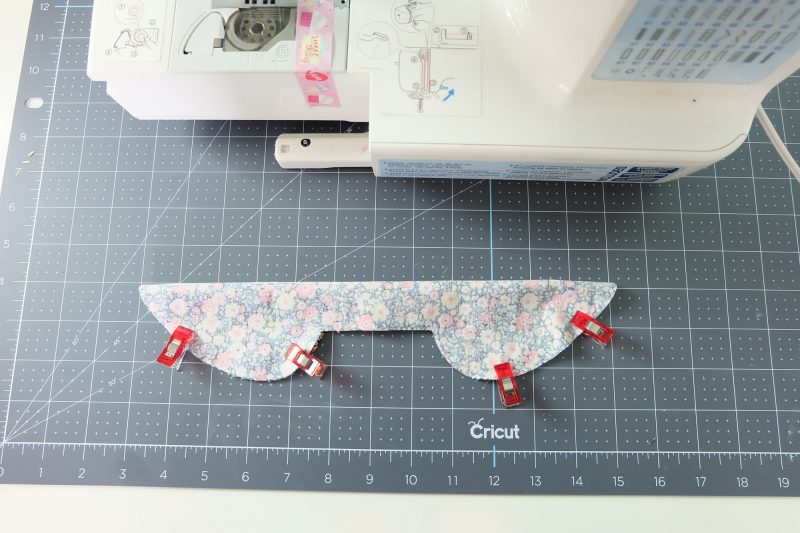
Sew around the raw edges of your bunny ears using a 1/4 inch seam allowance. Make sure to leave a 2 inch gap in the straight area between the two ears so that you can flip your ears right side out.
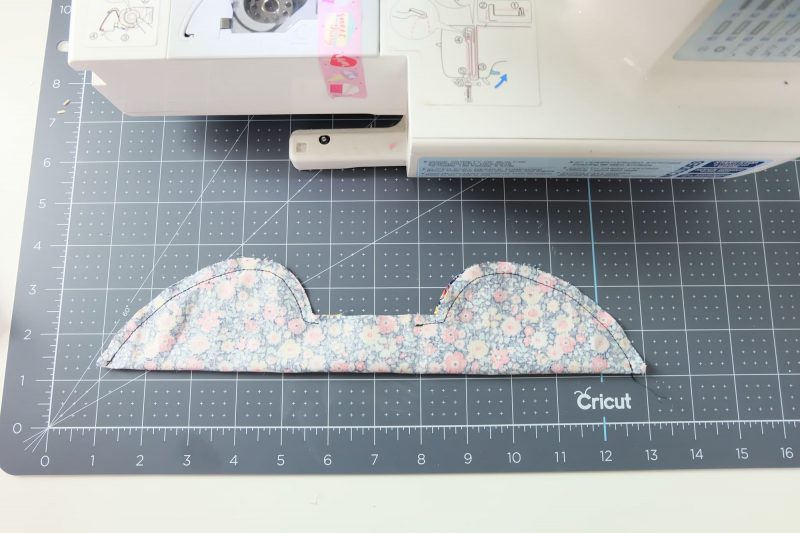
Flip ears so that the printed fabric is right side out. Push out all seams and press using your EasyPress or Iron. Fold in your hem of the straight area between the two ears and stitch closed using a 1/8 inch seam allowance.
Set your ears aside and let’s start on the scrunchy!
Step 3: Fold over the two ends of your scrunchy piece by 1/2 inch and press into place. Then fold your scrunchy piece in half length wise so that the printed fabric is facing the middle. Pin or wonder clip in place.

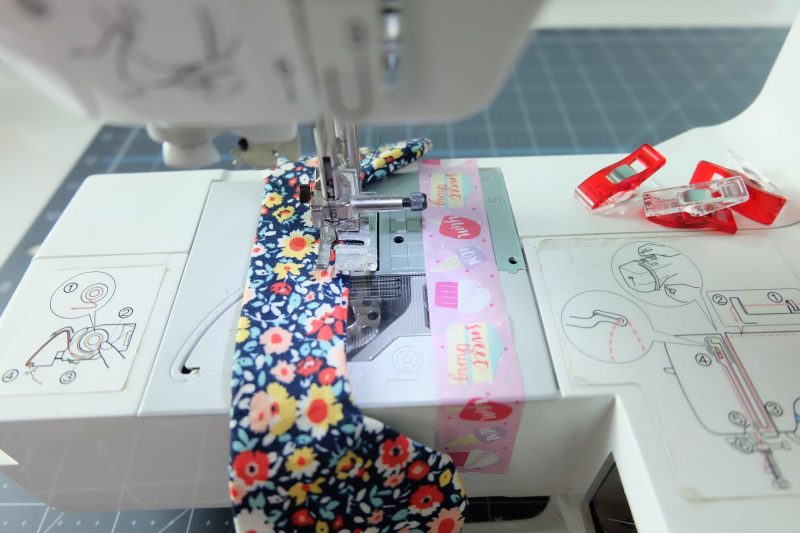
Sew down the length of the raw edge of the fabric using a 1/4 inch seam allowance.

Flip scrunchy tube right side out. Cut elastic. The length of your elastic will determine how far around your scrunchy is. I make mine anywhere from 6 1/2 inches to 9 inches. Take into account that you will overlap the ends of your elastic by approximately 1/2 inch.

Thread your elastic through your scrunchy tube so that one end of elastic is sticking out each end of the scrunchy. Overlap the elastic by 1/4-1/2 inch and then sew the two ends of the elastic together.
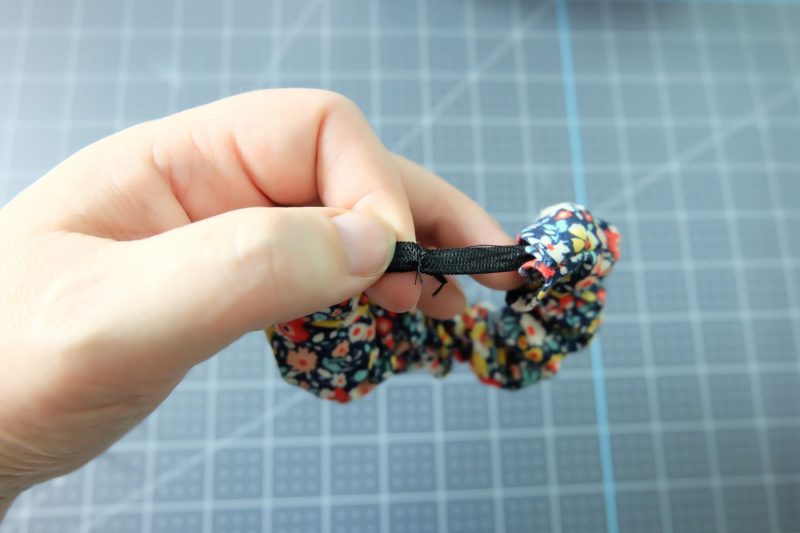
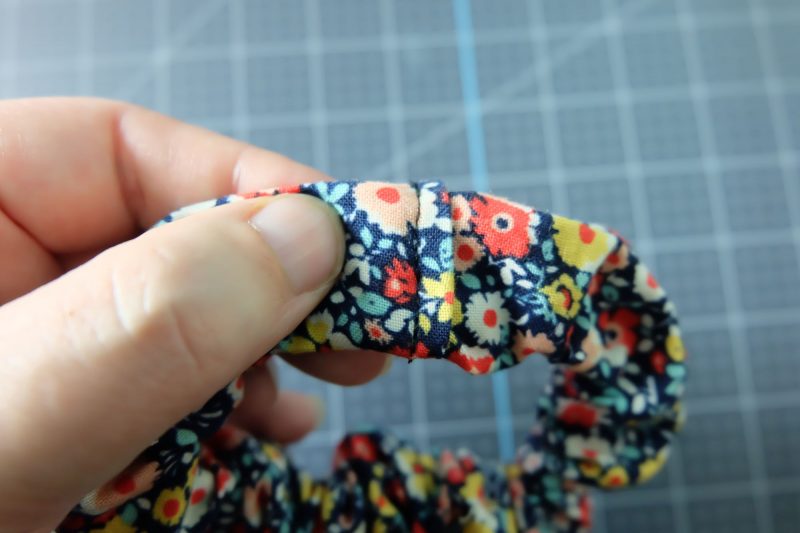
Stick one end of your scrunchy inside the end on the opposite end of the scrunchy. Make sure that your seams line up. Stitch across the area where the two ends of the scrunchy overlap securing them into place.
Step 4: Take the ears of your bunny scrunchy and tie them in a knot around your scrunchy, covering the area where you joined the two ends of your scrunchy together.
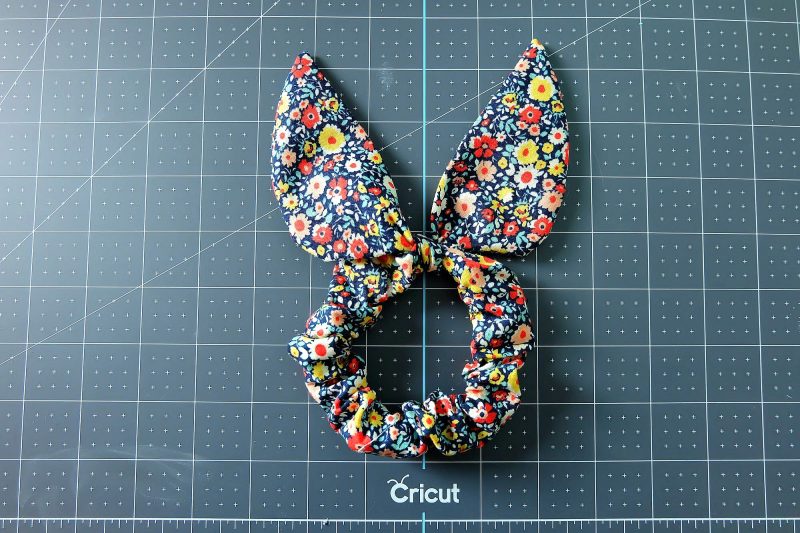
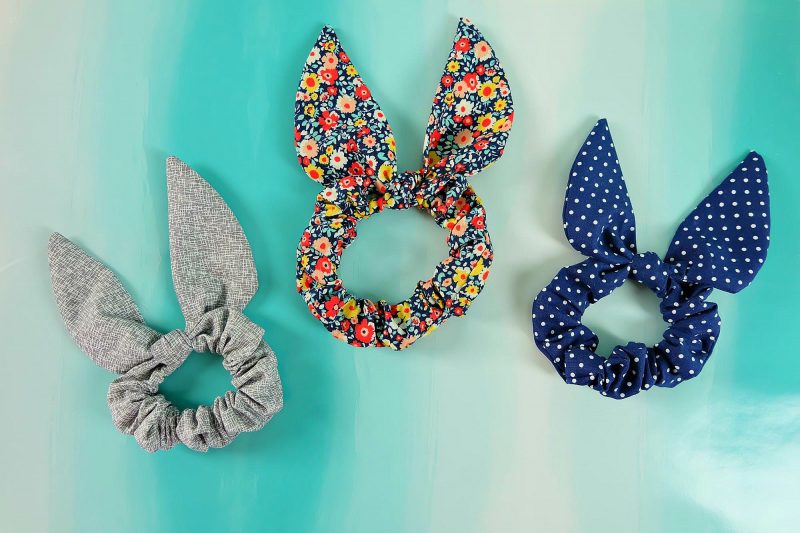
Voila! Aren’t these the cutest little bunny ear scrunchies you ever did see?
[hr gap=”30″]Tell me… Who would you make a DIY bunny ear scrunchy for? What kind of fabric would you use for yours?[hr gap=”30″]
Like this post? We’d love for you to pin it for later!
Make sure you check out all of our sewing projects here including a ton of 1 hour or less sewing projects!
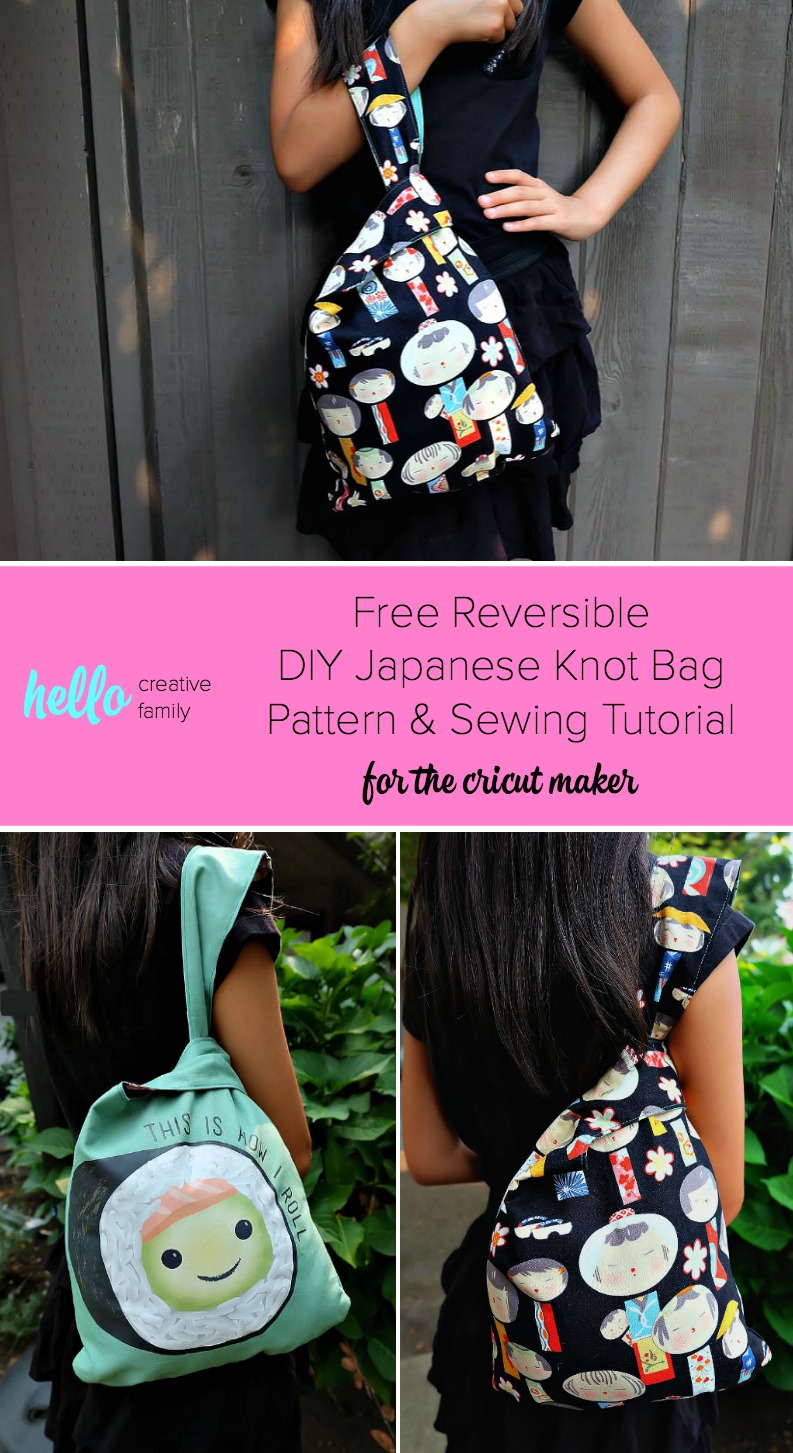
Free Reversible DIY Japanese Knot Bag Pattern & Sewing Tutorial for the Cricut Maker
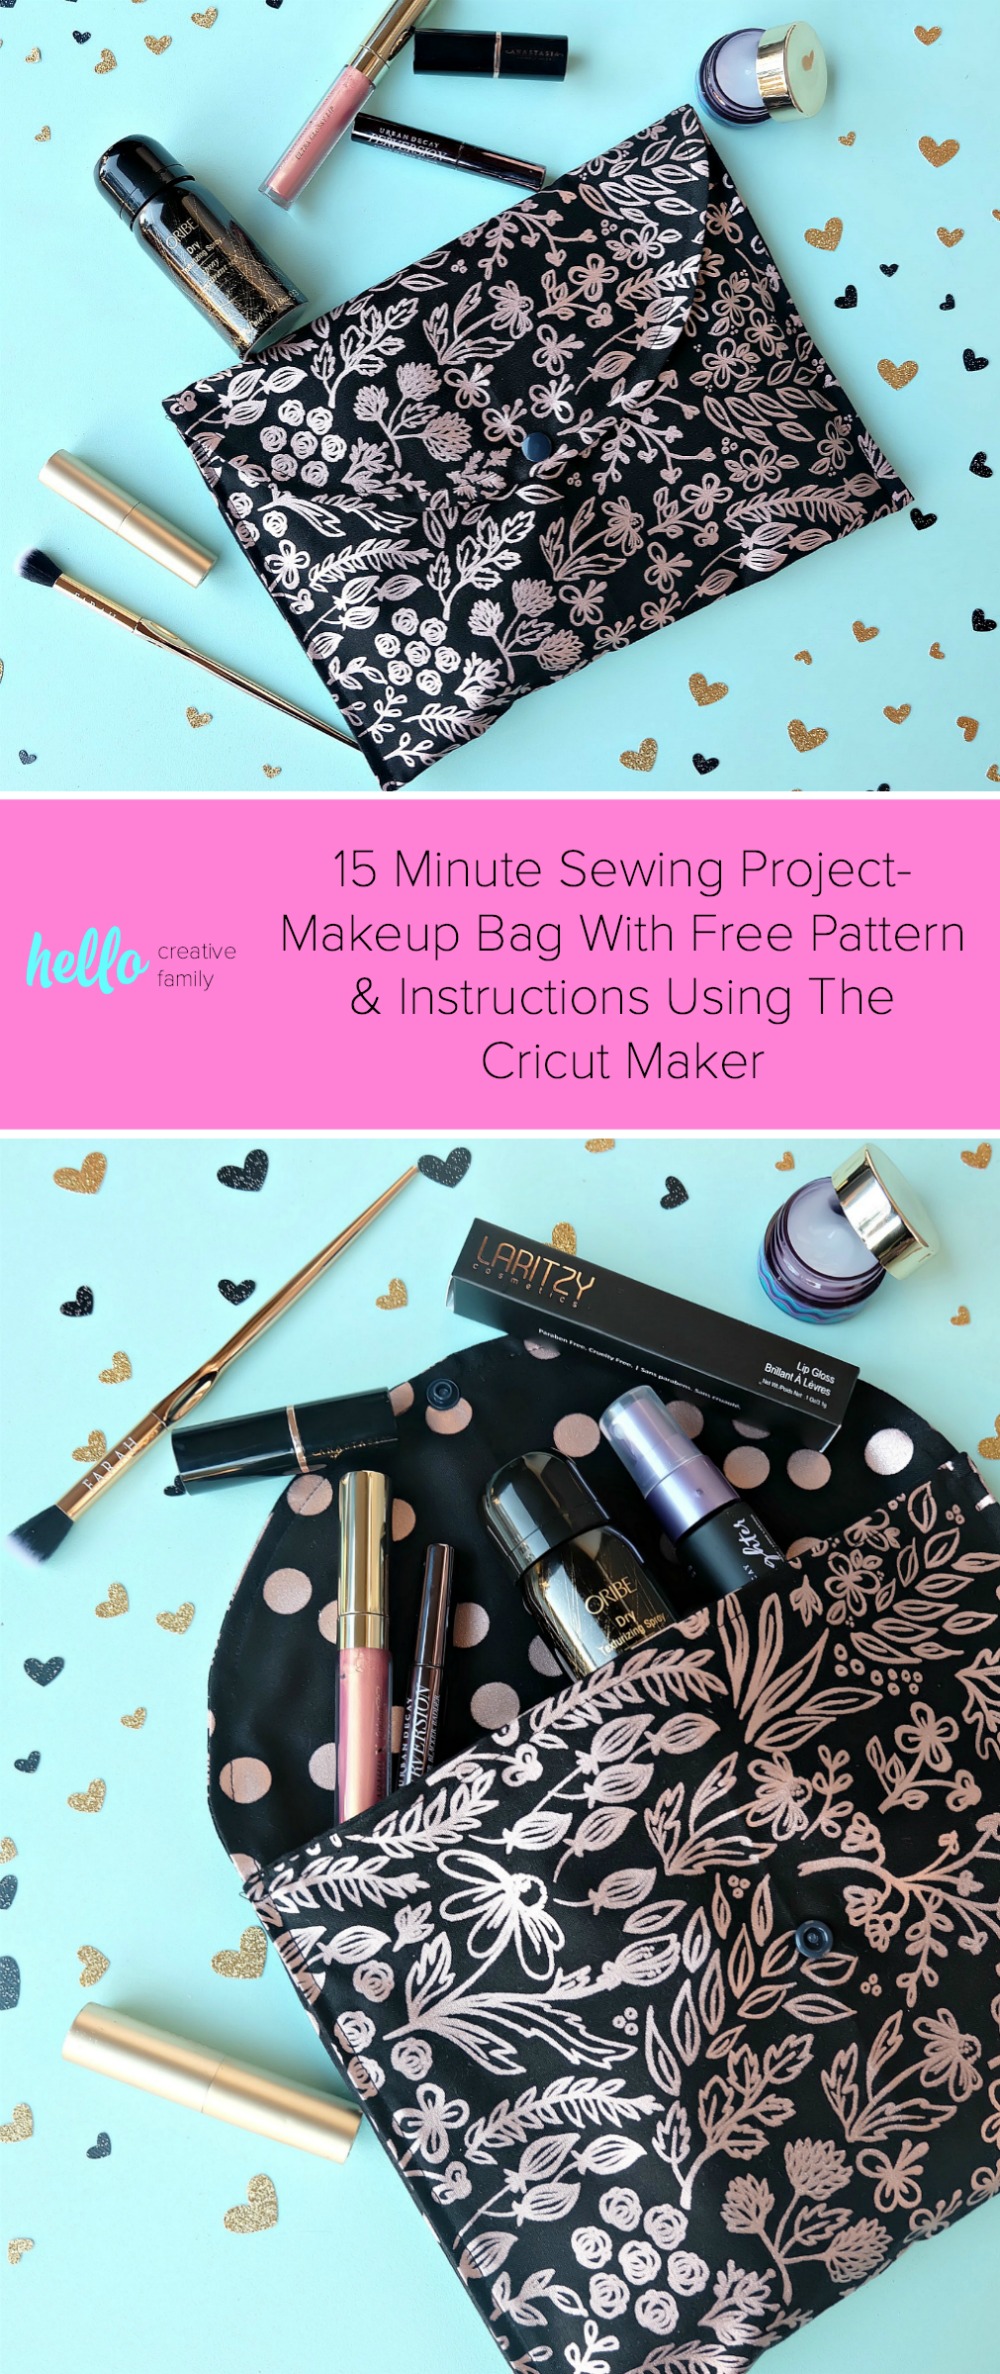
15 Minute Sewing Project- Makeup Bag With Free Pattern & Instructions Using The Cricut Maker
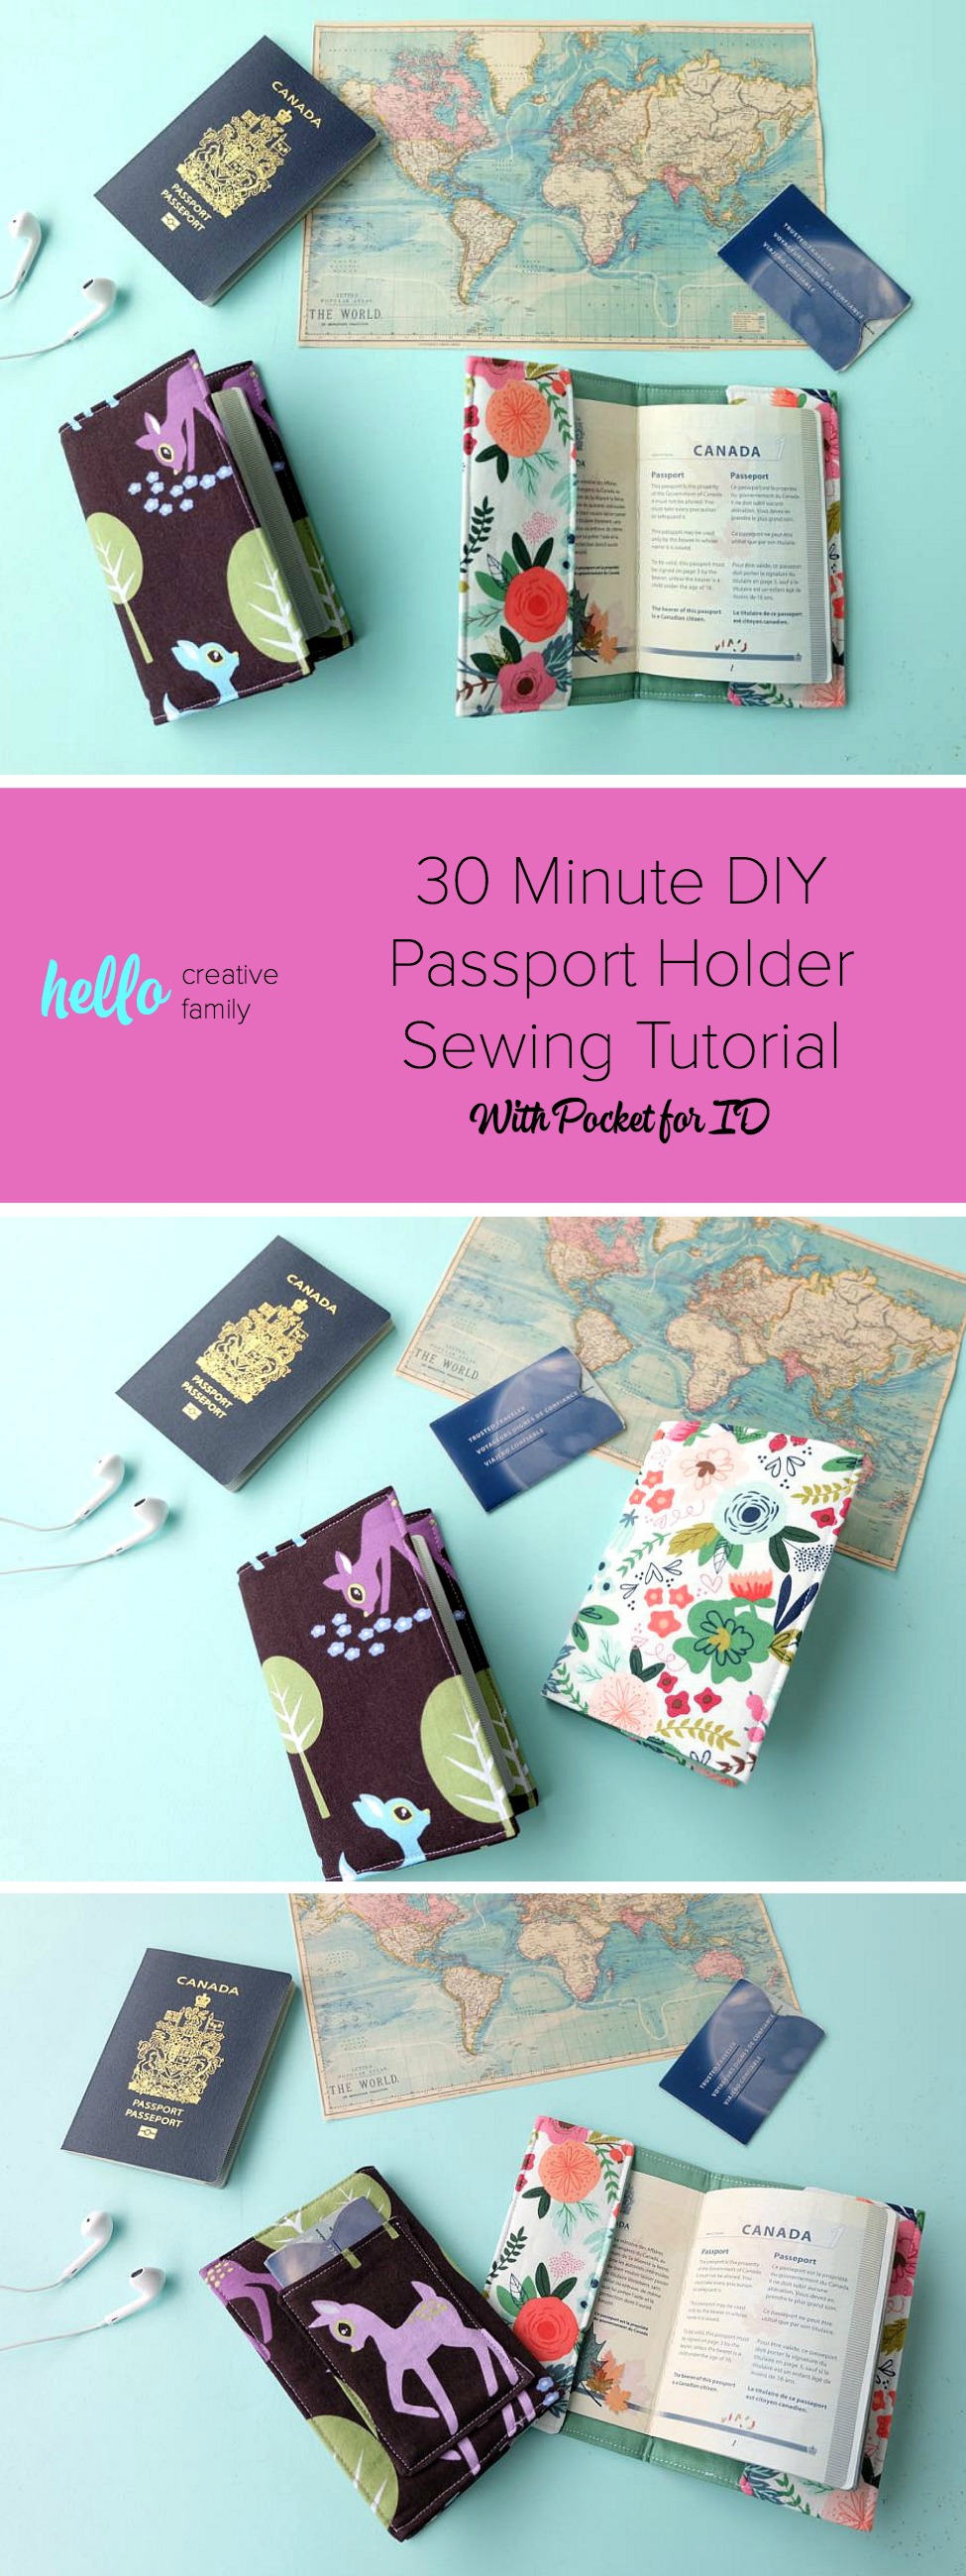
30 Minute DIY Passport Holder Sewing Tutorial With Back Pocket for ID


Cute bunny ear scrunchy. My sister would totally like to wear these.