


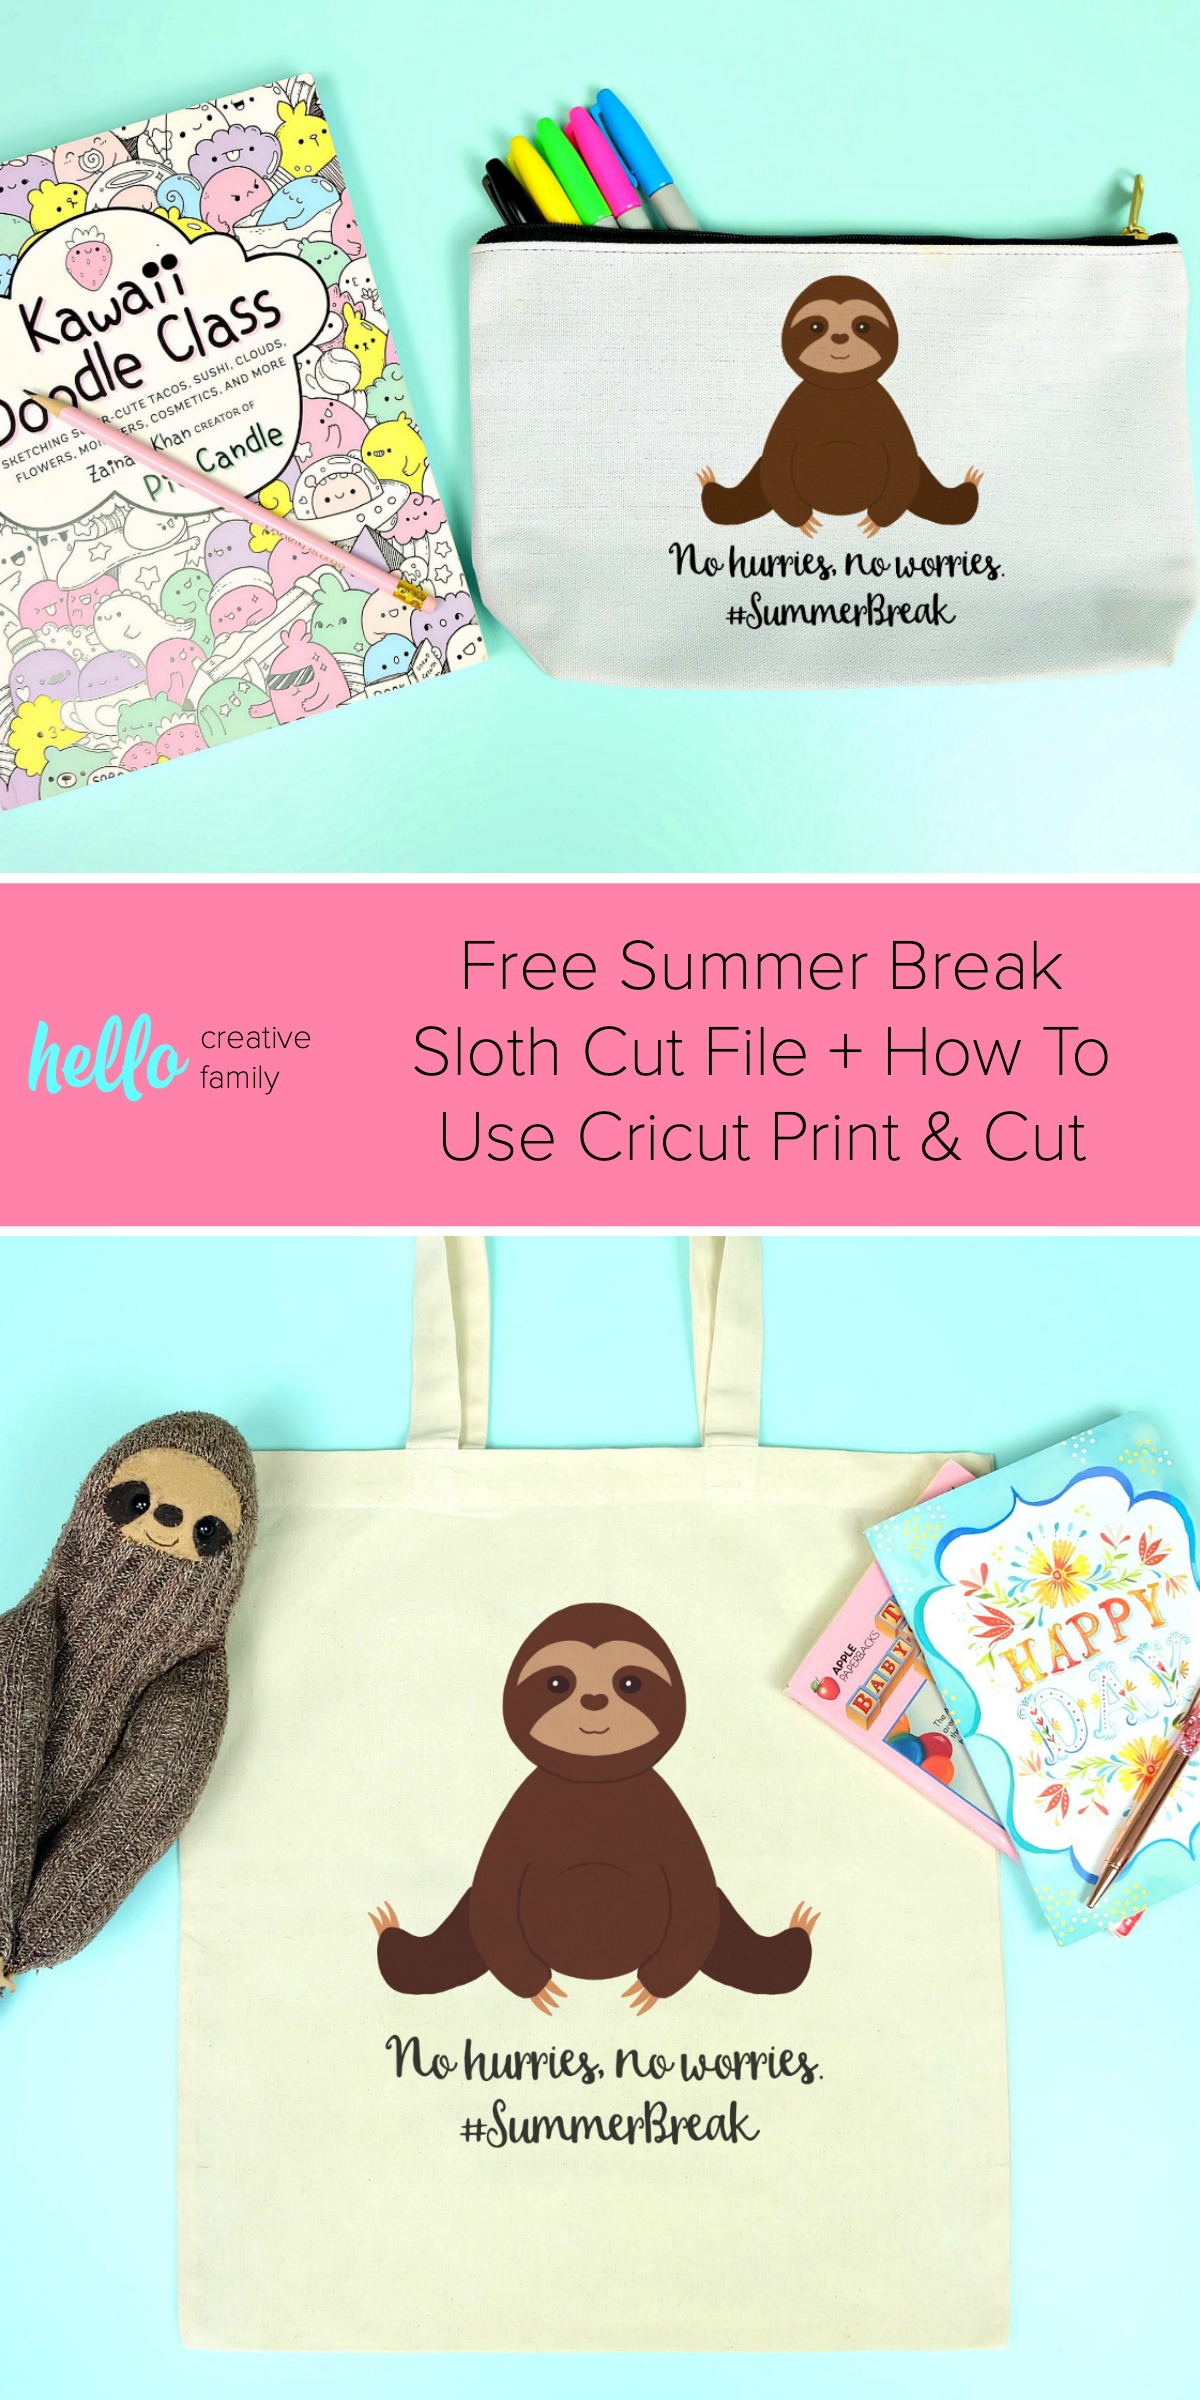
Free Summer Break Sloth Cut File + How To Use Cricut Print & Cut
This post and the photos within it may contain Amazon or other affiliate links. If you purchase something through the link, I may receive a small commission at no extra charge to you.
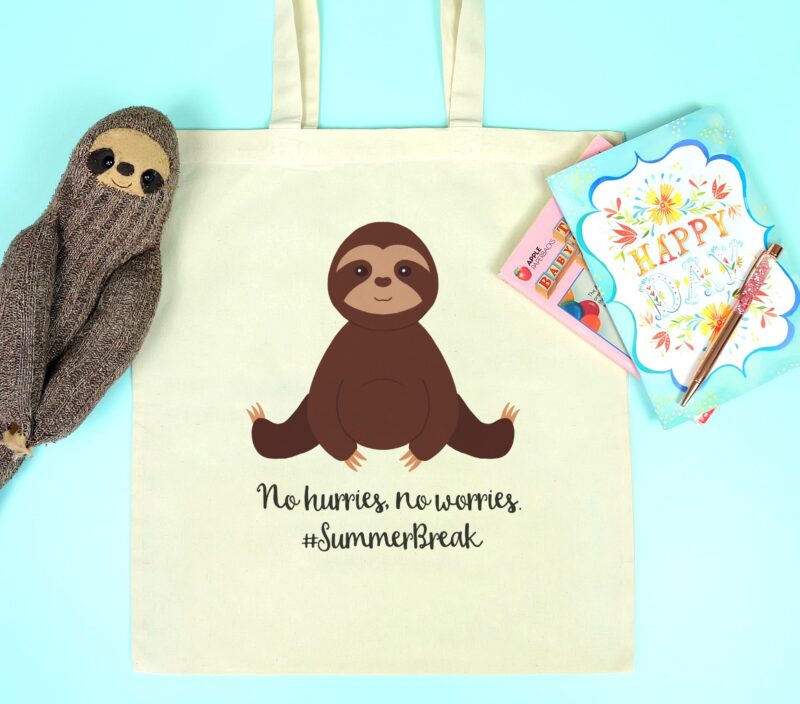
Use our adorable free summer break sloth cut file to make a tote bag, zippered pouch or tank top that’s perfect for summer! We’re sharing the free cut file along with step by step instructions on how to use the Cricut Print & Cut feature. The perfect handmade gift idea for sloth lovers!

My sloth obsession continues with today’s post! Last month I sat down for a brainstorming sessions and was trying to come up with some cute summer cut file ideas. Since I love sloths so much, my thoughts kept coming back to the idea that if a sloth went to school, it’s very favorite time of the year would be summer break, because there would be no need to hurry and no need to worry. I wrote the idea down on my brainstorm list and earlier this week when I was trying to decide what to make for my next project idea I came across it.

I sat down with my ipad and Apple pencil and drew up this cutie patootie! I’m just so excited with how this sloth cut file turned out and am so happy to share him with you!
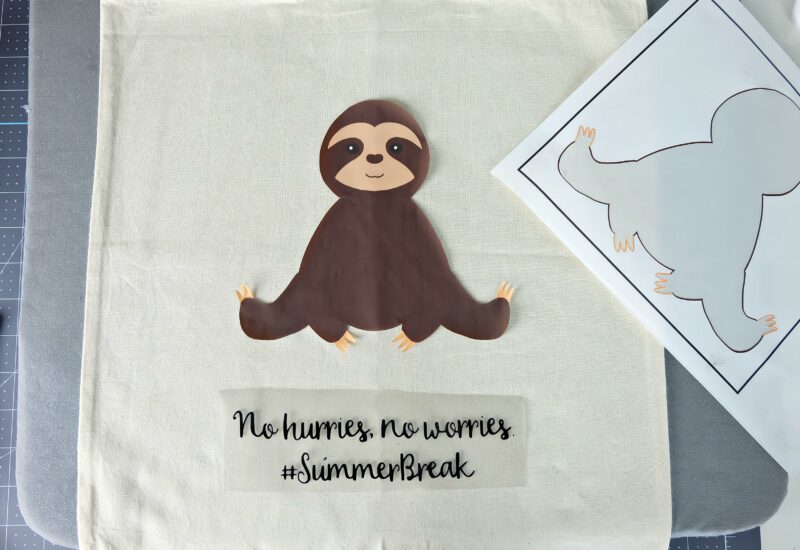
Next I whipped up this little saying:

And then it was time to pull out the Cricut Printable Iron-On and whip up some fun summer gear.
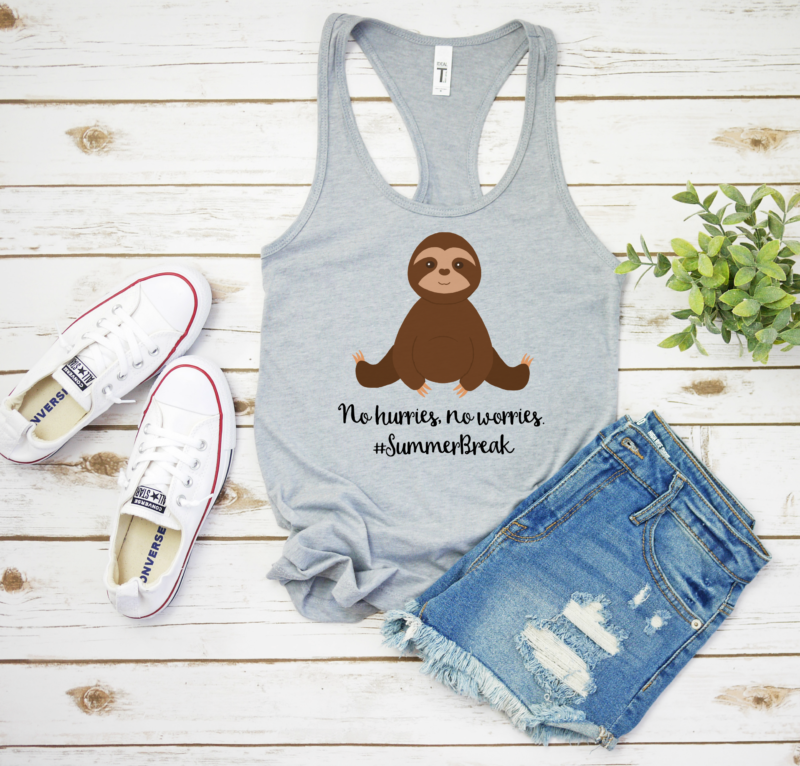
I love printable iron on because it’s quick, easy, there’s no need to layer. You get all the fine little details from an image without having to put down multiple layers of HTV. You can turn just about any image you have into a Print and Cut Image then print and cut it to decorate “all the things”.

Today I’m going to share with you the cut file for this sweet little sloth and summer saying and teach you how to upload it to Cricut Design Space as a Print And Cut Image, how to use Cricut Printable Iron-On and how to turn any image from Cricut Design Space into a Print and Cut Image. Ready to get started? Read on!
[hr gap=”30″]How To Use Cricut’s Print And Cut Feature To Make a Sloth No Hurries No Worries Tote Bag[hr gap=”30″]
Materials:
-Sloth and No Hurries No Worries Cut Files (Find them here. For personal use only. Please contact crystal@hellocreativefamily.com to purchase for commercial use.)
–Cricut Maker or Cricut Explore (prefer shopping on Amazon? Find the Cricut Maker here and the Cricut Explore here.)
-Cricut Printable Iron-On (find it here)
-Iron-On (also called HTV) for your words (I used black iron-on buy Iron-On from Cricut here and from Expressions Vinyl here)
-Canvas Tote Bag (I love these ones. They are great quality and very affordable.)
– Cricut EasyPress or iron
Directions:
Step 1: Download the cut files from the material list above. Open Cricut Design Space.
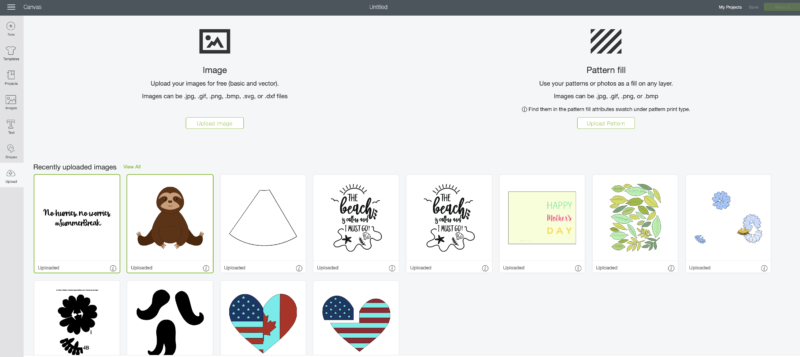
Step 2: Click the “Upload” button from the bottom of the tool bar on the left hand side of the screen. Click “Upload Image” and then select the cut file from your computer.
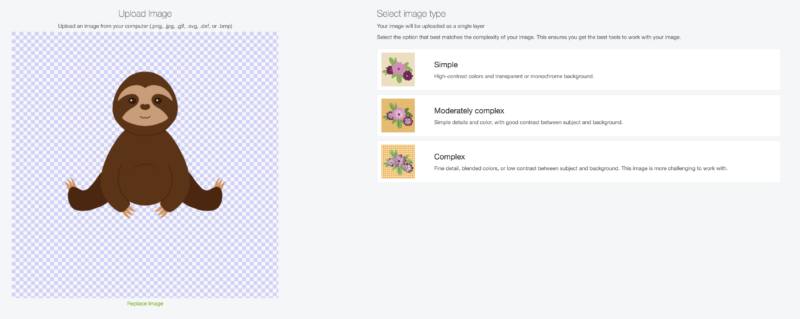
Next you’ll need to select your image type. When uploading an image for Print And Cut you want to pick “Complex” so that you get all of the fine details from your design.

Because the image I provided for you is a PNG file all of the work is already done for you of where the Cricut should cut (it’s going to cut around the sloth so that you will weed away all of the area that is checked white and blue). However if you were doing this with a jpg file you might need to click in all of the areas that you would want weeded away. Design Space will turn any area that you click into white and blue checks.
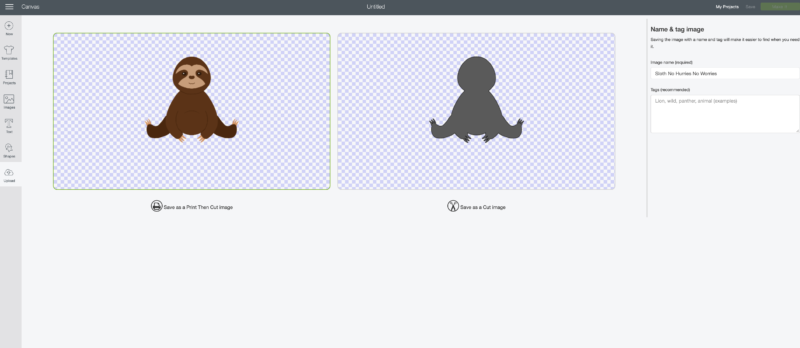
Click the “Print and Cut Image” box (the one where you can see the face and the colors of the sloth, name your file and click save. You are then going to repeat this process with the “No Hurries, No Worries” words EXCEPT for on the final screen you will select the “Cut Image” box since what you are cutting is going to be cut out of a colored iron-on and not printed.
(Note: You might be asking why we aren’t printing out the words to0: With Printable Iron-On you peel the image off of the sheet like a sticker and lay it onto your blank that you are ironing onto. This works well with big designs but not as well with smaller, finicky pieces like words).
Select the two images that you will be using and insert them into your project.
Step 2: Size your sloth and the words for the project that you are going to be making. It’s important to note that the largest size that you can do for Print and Cut is 9.25 x 6.75″.
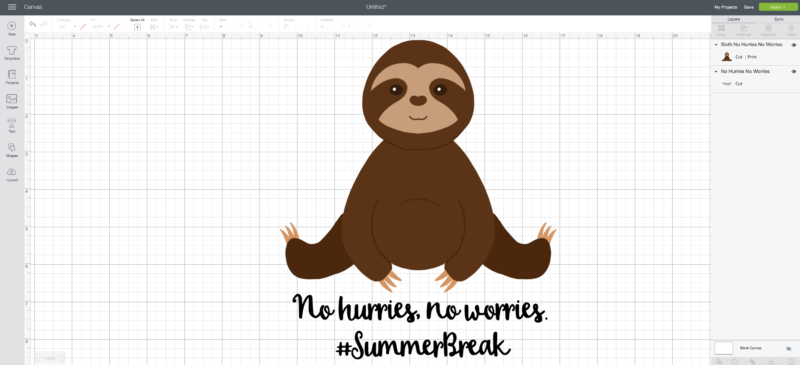
Click the “Make It” button in the upper right hand corner of the screen.
Printable Iron-On is cut with the printed side up, however traditional iron-on is cut with the right side down so you will need to mirror your image for the words. Click on the cutting mat where the words are and slide the mirror bar.
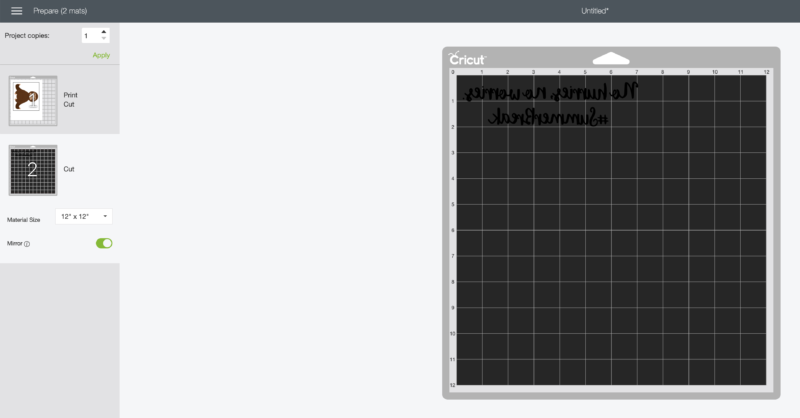
Click “Continue” select your cutting machine and print the sloth on Printable Iron-On. Then select “Printable Iron-On” as your material for the sloth. Load the cutting mat with the sloth image facing up and press the cute little Cricut C.

Next load your cutting mat with the black iron-on with the shiny side facing down. Select Iron-On as your cutting material, load the cutting mat into the machine and press the cute little Cricut C.
Step 3: Weed your words, removing the area surrounding the words, leaving the words behind on the clear plastic. Don’t forget to weed the area inside the letters like the O’s and E’s.
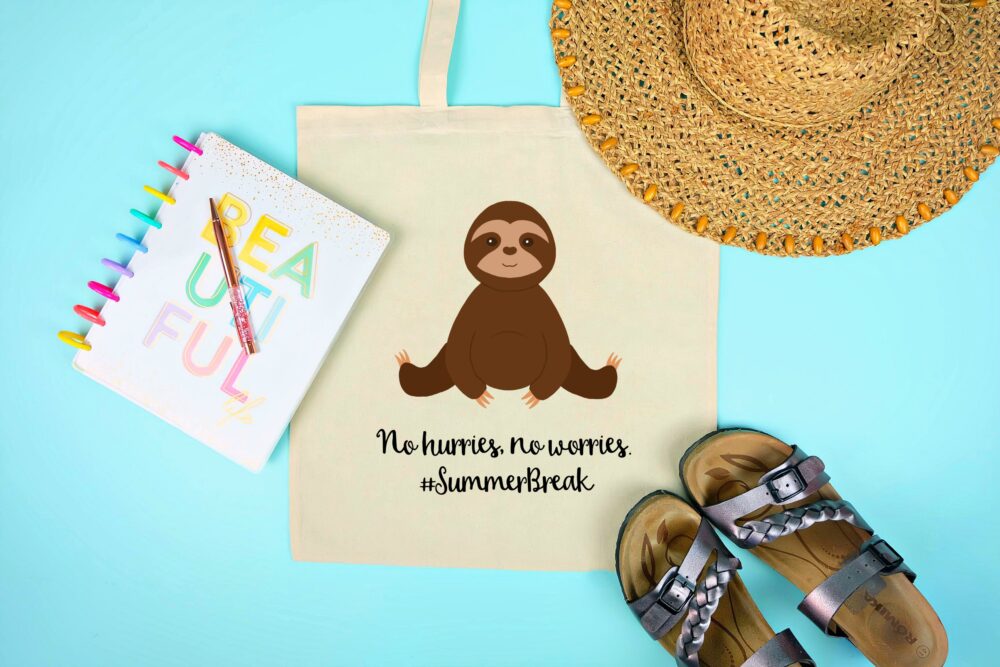
Peel the sloth off of the sheet like a sticker and apply the sloth and the words to your tote bag following the instructions on the packaging.
Voila! You have an adorable sloth tote bag!
Curious about how to turn any image from Cricut Design Space into a Print and Cut image?
It’s all about the “Flatten” button!
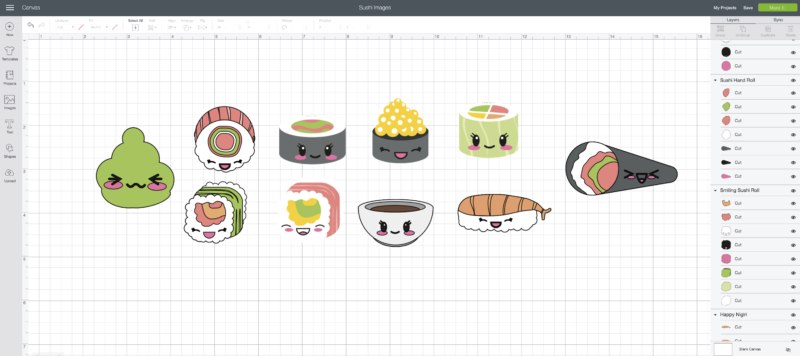
Select your images from the Cricut Access library (can we please take a moment to talk about how ADORABLE these sushi images are? Find them here.) You’ll notice on the right hand side of the screen that each of the images are comprised of multiple pieces of each different color. (This cartridge of image actually has print and cut options as well as regular cut options but I thought they were so cute I’d use them as an example.)
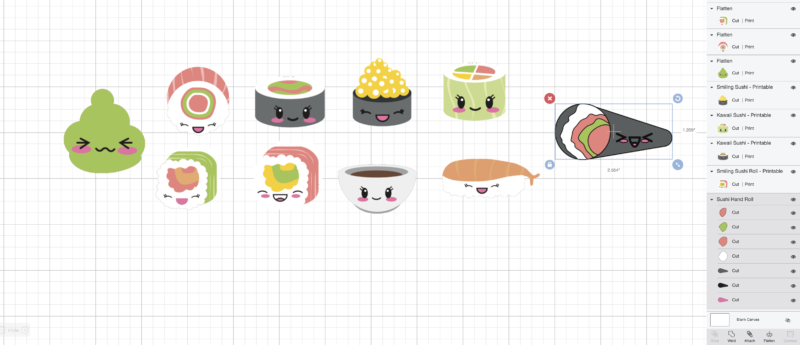
Click on each piece of sushi that you would like to use as a Print and Cut file and then click the flatten button in the lower right hand corner. Voila! You are all flattened! Your Cricut will now know to print the image and then cut around the design! Amazing right?
[hr gap=”30″]Tell me… What would you you use our sloth cut file to make? What will you make with the Print and Cut function?[hr gap=”30″]
Like this Free Summer Sloth Cut File? We’d love for you to pin it for later!
Looking for more design files for summer?
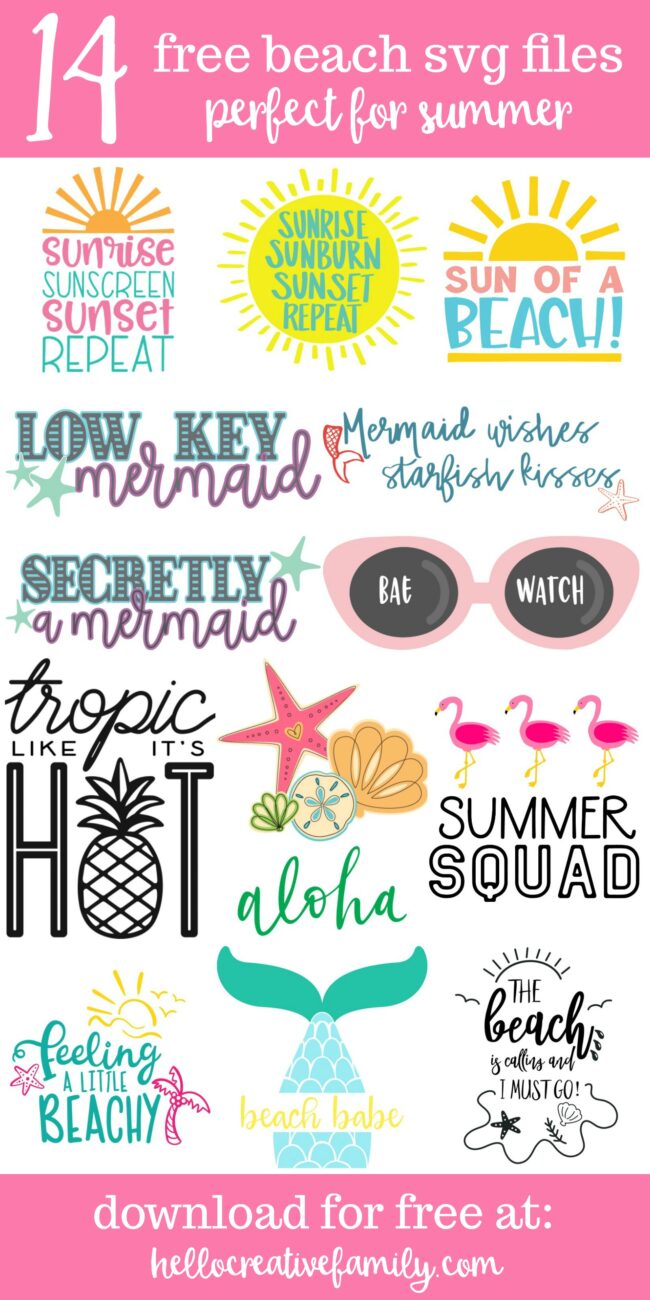
14 Free Beach SVGs Perfect For Summer
If you love sloths make sure to check out these projects too!
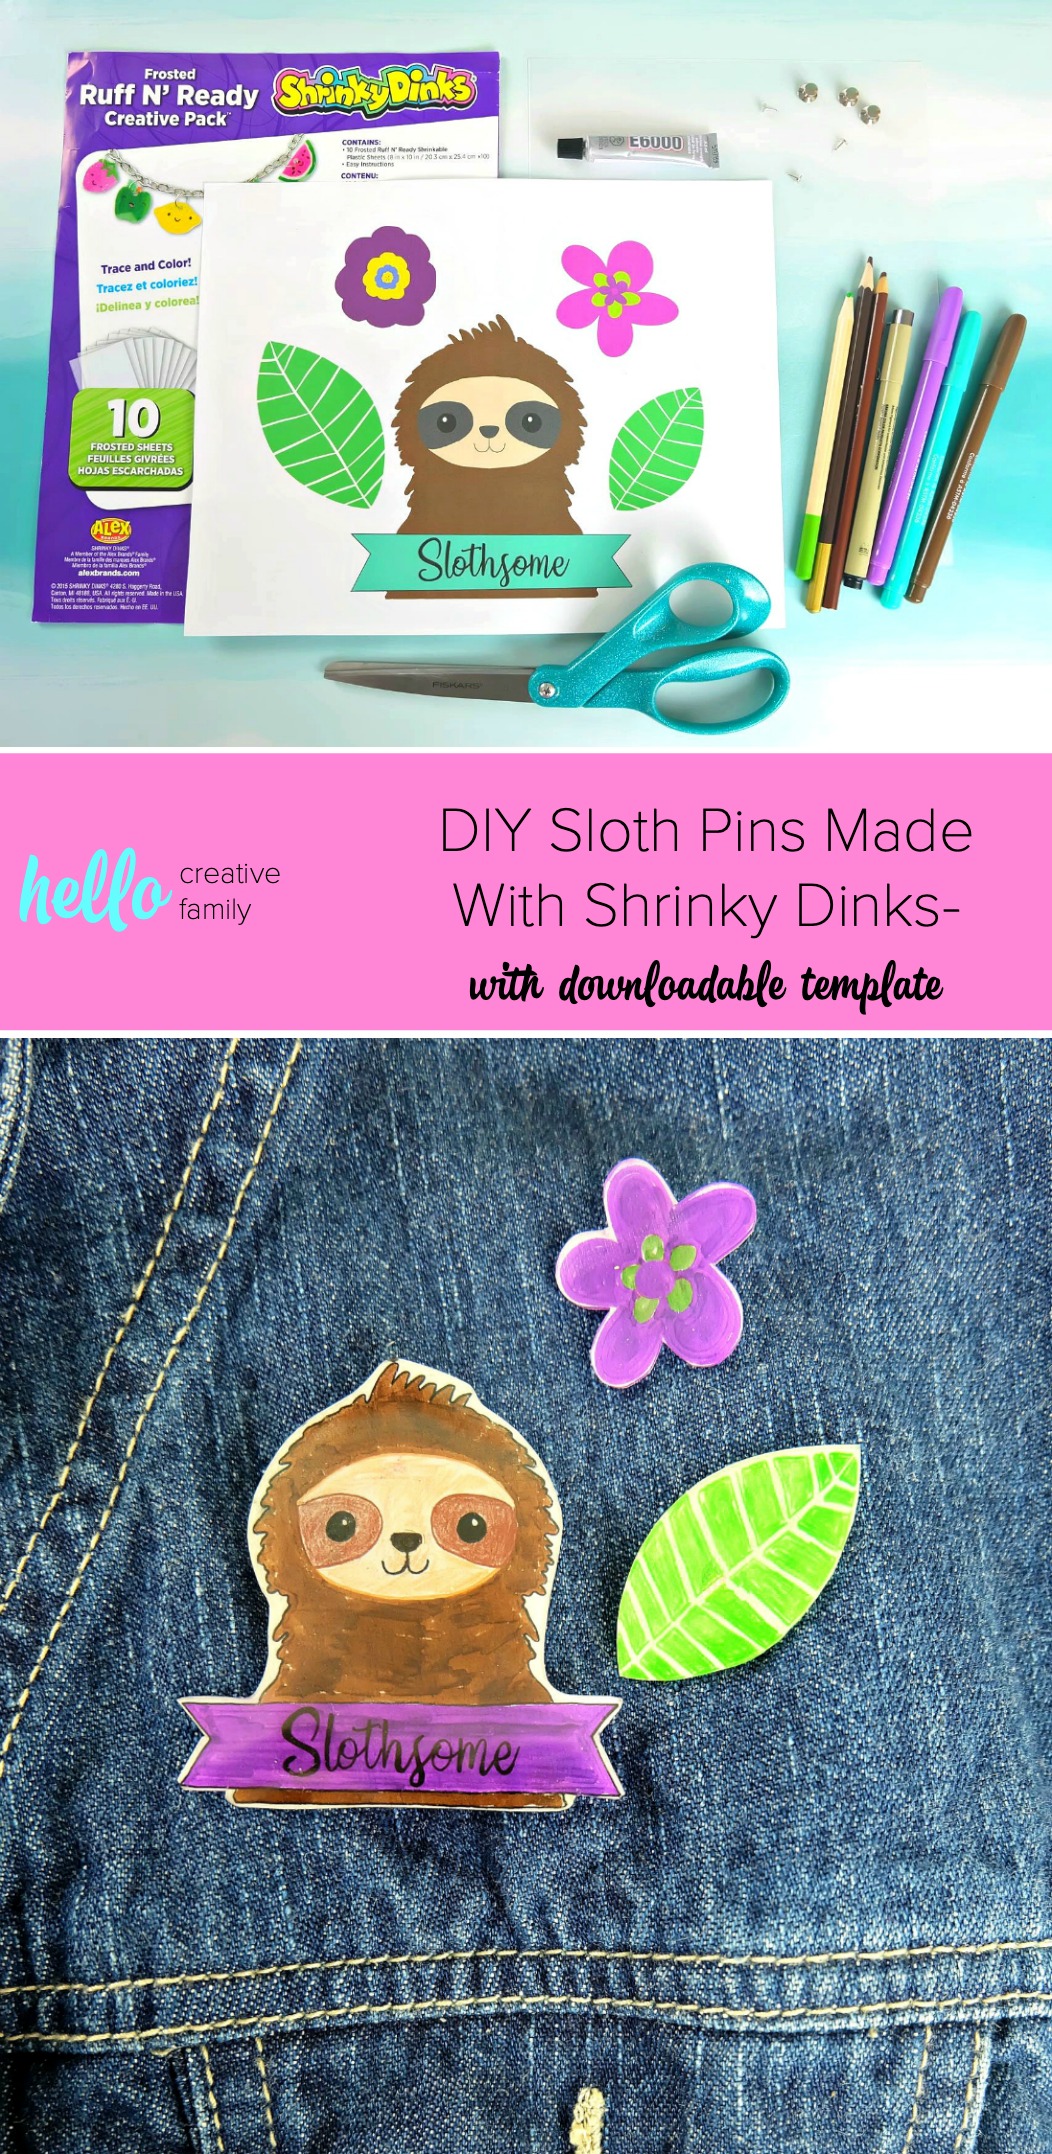
DIY Sloth Shrinky Dink Flare Pins

50+ Sloth Crafts, Printables, SVGs, DIYs, Food and Gift Ideas


how do you get the rich brown of the body? my printer would never do that in an even solid nice color.
Hi Corrine,
Thank you so much for visiting. I just put a fresh ink cartridge in it recently so that probably helped. The printer I have right now prints really nicely though. I’ve had printers in the past that have been streaky when I’m printing big sections of solid color.
Best Wishes,
Crystal
Oh my, your little sloth is just the cutest! And I kinda instantly thought of my teenager when I saw your sloth hahaha. Might need to grab your cut file and whip up a cute gift for my lazy teenager 🙂 Thanks so much for sharing.
Hi Samantha,
Thank you so much for visiting! I’m so happy that you like my sweet little sloth. I’ve been having so much fun with my ipad and Apple pencil! I’m pretty sloth obsessed so he was really fun to make. I hope you and your teenager have a wonderful summer break!
Best Wishes,
Crystal
I love sloths! I hope this sloth craze never ends – LOL! Beautiful job on these, I love the “no hurries, no worries”!
TFS!