


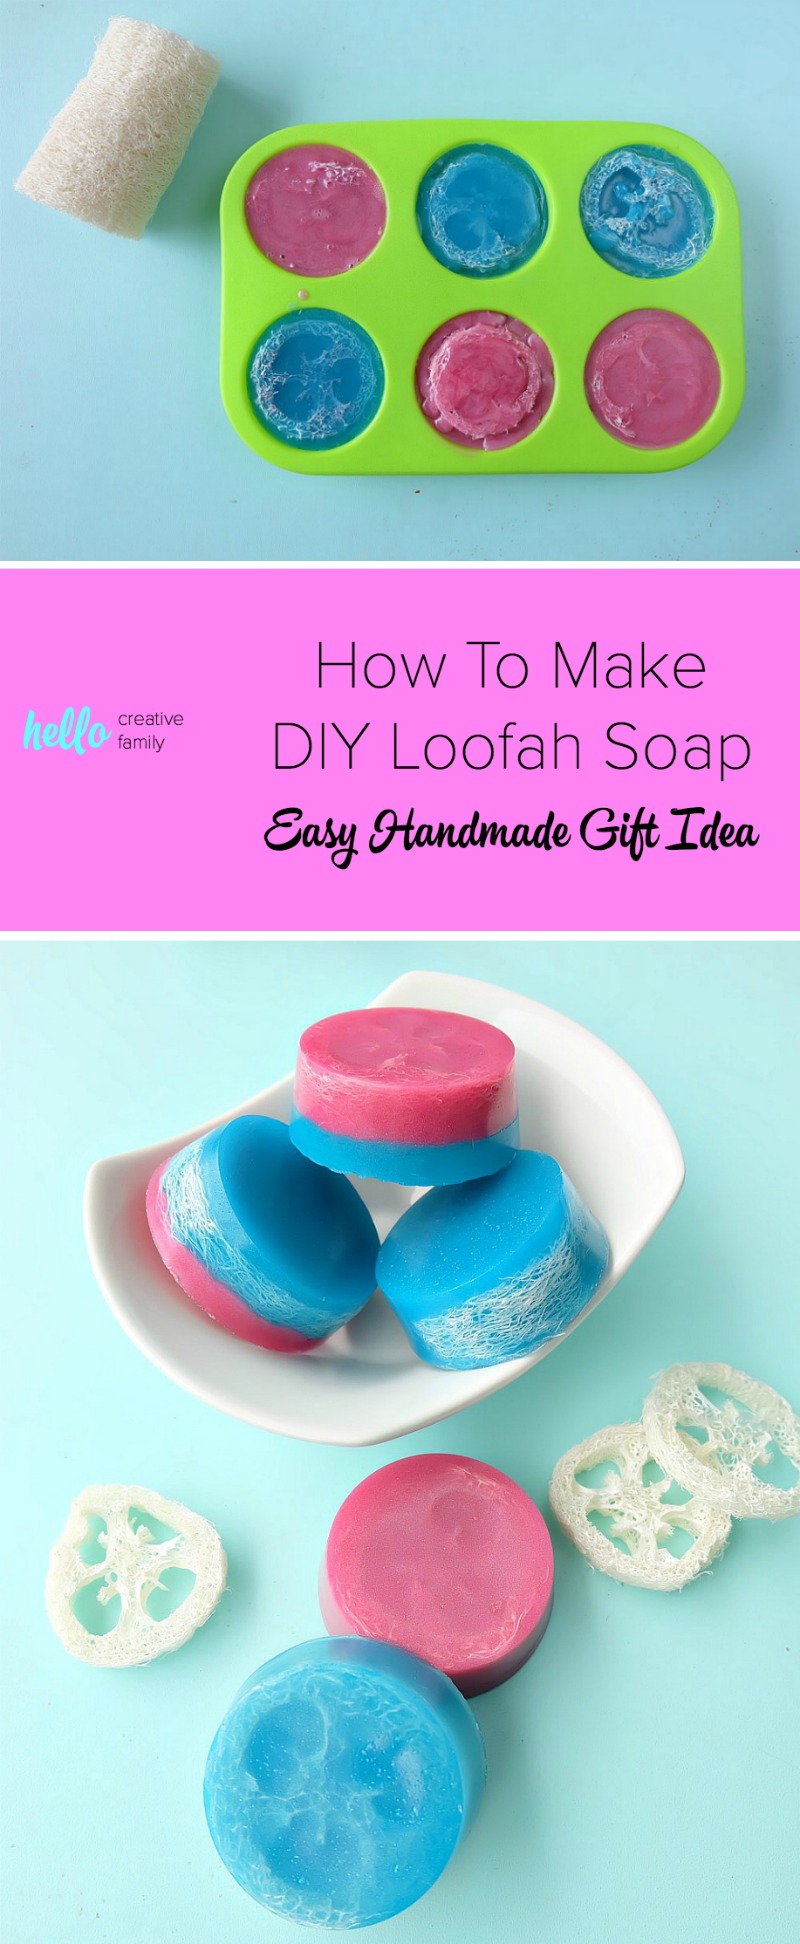
How To Make DIY Loofah Soap- Easy Handmade Gift Idea
This post and the photos within it may contain Amazon or other affiliate links. If you purchase something through the link, I may receive a small commission at no extra charge to you.
Soap making doesn’t have to be complicated! In this post you’ll learn how to make DIY Loofah Soap in minutes for an easy handmade gift idea! Combine the exfoliating power of natural loofah with the pampering properties of beautifully scented handmade soap! A fun and easy DIY body product!


Soap making can seem pretty intimidating. If you’ve ever watched Fight Club, chances are you’ve been turned off of soap making FOREVER! I’m here to tell you, making soap is as easy as using the microwave– if you have the right soap making supplies!
I love making DIY body products, but the idea of lye, fat and chemical reactions seems a bit too complicated for me. I love quick and easy DIY gift ideas, so I choose to use melt and pour soap making products.
With melt and pour soap bases the hard work is already done for you. All you have to do is melt and pour!
Melt and pour comes in a variety of soap bases including:
–And more!
All you do is melt down your soap base, add fragrance and coloring and then pour it into your soap molds. I also love experimenting by adding “other” things to my soap. Last summer I made DIY Lavender Coconut Sugar Scrub Bars where I mixed lavender and sugar into my melt and pour to give a soap bar that not only exfoliates but also smells amazing!
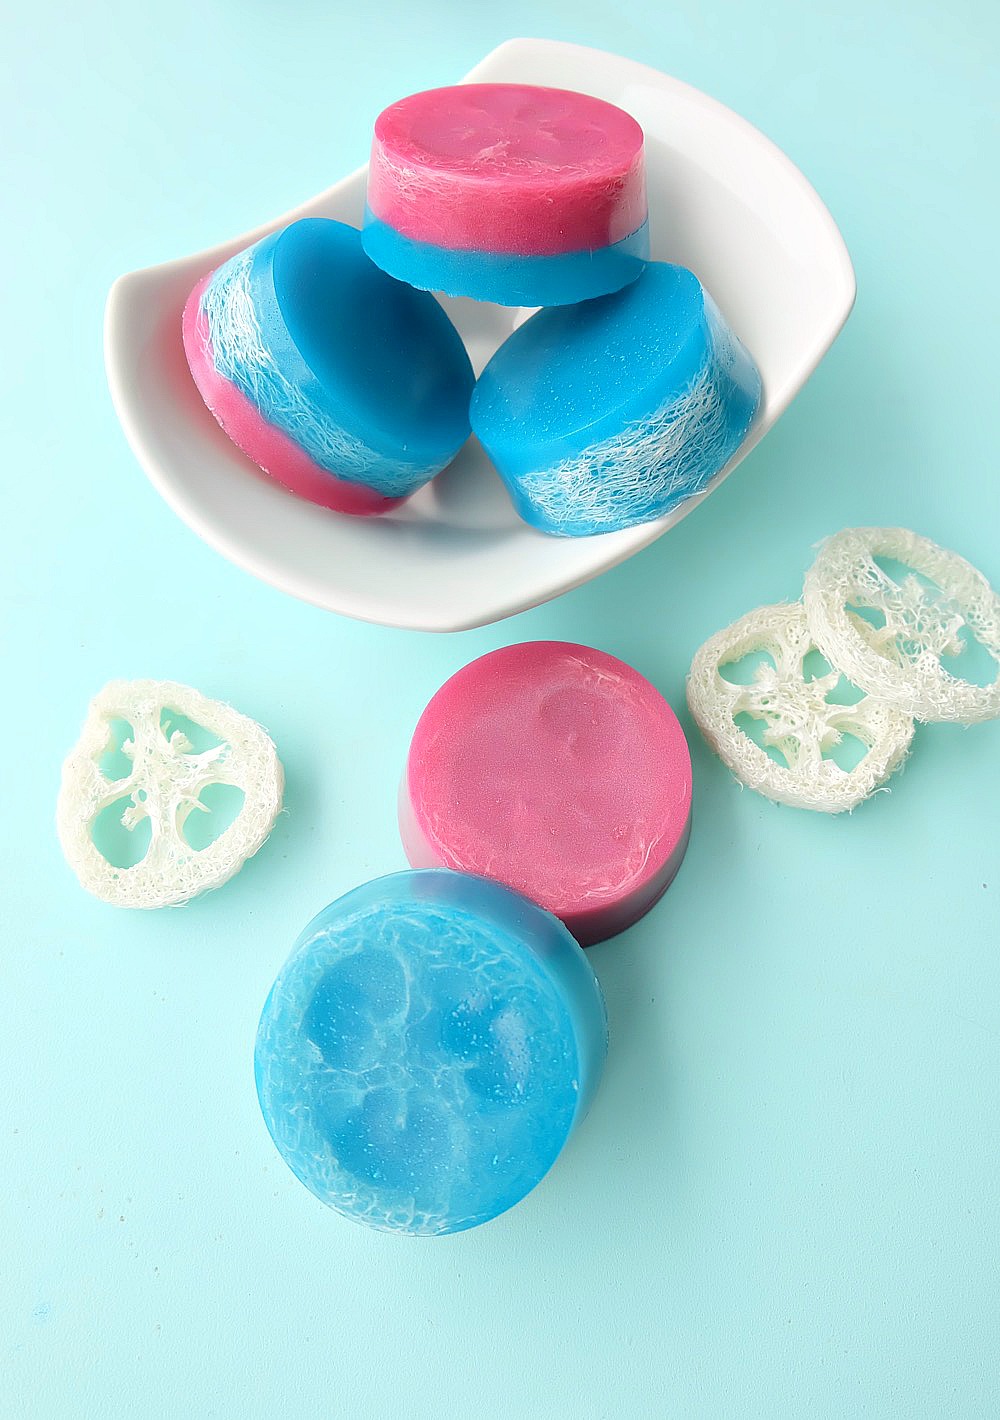
This time I decided to build on the exfoliating theme by putting loofah in my soap. This way you get the scrubbing power of loofah and the cleansing power of soap all in one! I used Olive Oil Melt and Pour Soap Base for my soap, because I liked that it was semi clear so you could see the loofah inside. You could also use clear glycerine soap for an even clearer finished soap, or if you don’t care about being able to see the loofah you could experiment with other melt and pour soap bases. The directions are the same, no matter what soap base you use.
Ready to learn how to make DIY Loofah Soap? Read on!
[hr gap=”30″]DIY Loofah Soap[hr gap=”30″]
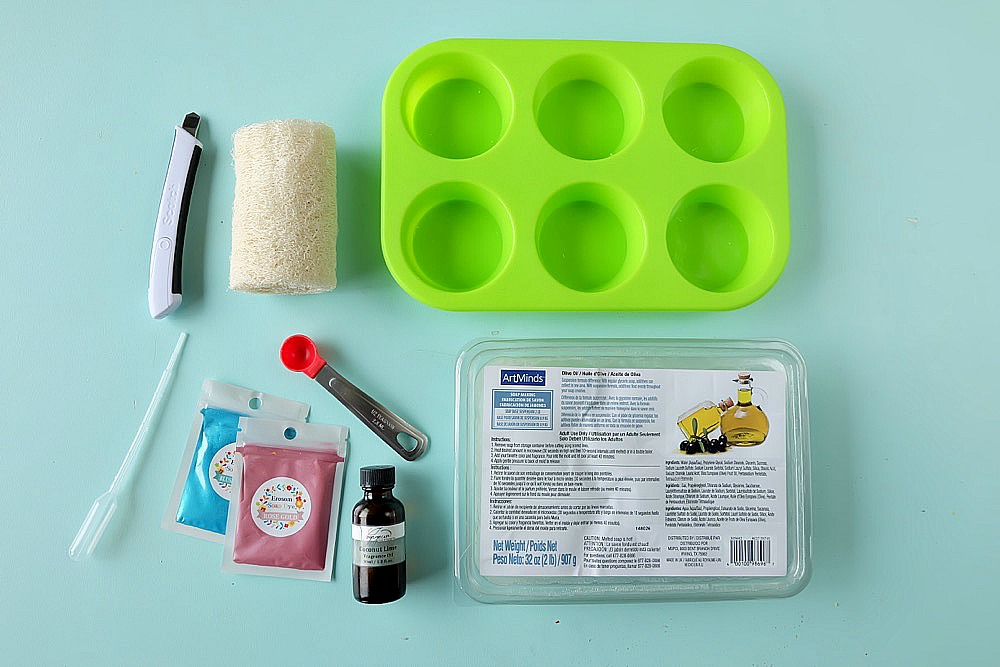
Materials:
-Loofahs (these are the ones I used)
-Mica Powder or other soap dye (this is what I use. I love that you can get a variety of colors to try out for a low price point)
–Utility knife or scissors with safe surface for cutting
-A double boiler (alternatively you can use a pot of water with a glass bowl sitting on top) or a microwave safe glass container and a microwave
Directions:
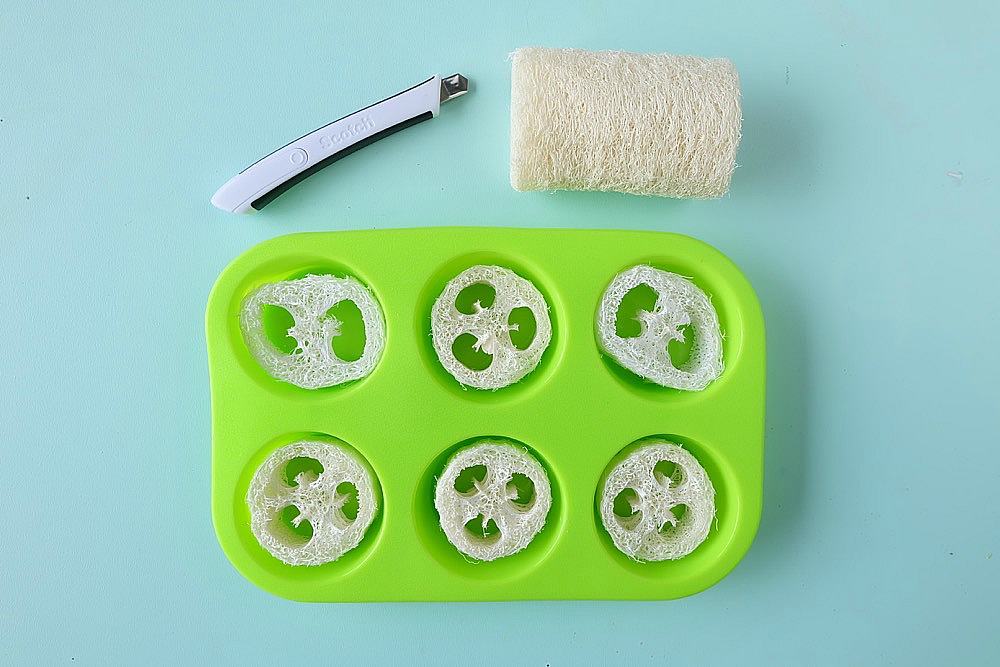
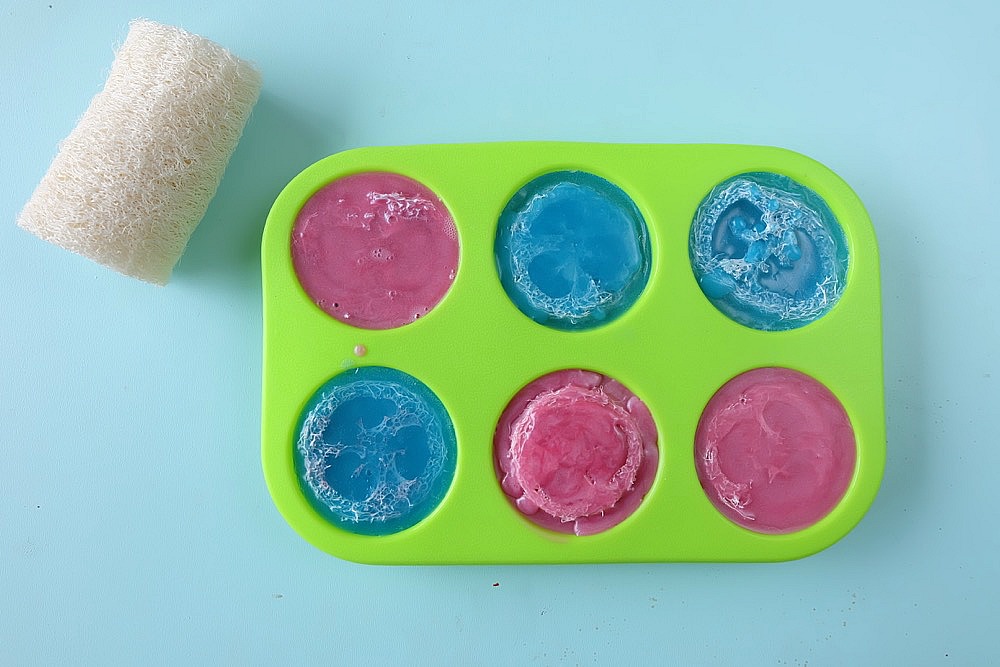
Step 1: Cut your loofah into circles an inch or two wide to fit into your silicone mold. Put the loofah pieces into your silicone mold.
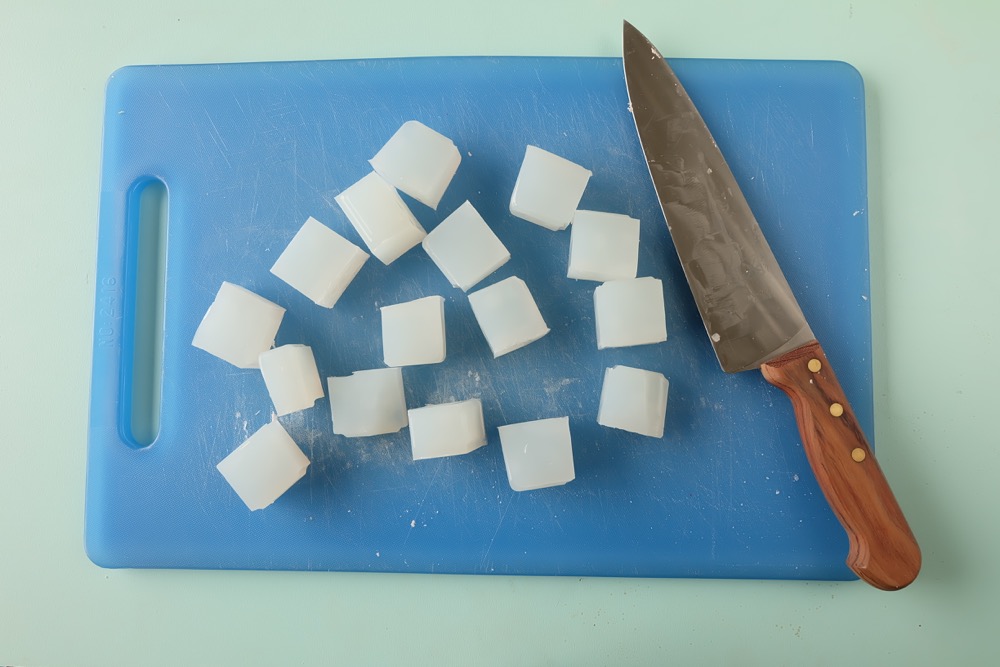
Step 2: Cut your melt and pour soap base into small pieces and heat until melted either in a double boiler or the microwave. If heating in the microwave make sure to stop the microwave to stir the melt and pour frequently.
Step 3: When melt and pour soap base is melted, add your color and fragrance until it reaches the desired color/scent. Pour the melted soap into your silicone mold, pushing the loofah down and making sure the soap fills all of the holes.

If you would like for your soap to be two toned, pour the soap base until it fills the mold half way, leave for 30-60 minutes to solidify and then pour a second color of soap base on top.
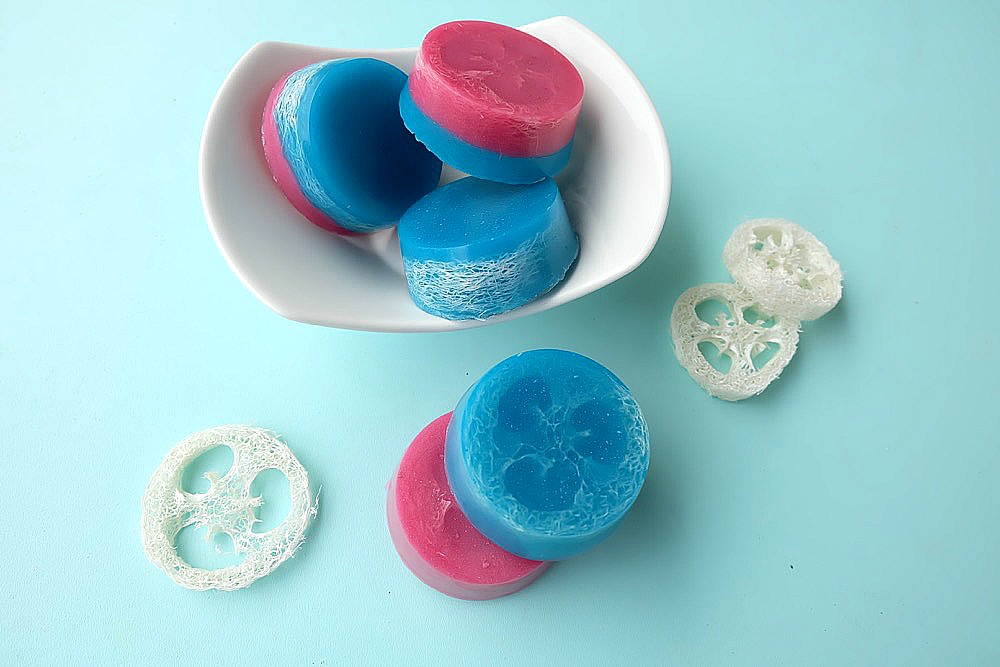
Step 4: Leave soap for a couple of hours to overnight until it has completely set then pop your soap out of the molds.
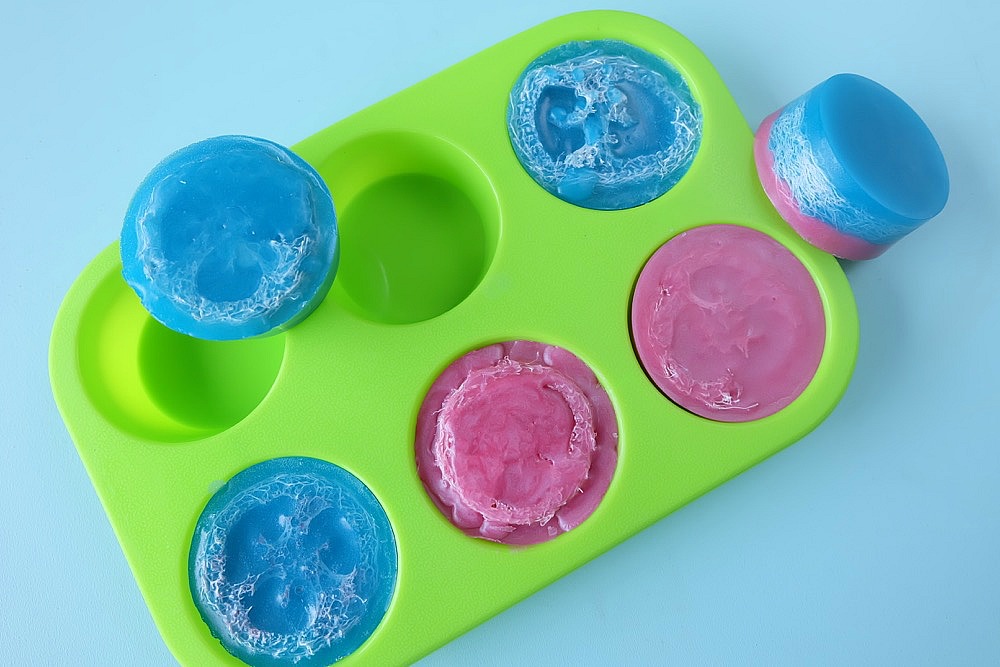
Viola! You have gorgeous soap to give as gifts or to keep for yourself! Enjoy being pampered with their awesome exfoliating action!
[hr gap=”30″]Tell me… Have you ever tried making soap before? If you made these what kind of melt and pour soap base would you use? What scent and colors would you make them?[hr gap=”30″]
Like this post? We’d love for you to pin it for later!
Make sure you check out these other body product posts!
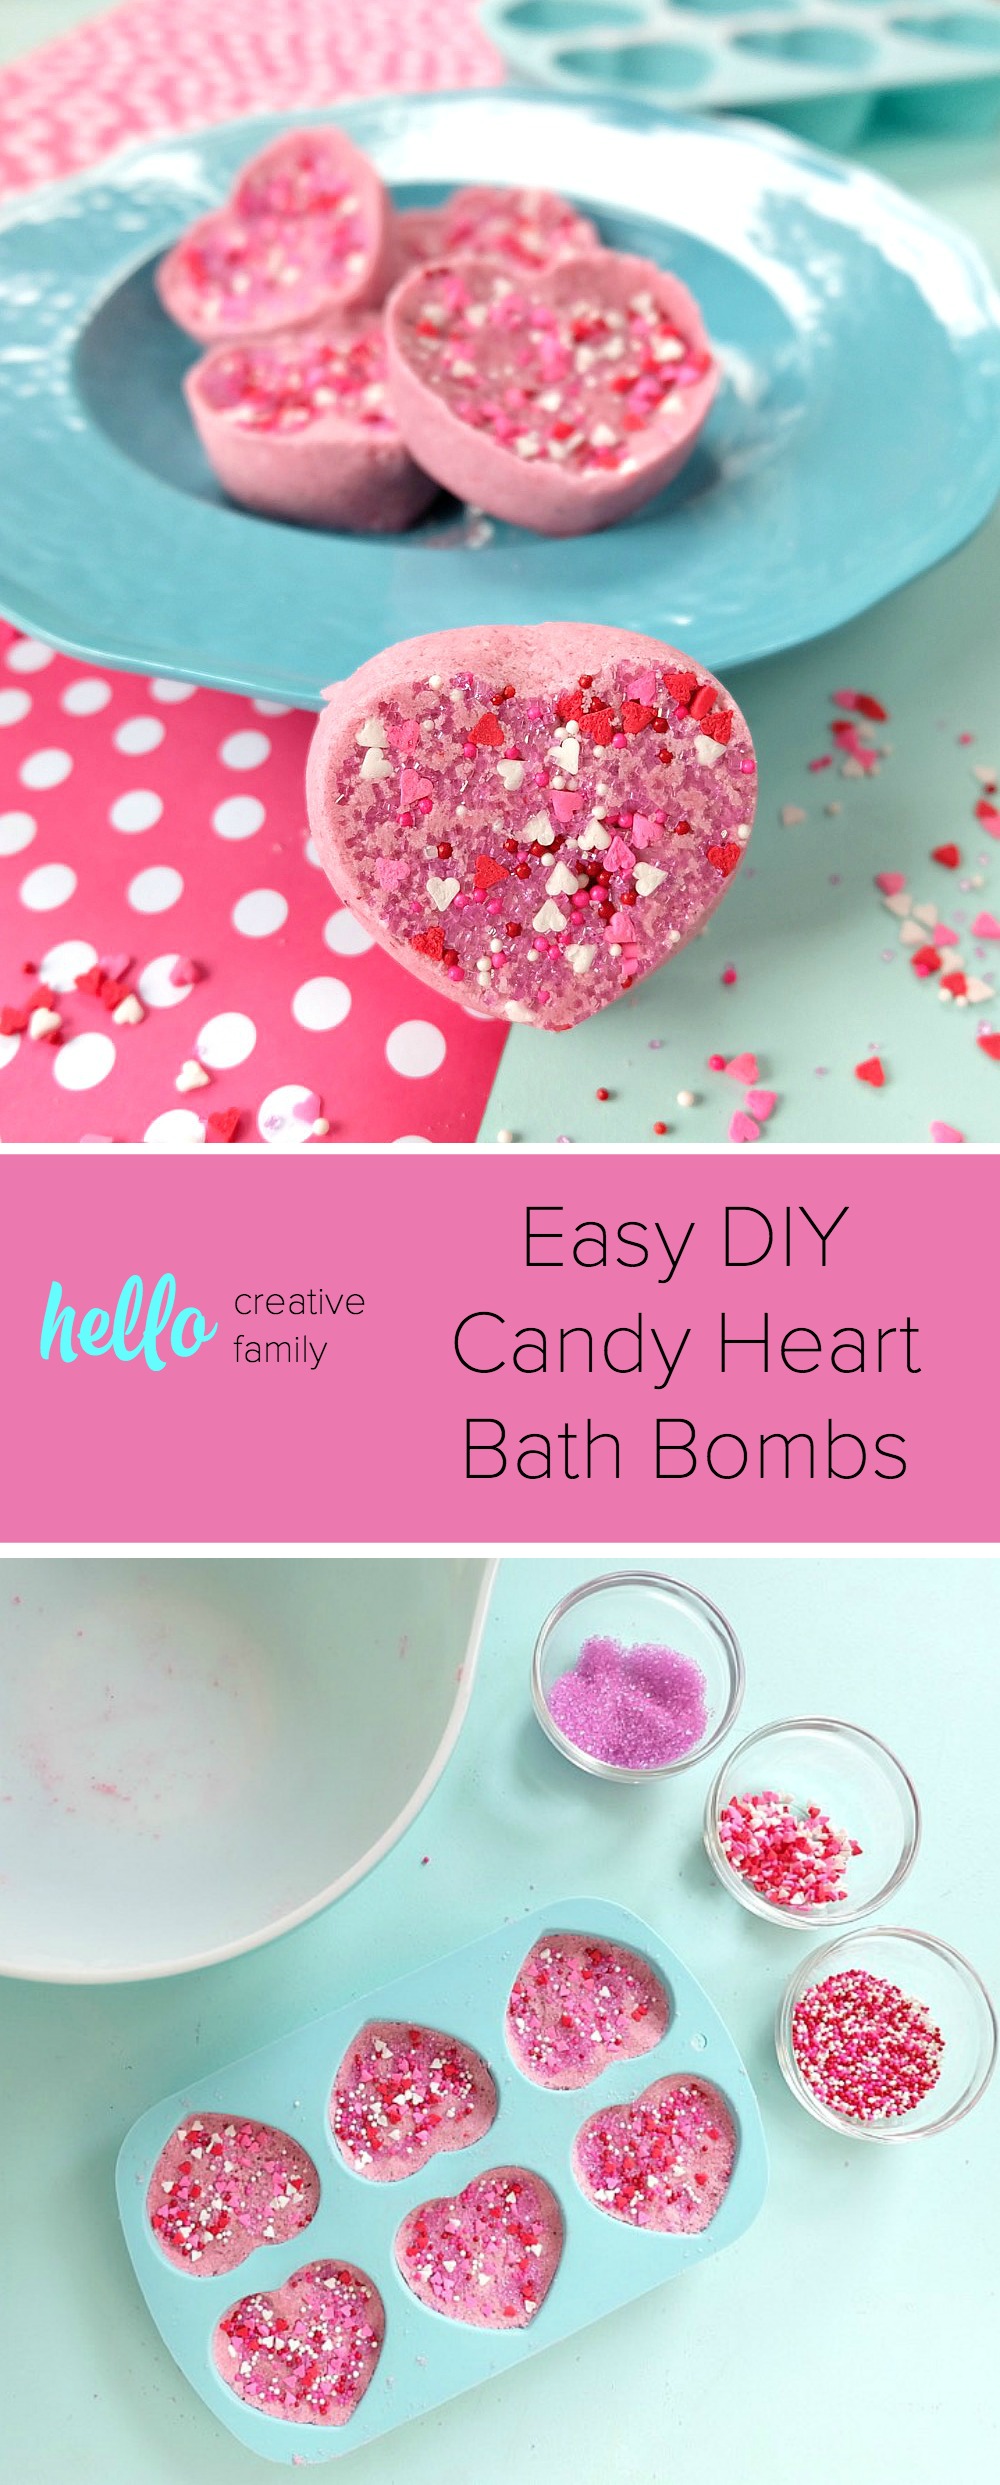
Easy DIY Candy Heart Bath Bombs
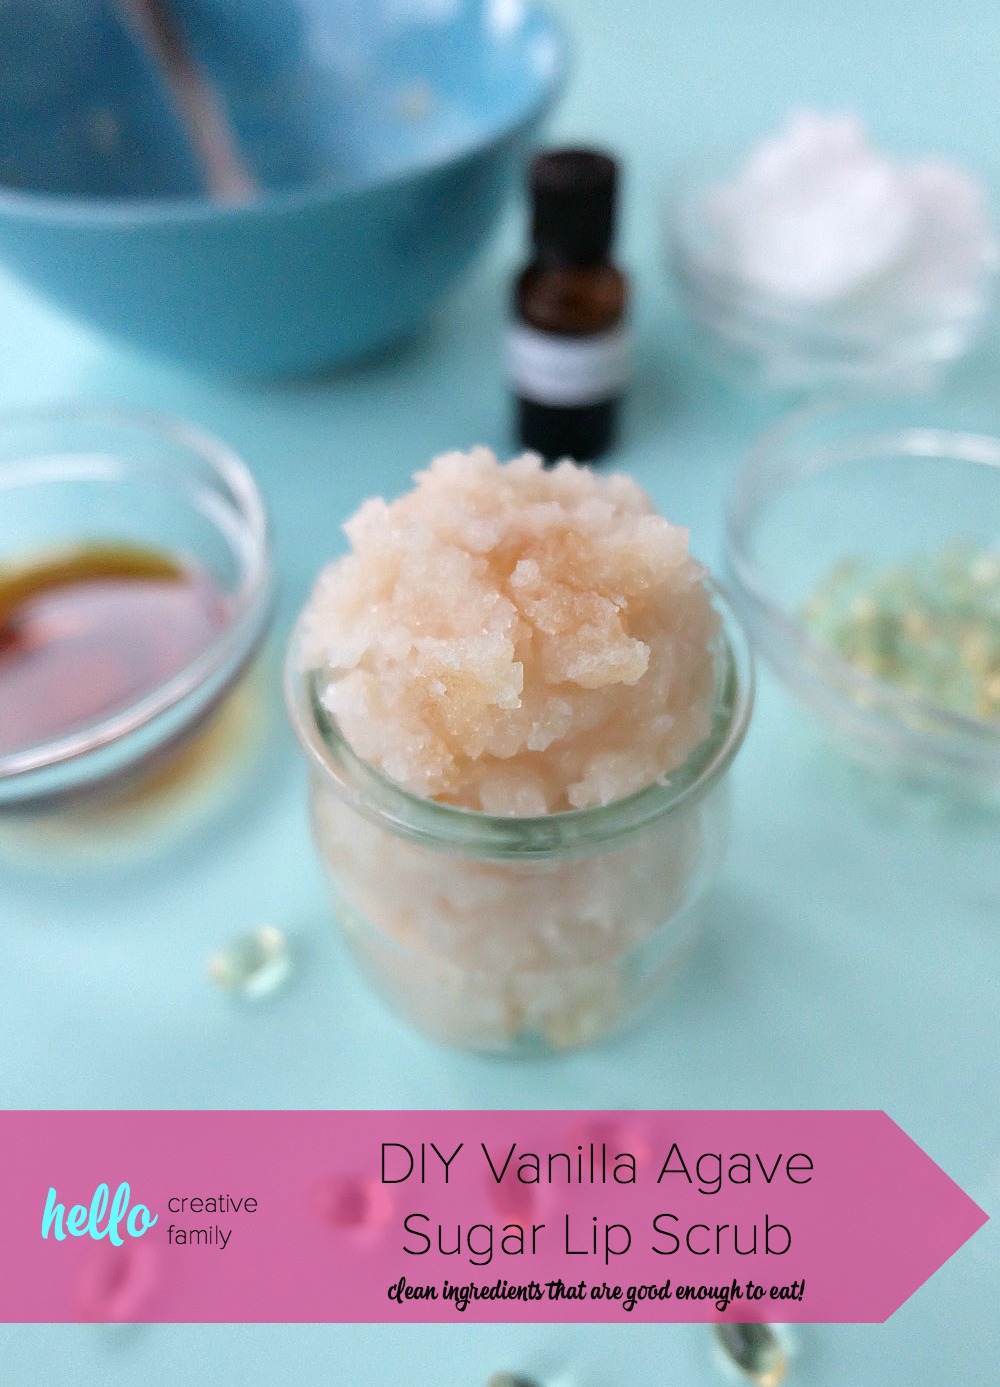
DIY Vanilla Agave Sugar Lip Scrub
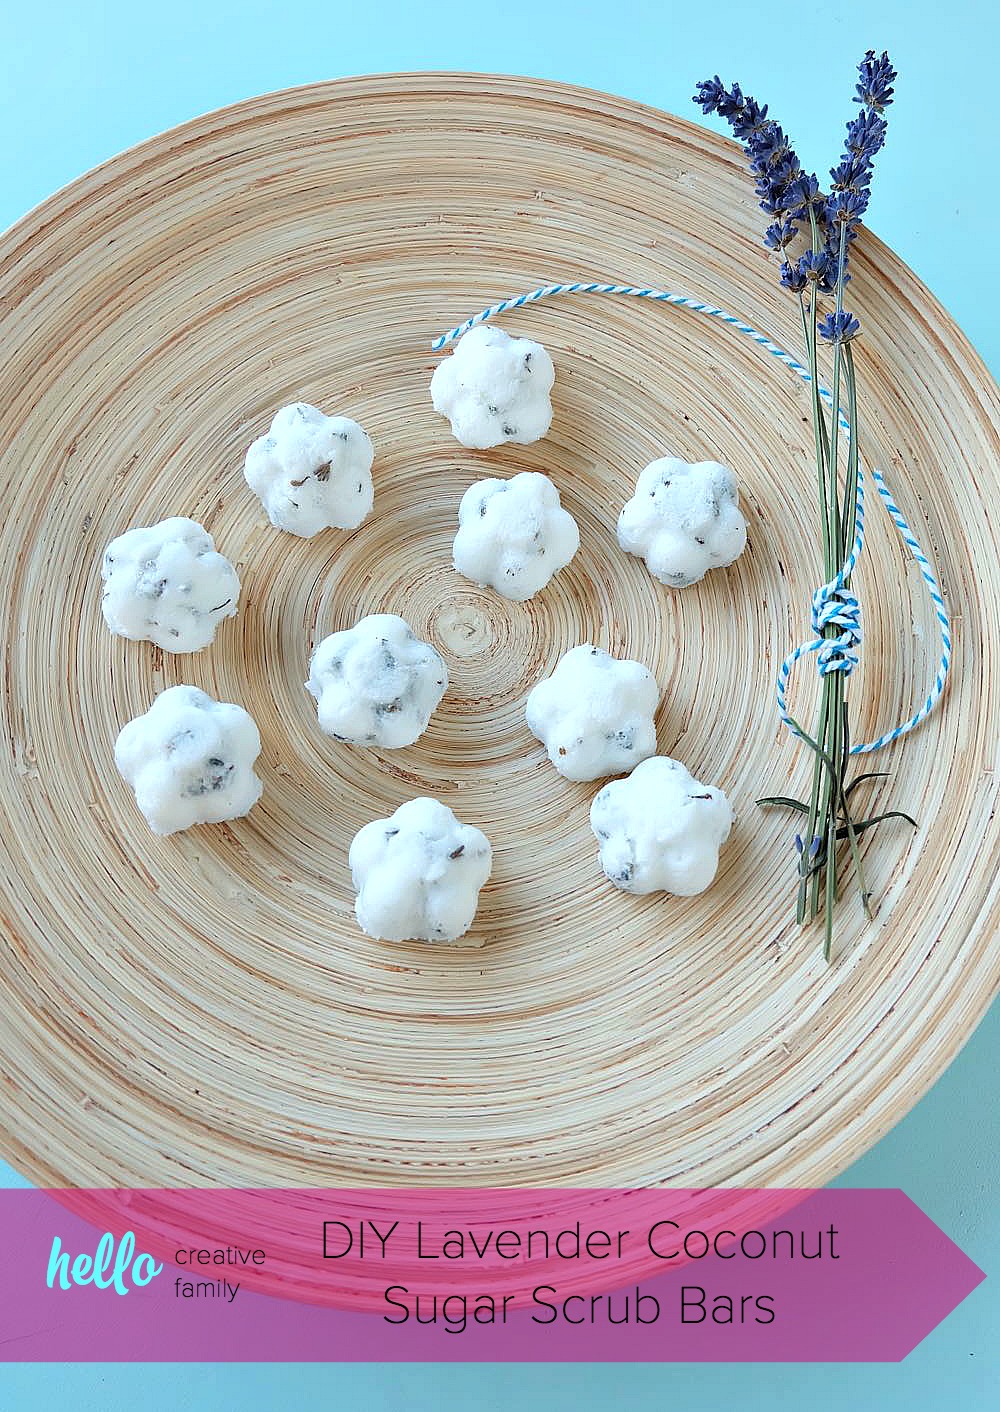
DIY Lavender Coconut Sugar Scrub Bars
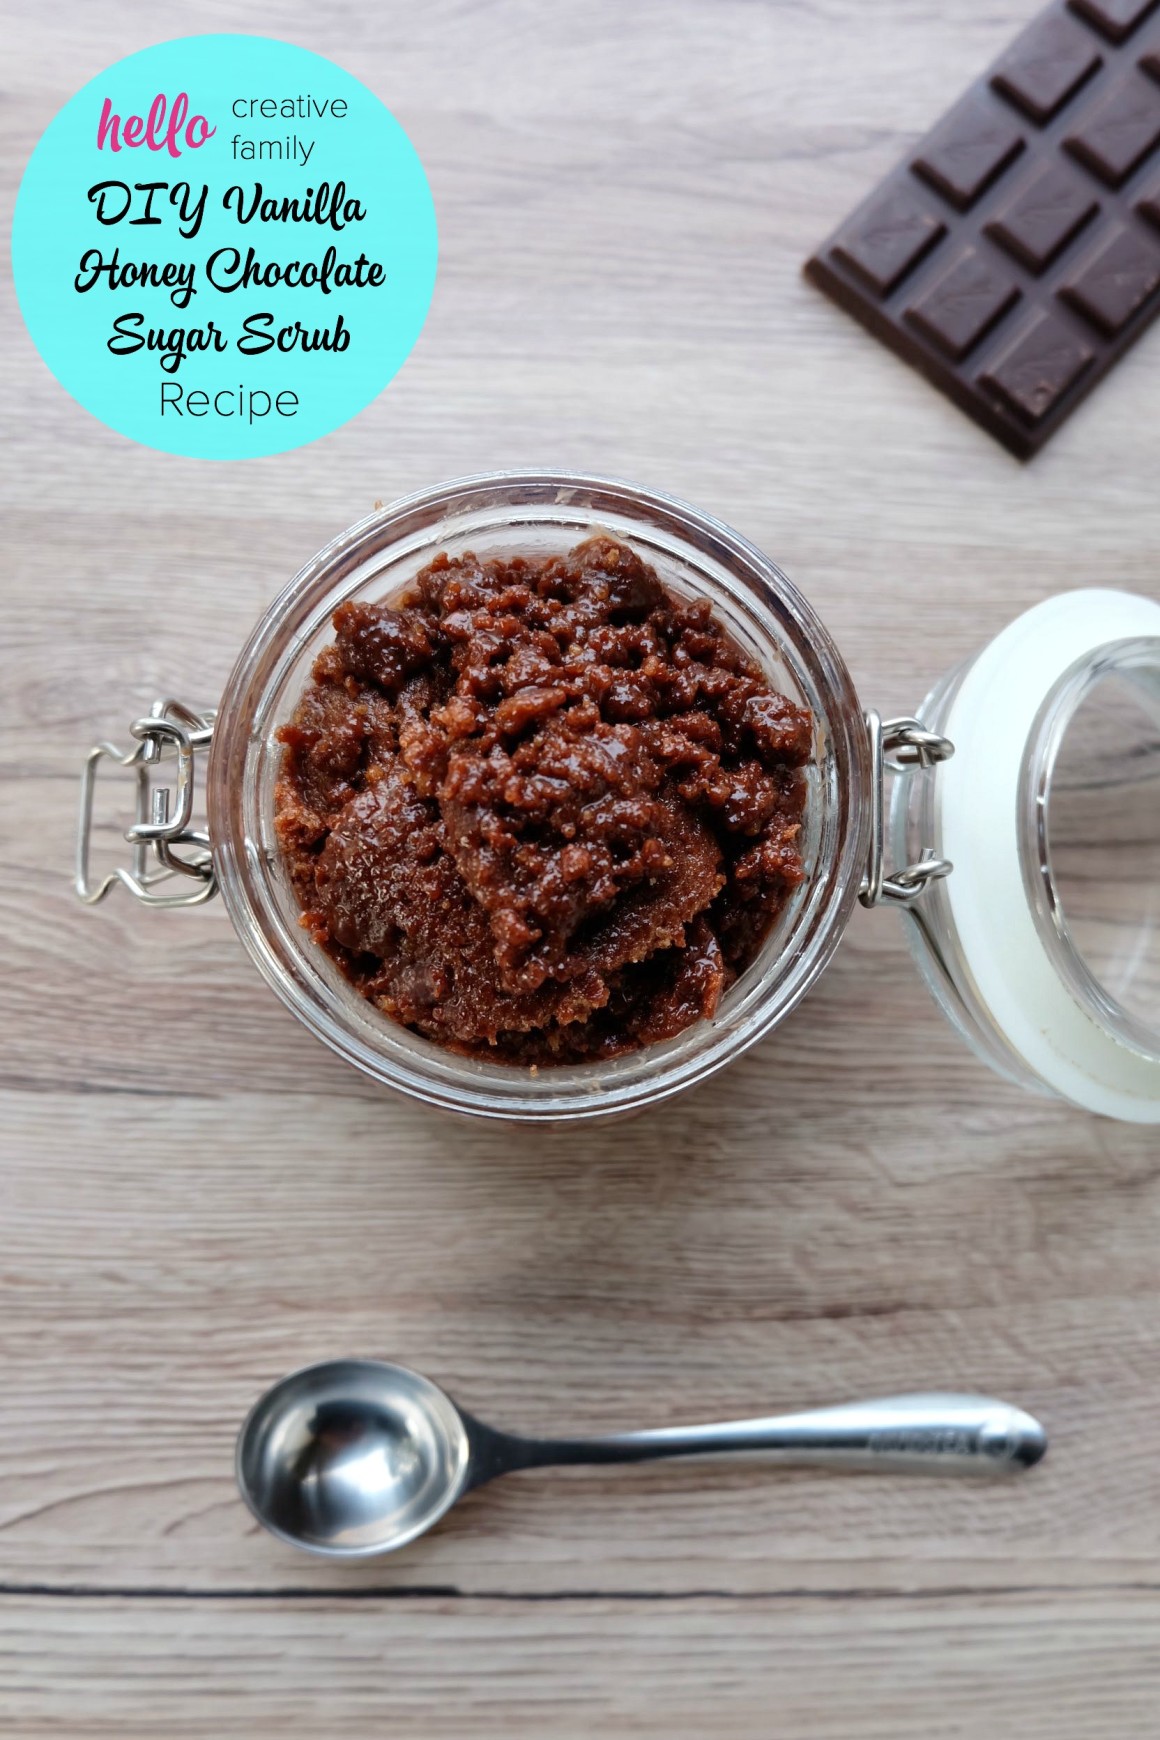
DIY Vanilla Honey Chocolate Body Scrub


A nice crafty project. I like the different shapes and how you have decorated them. These soaps would make a great addition to a gift basket or a stocking stuffer.