


How To Mount a Photo To Canvas Tutorial ($5.00 Gift)
This post and the photos within it may contain Amazon or other affiliate links. If you purchase something through the link, I may receive a small commission at no extra charge to you.
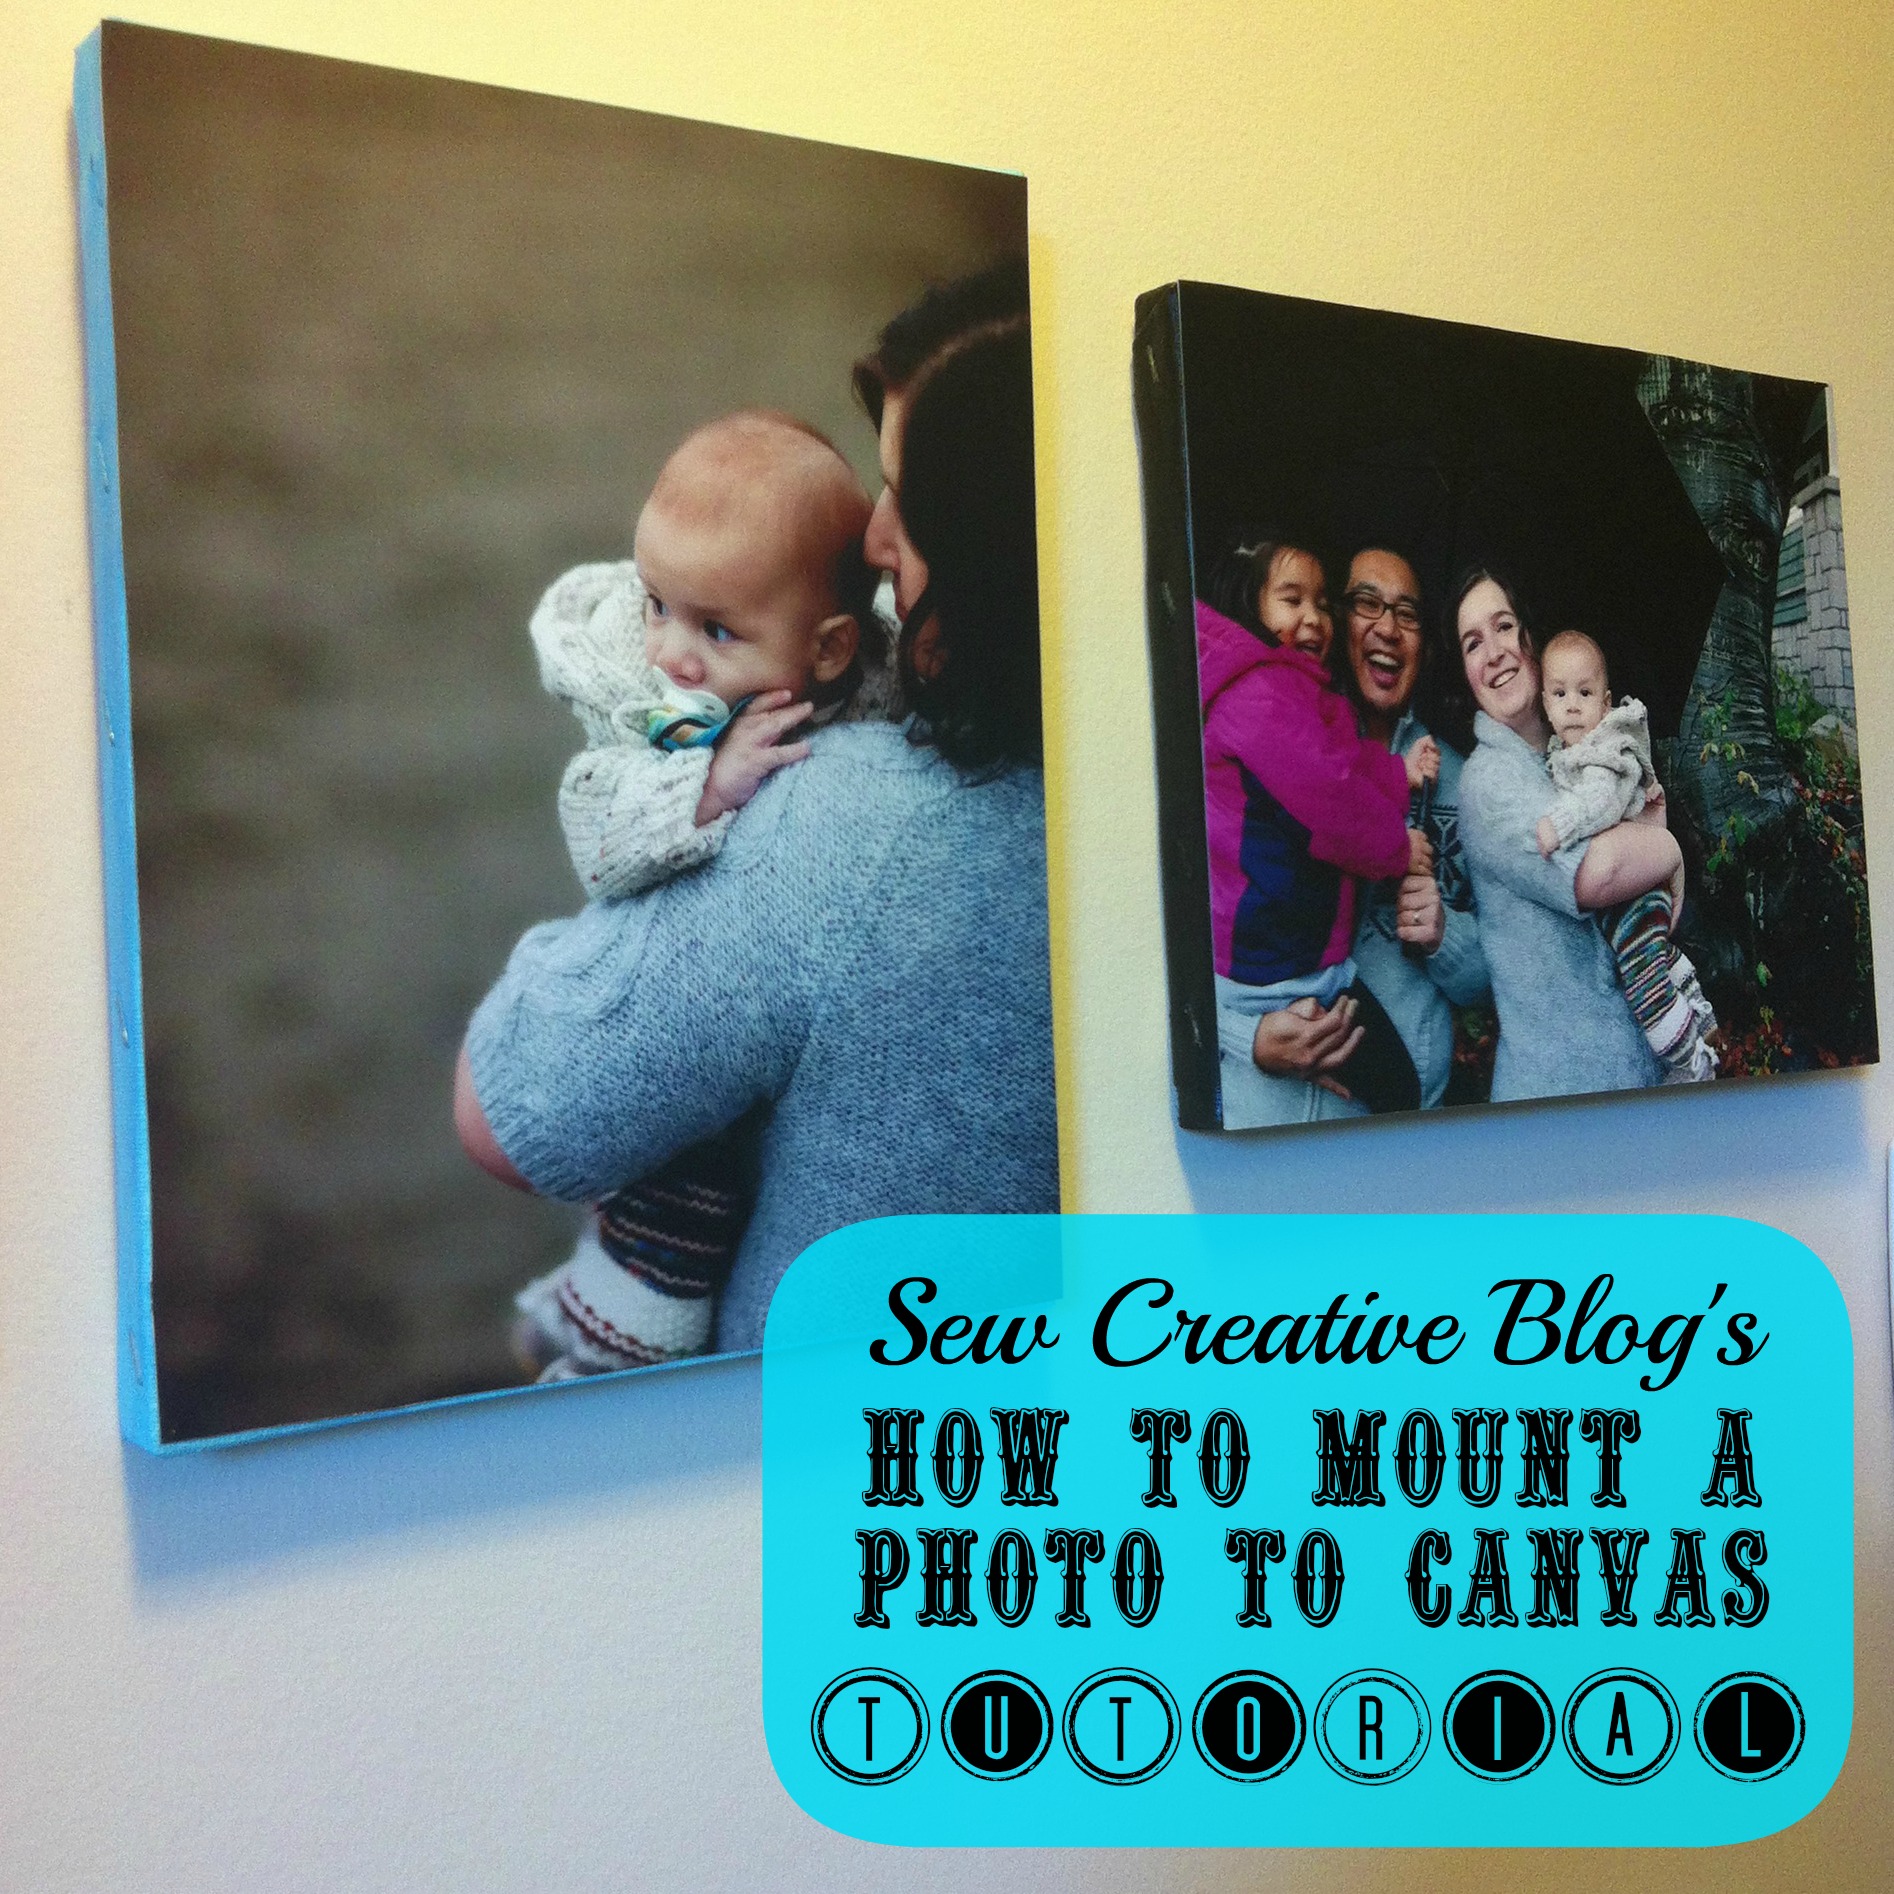
Today I’m sharing with you a tutorial on how to mount a photo to canvas. This is just about the easiest project in the world, it takes 10 minutes from start until you leave it to dry and each photo costs less than $5.00 to make. It’s a heartfelt and inexpensive handmade gift. I love the outcome of this tutorial because you paint mod podge overtop in long, thin strokes which gives the photo a painted effect.
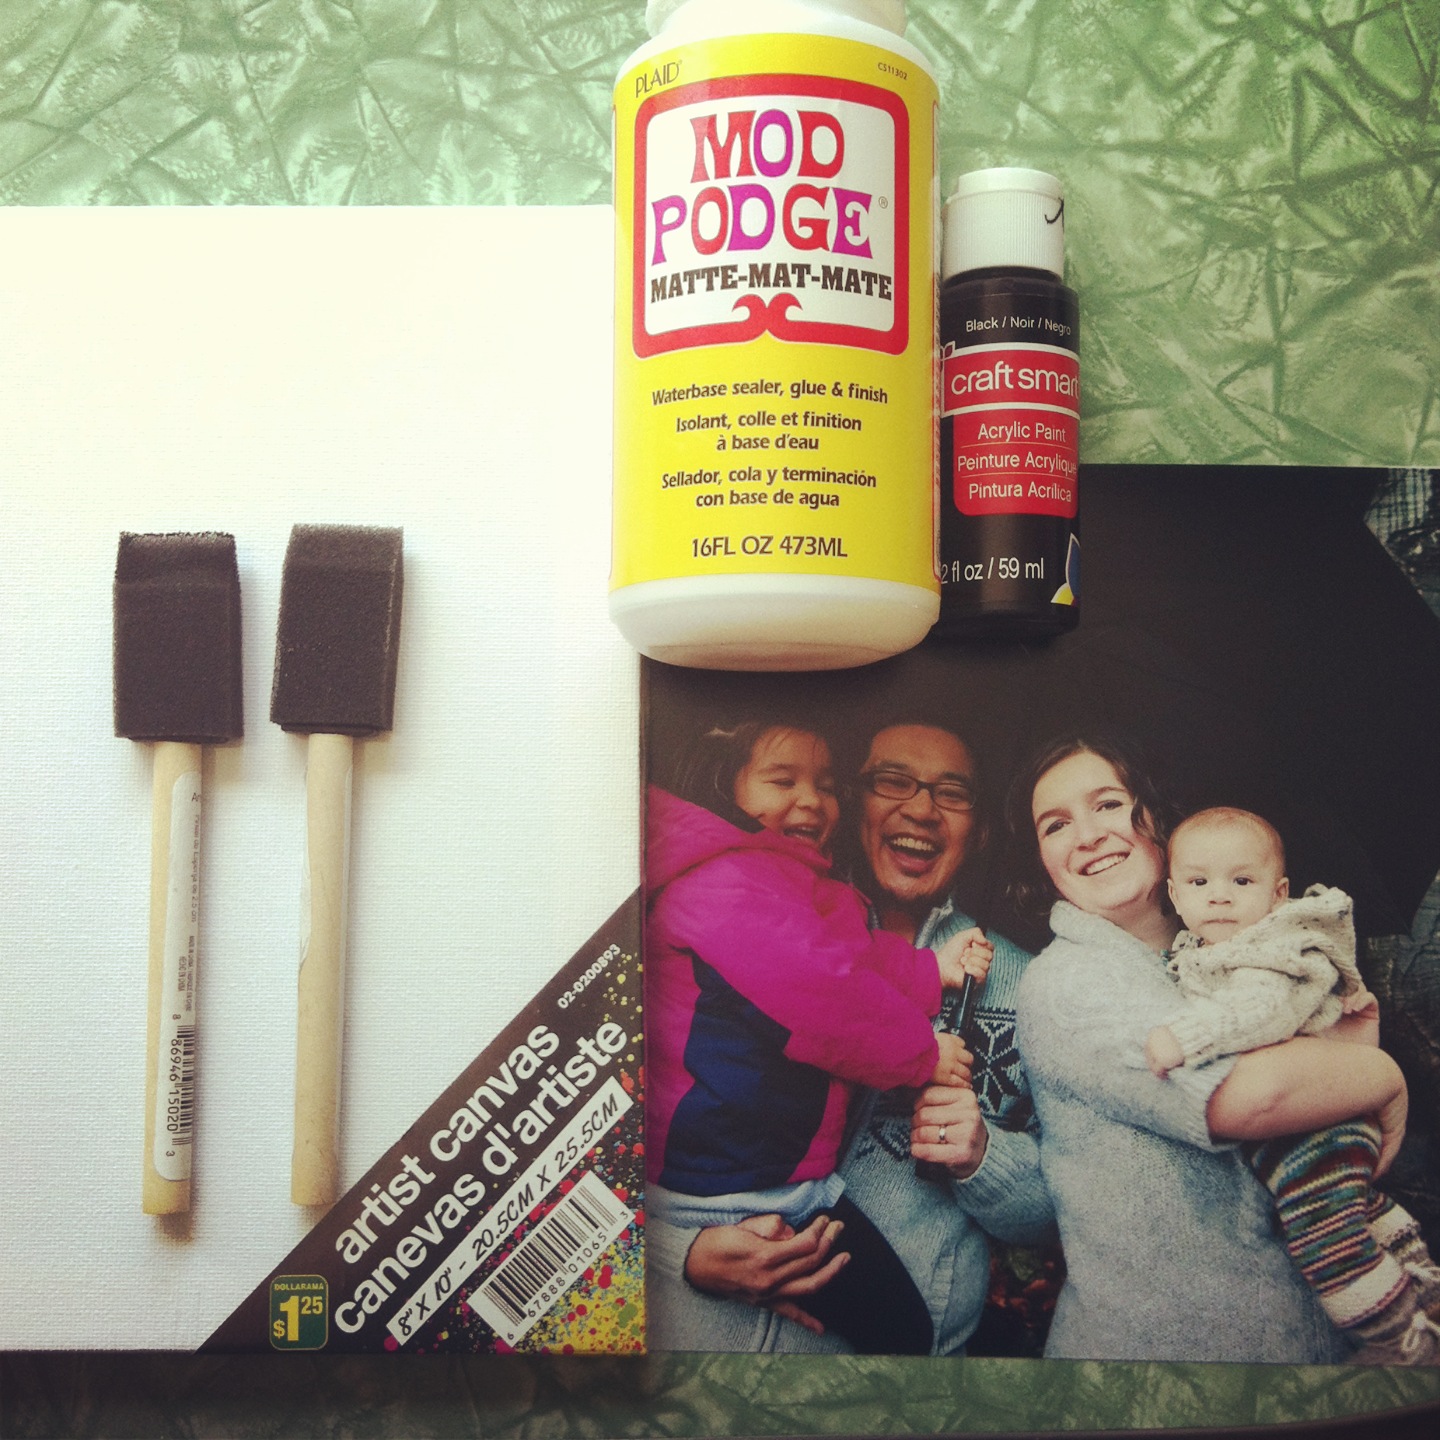
Materials:
- 8X10 photo printed on photo paper. We had them printed at our local photo processing place. (You may need to trim your photo slightly to fit the canvas)
- 8X10 artist canvas (this is a piece of canvas stretched on a wood frame. They sell them at my local dollar store for $1.25 each)
- Foam Brushes
- Mod Podge
- Acrylic Paint
Directions:
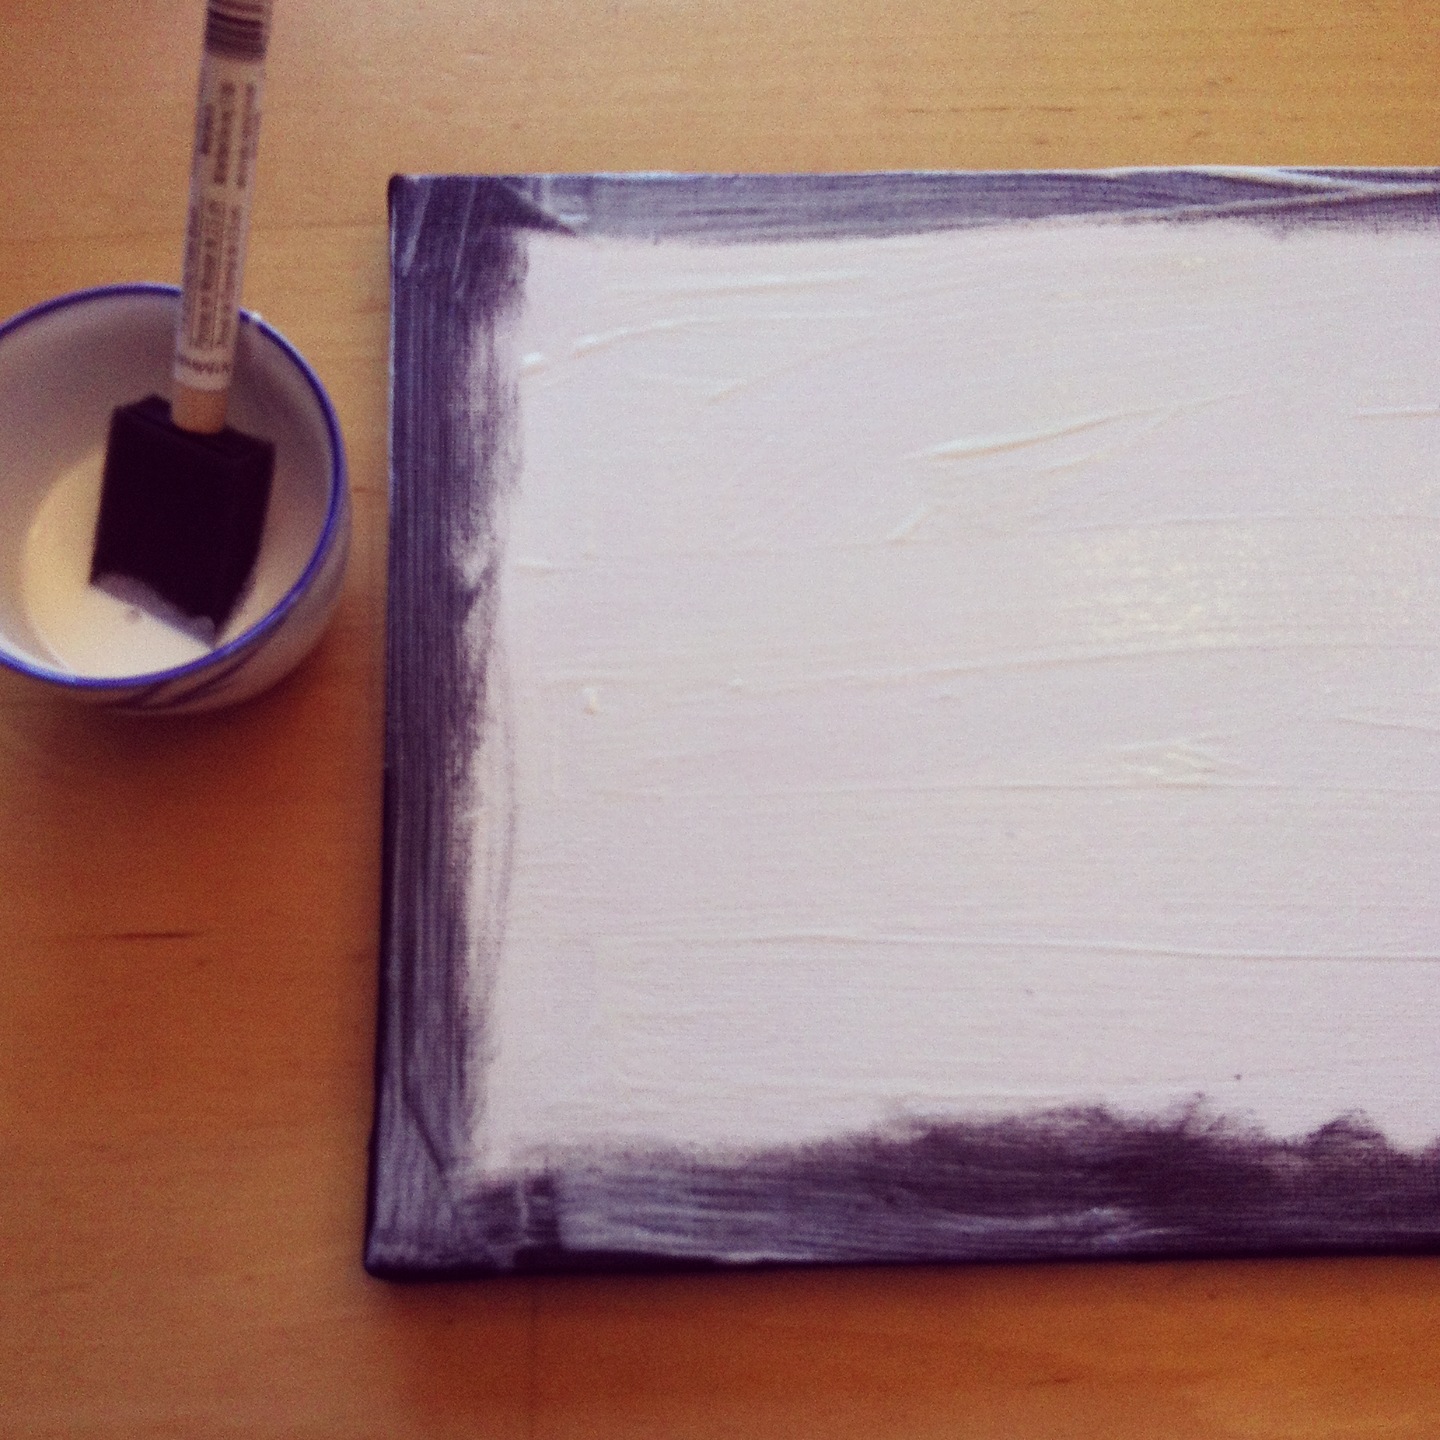
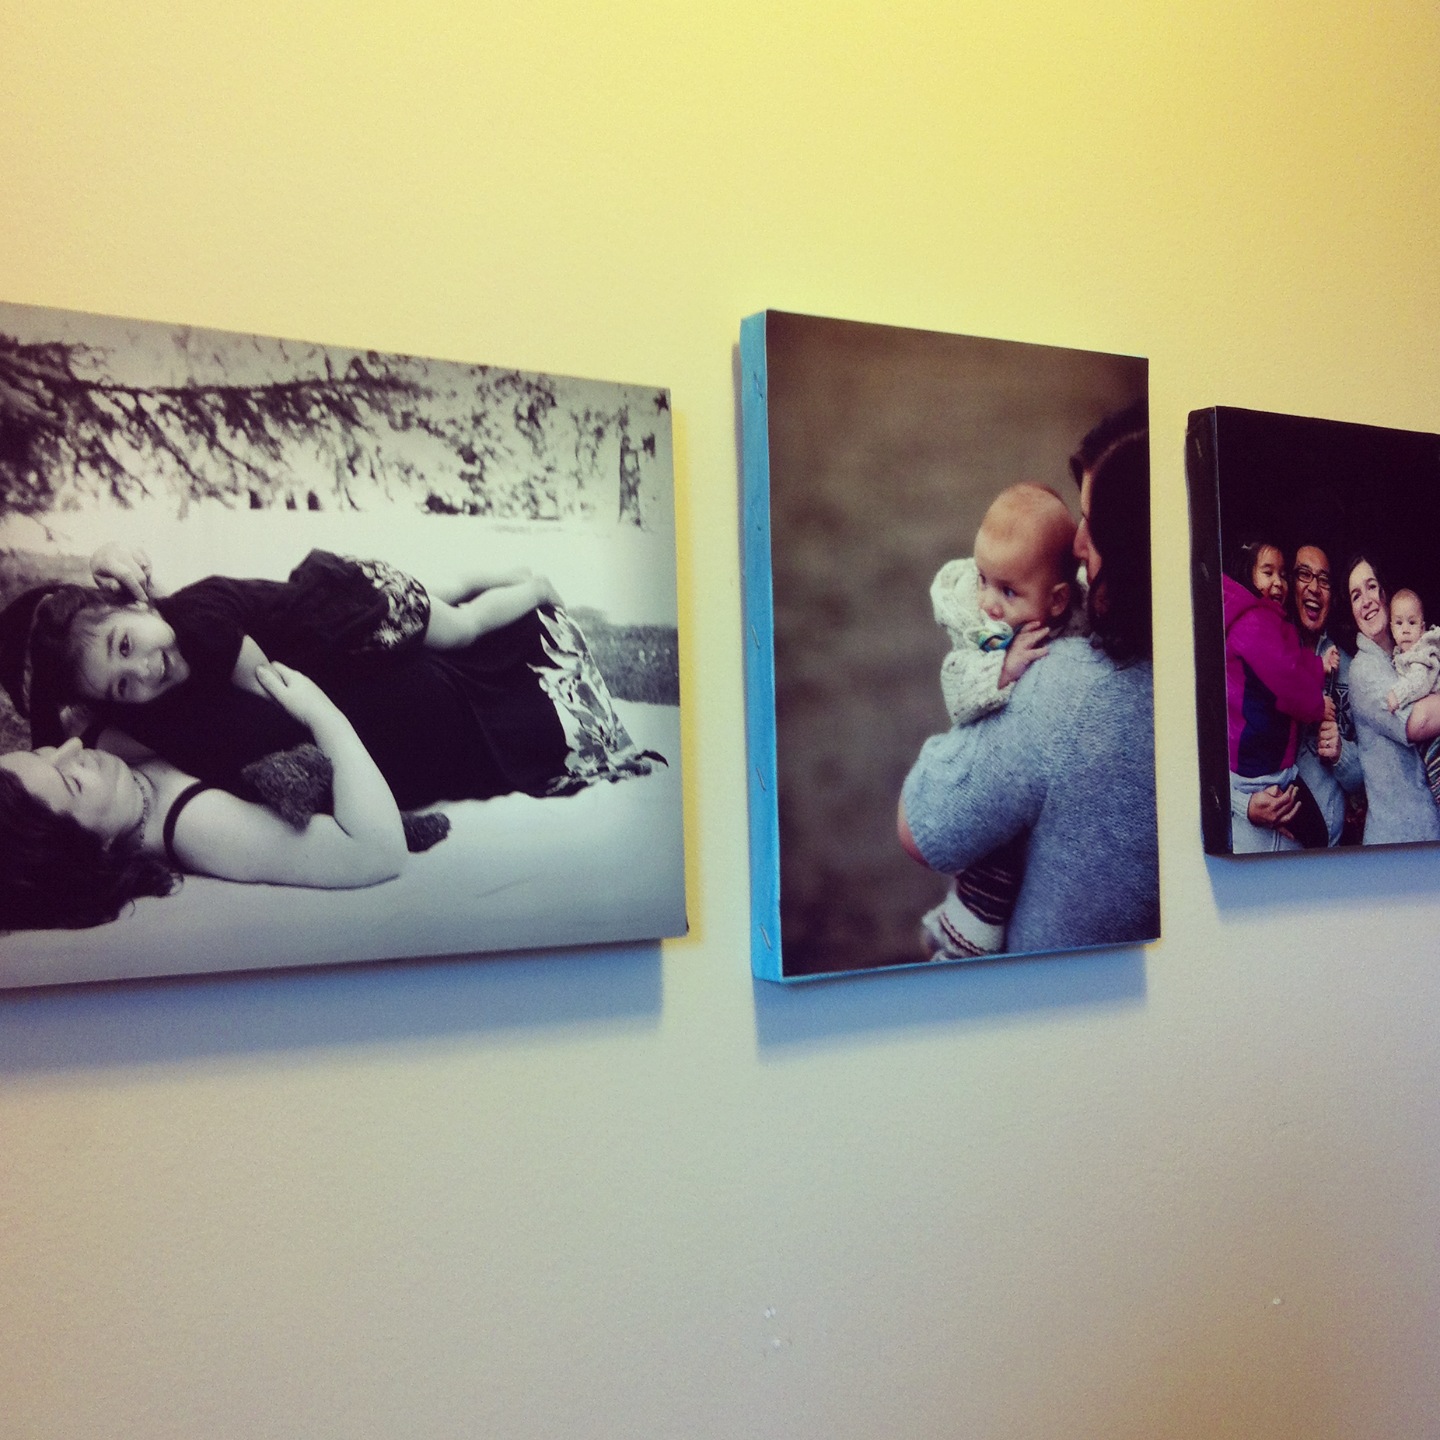
Step 1: Using your foam brush paint around the outside edge of your canvas using acrylic paint in the color of your choice (I used black on one and robin’s egg blue on the other). You may also want to paint a small border on the front of the canvas in case there is any areas where your photo doesn’t quite meet the edge of the canvas. Then no white will show through.
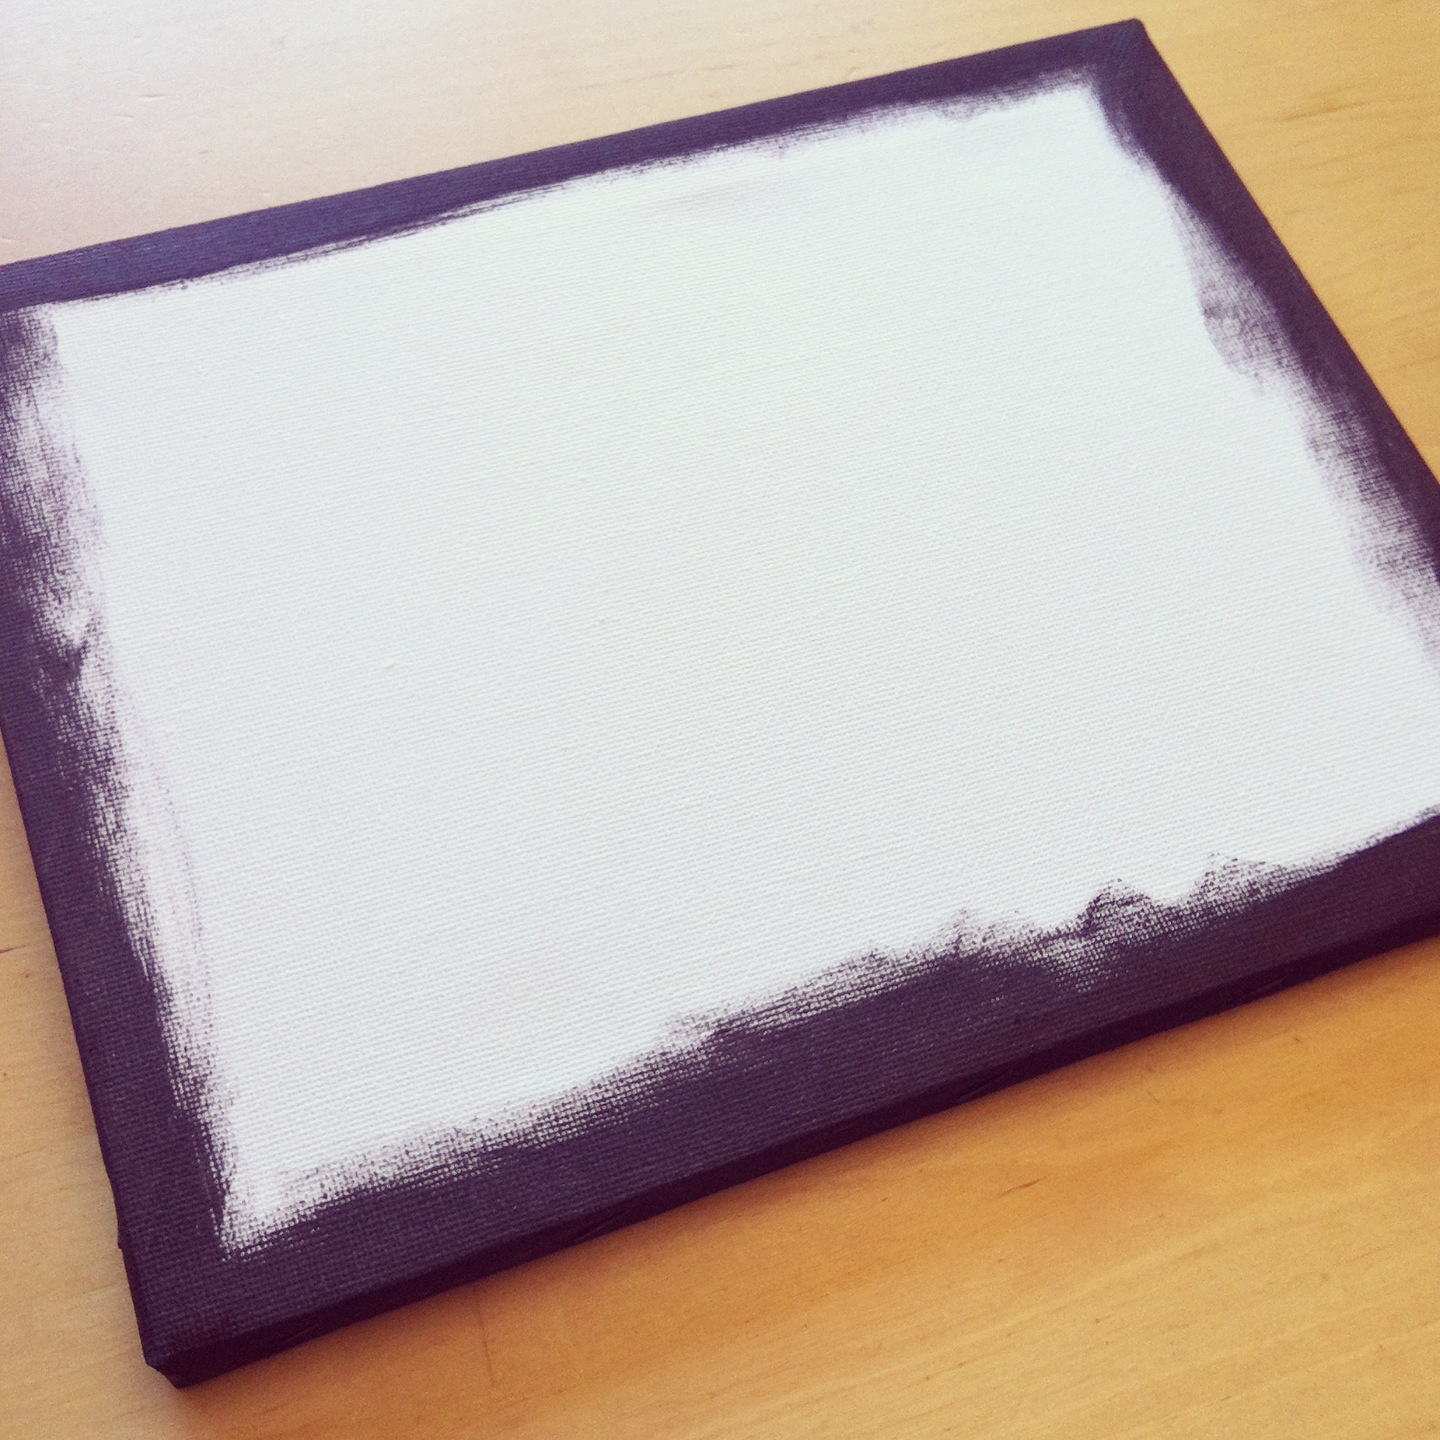
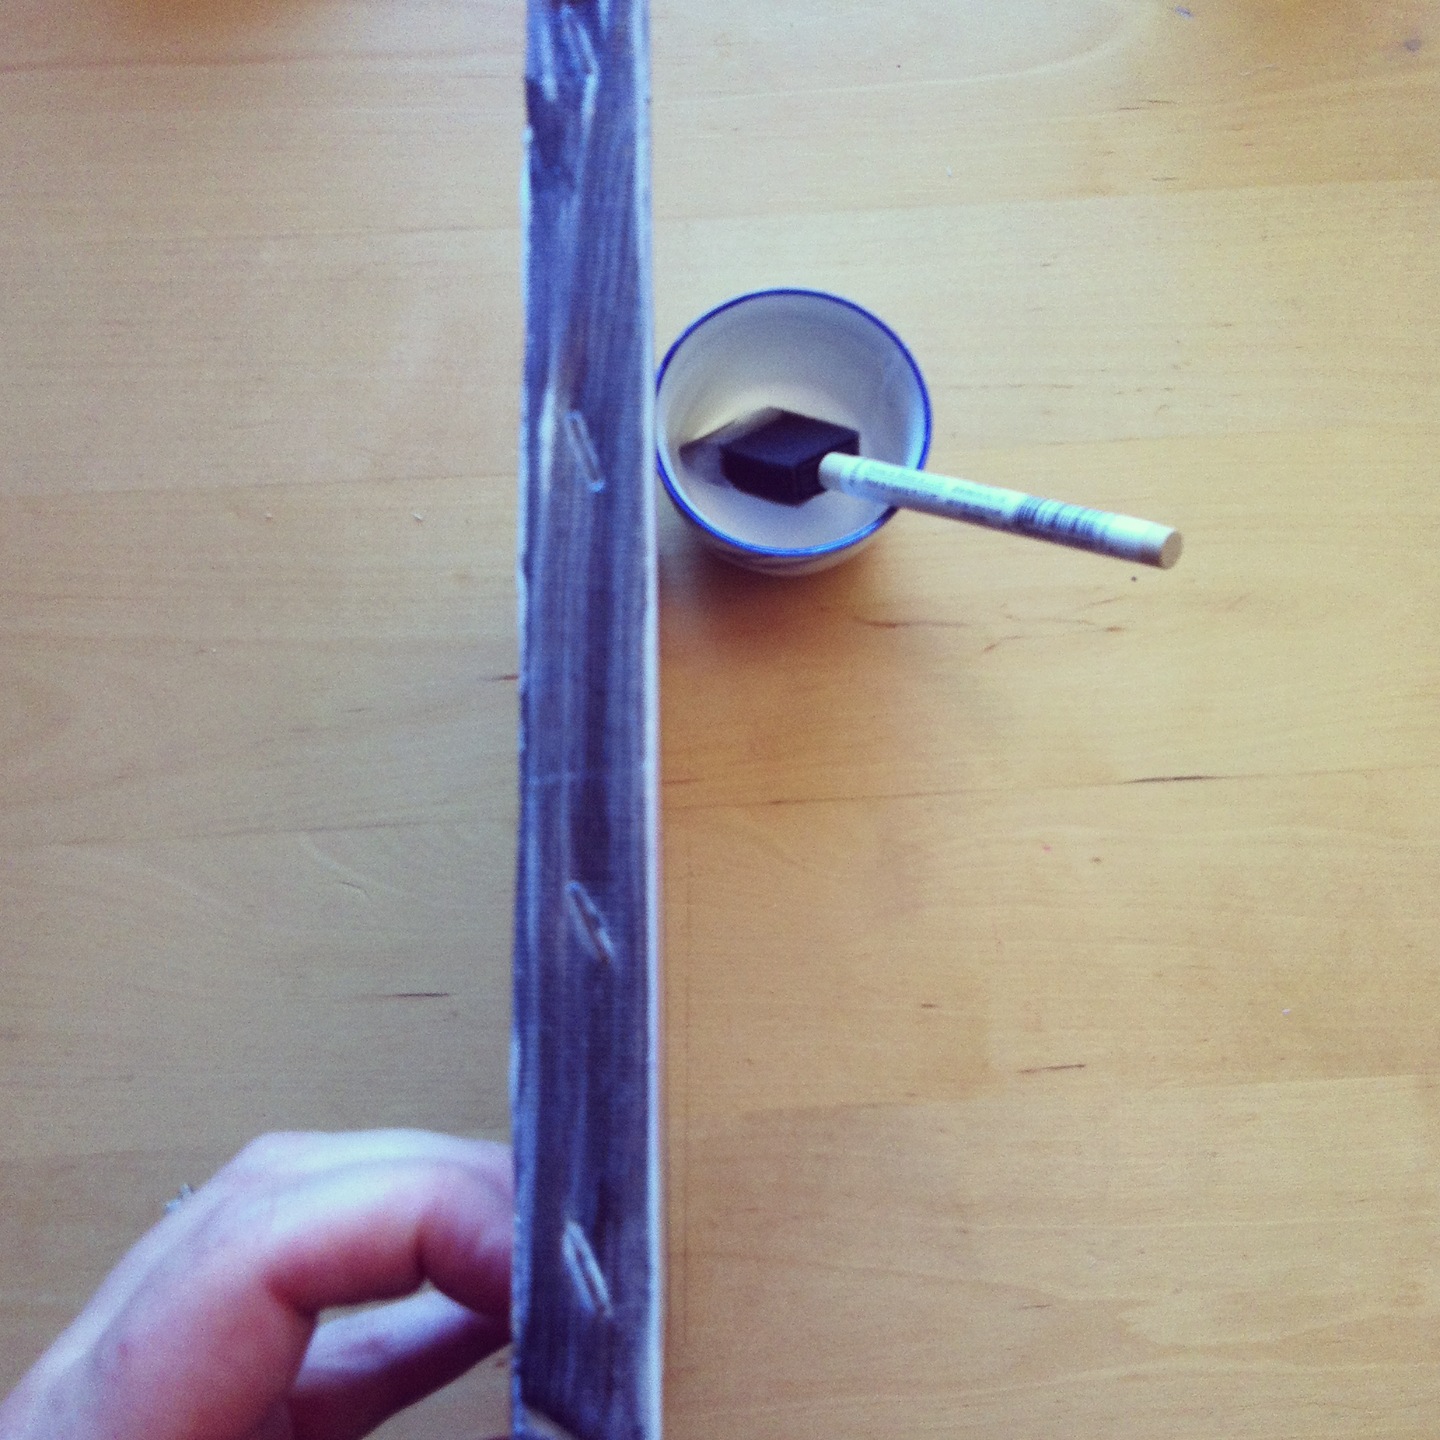
Step 2: Allow to dry for a few minutes and then apply a thin layer of mod podge over the paint along the sides of the canvas. (This step is optional but I think it gives the edges a bit of shine that I like.
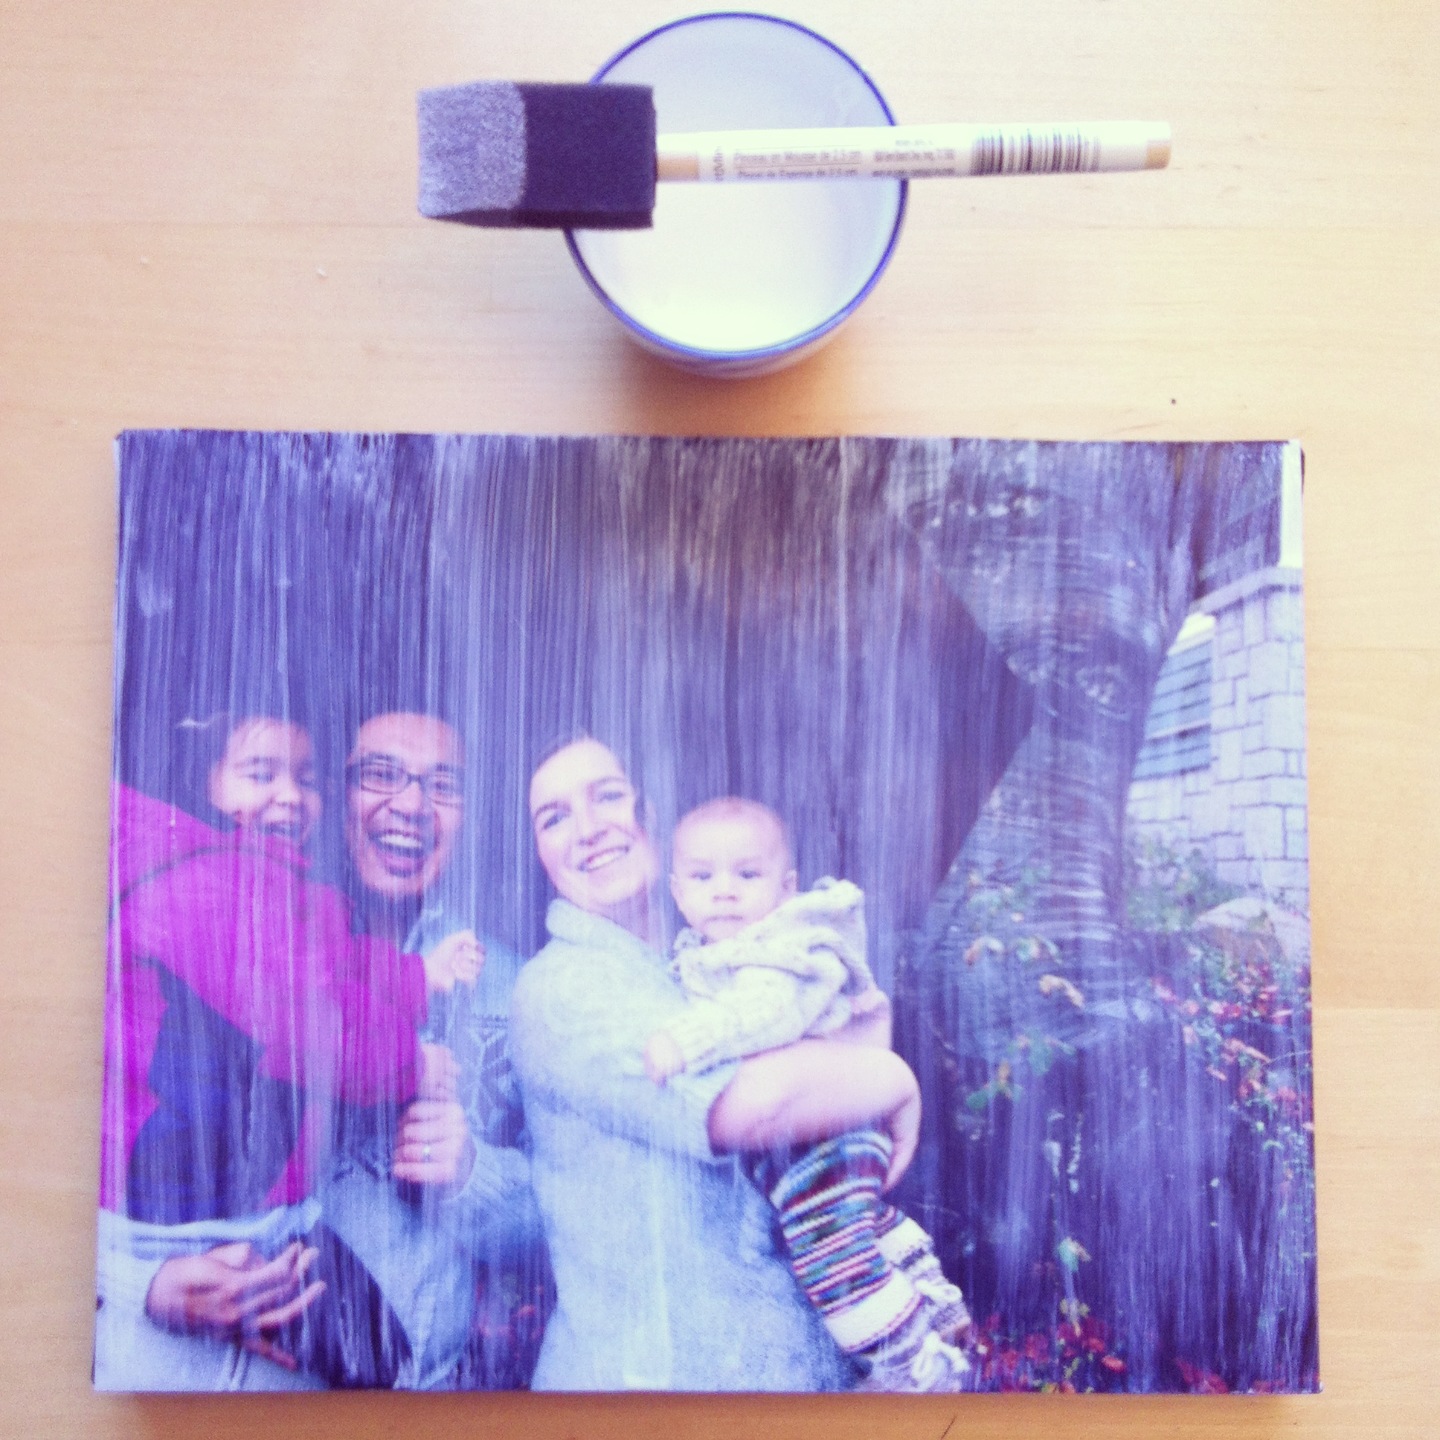
Step 3: Using a second foam brush apply a thick, even layer of mod podge over the entire front of your canvas.
Step 4: Stick your 8X10″ photo onto the canvas that you just covered in mod podge. Press firmly all around the photo making sure there are no air bubbles and that the photo is firmly attached to the canvas.

Step 5: Using your foam brush apply long, thin, even coats of mod podge over the surface of your photo. These strokes are what will give your photo an almost painted or textured appearance once dry. Make sure you pay special attention to the faces in the photo and don’t leave any big smears of mod podge over the faces. You want long, even strokes.
Step 6: Let dry.
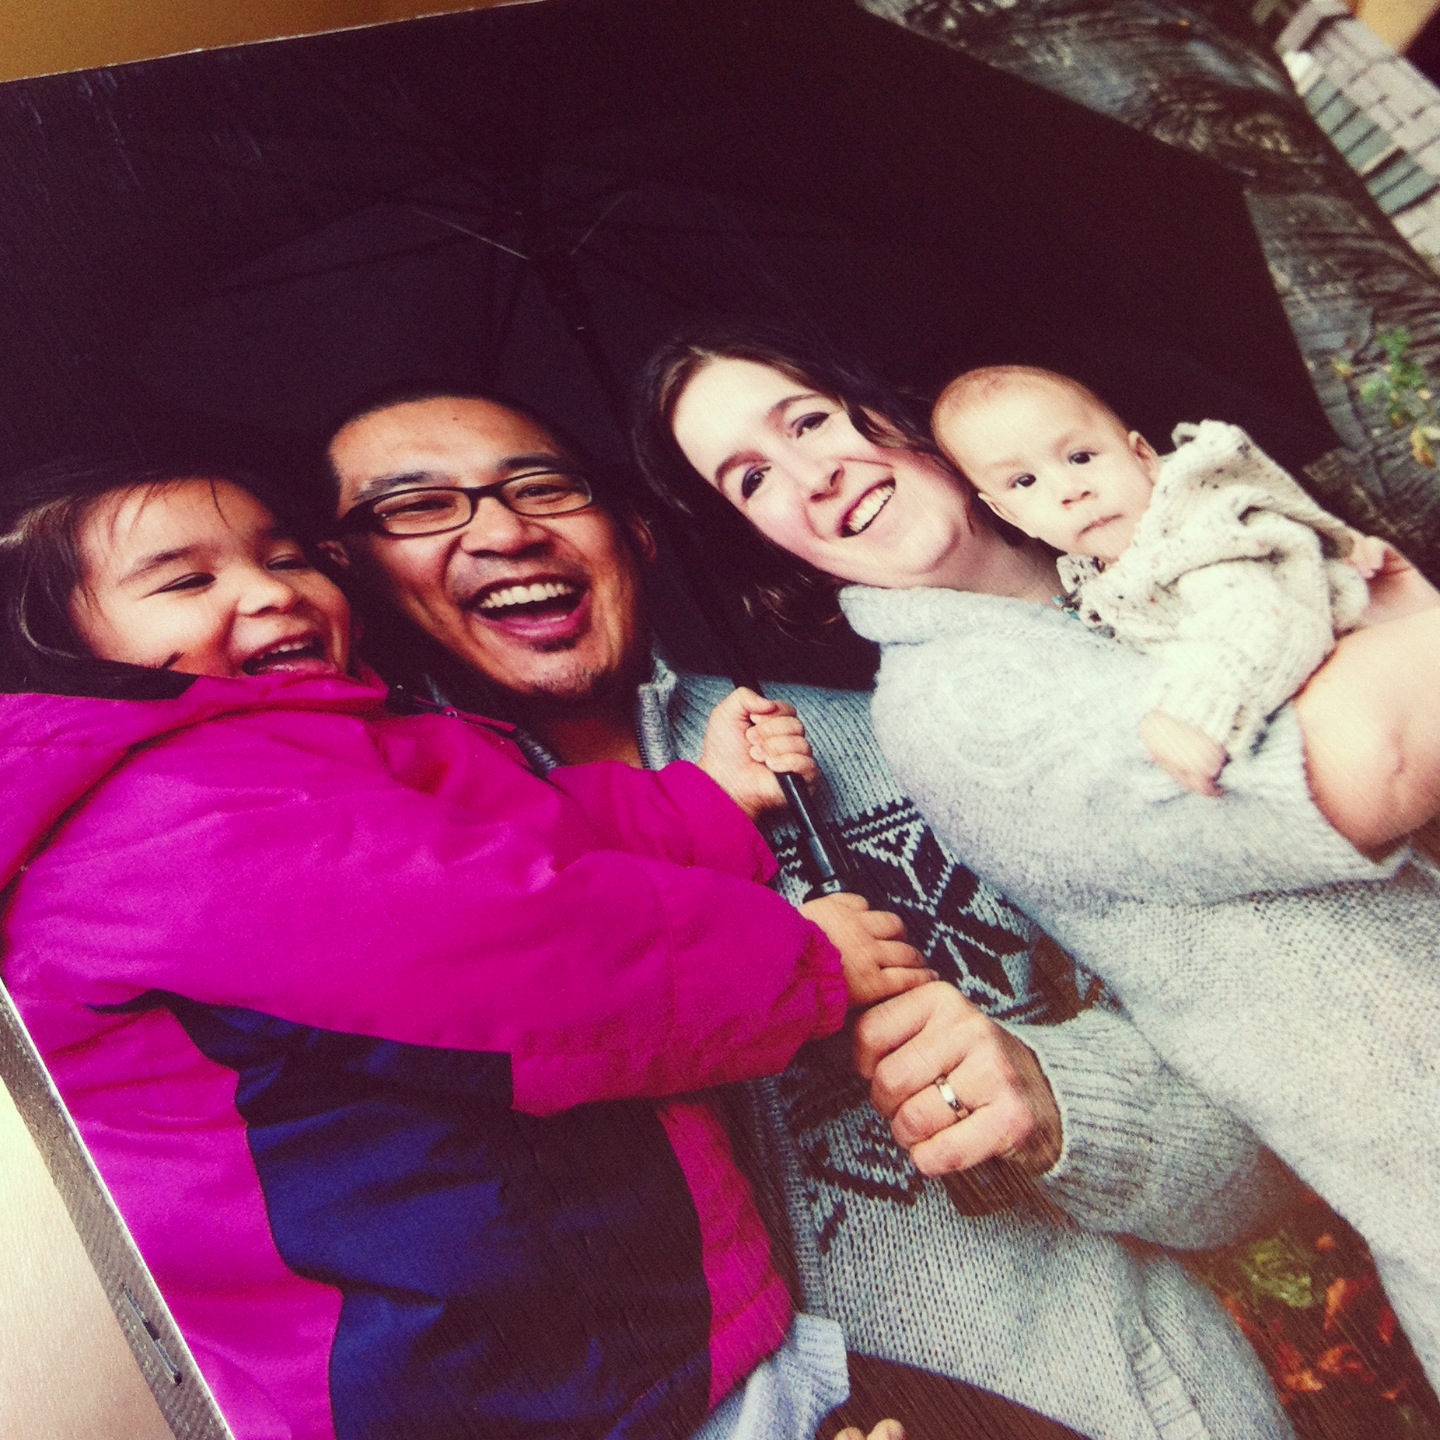
Step 7: Hang (or prop up) and enjoy!
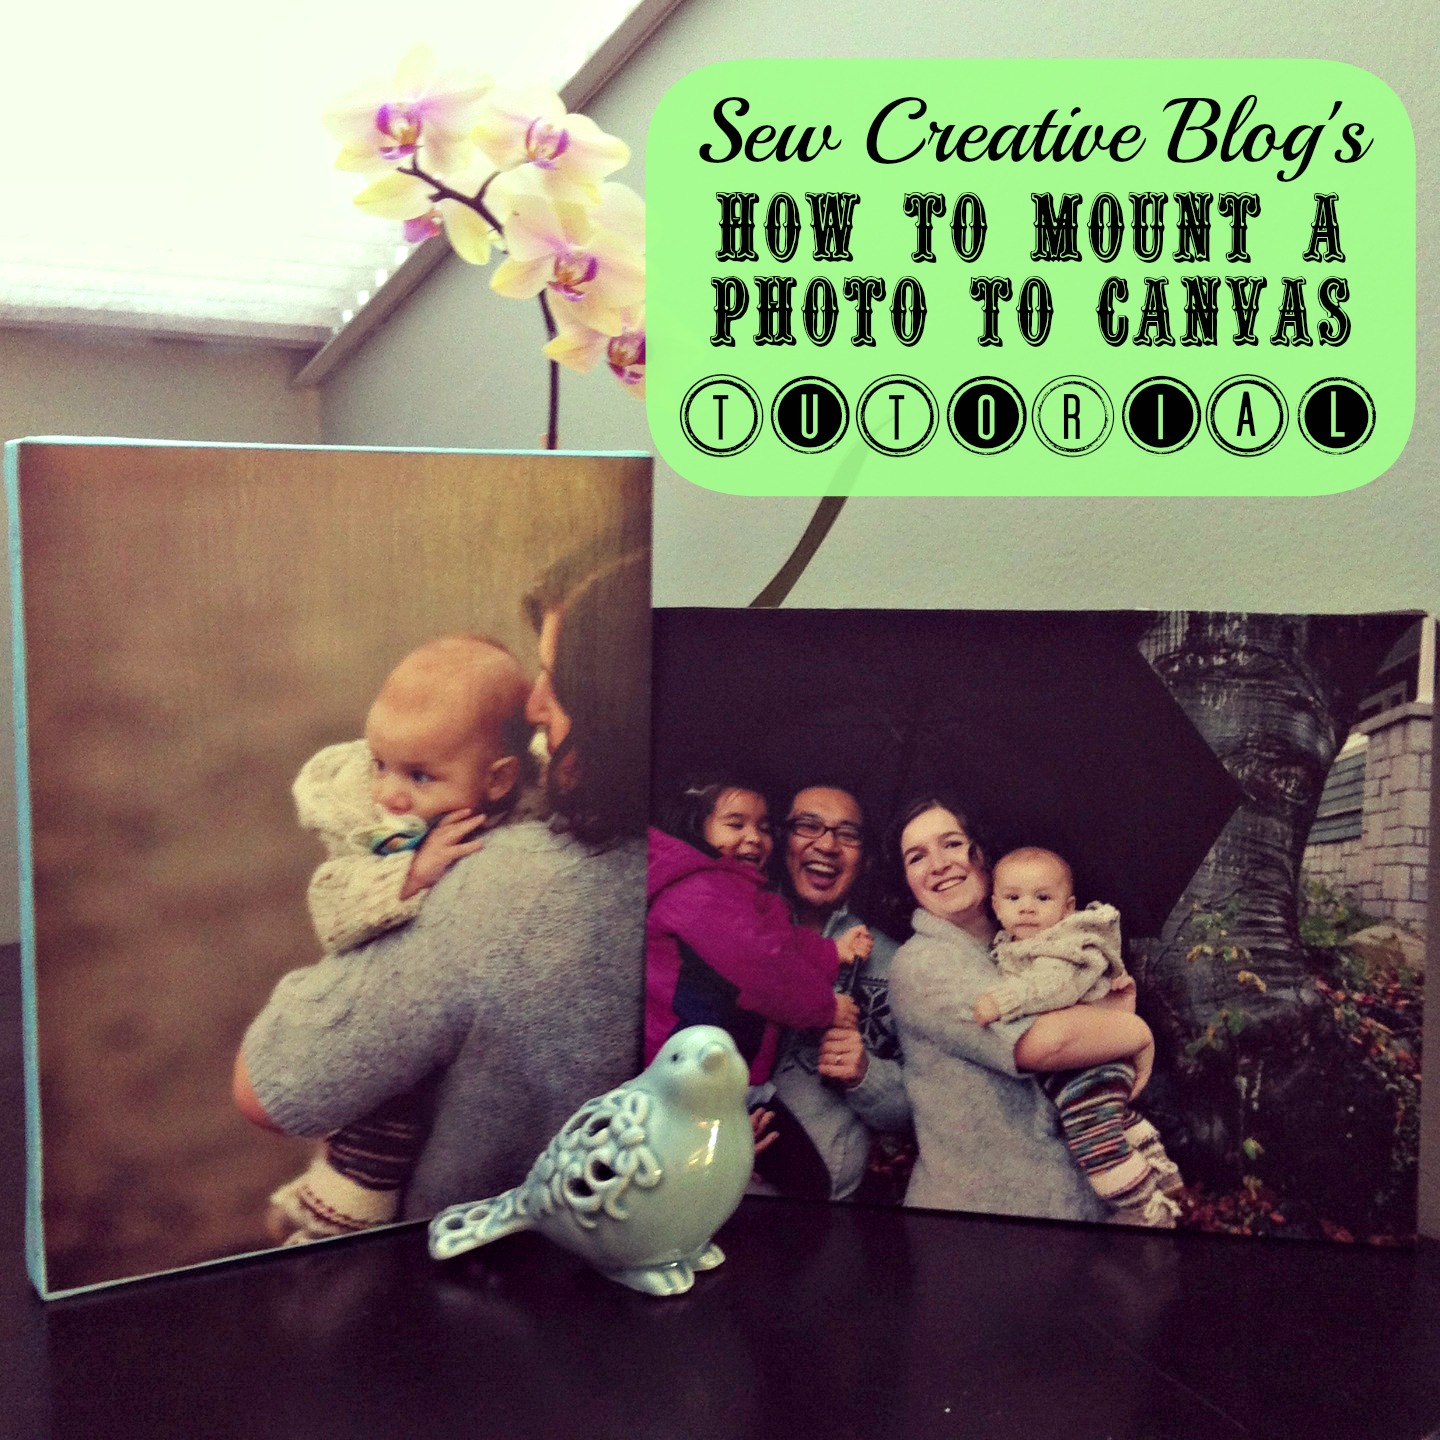
Voila! All done. I could not be happier with the way these turned out. I brought them to a friend’s house over the weekend. The husband looked at them and said “Where did you get these photos dry mounted?” I told him that I did them myself. He said “Wow! I looked into having some photos done like that and they charge around $100 a piece to do them.” When I told him that they took me less than 10 minutes to do and cost less than $5.00 each he was shocked.
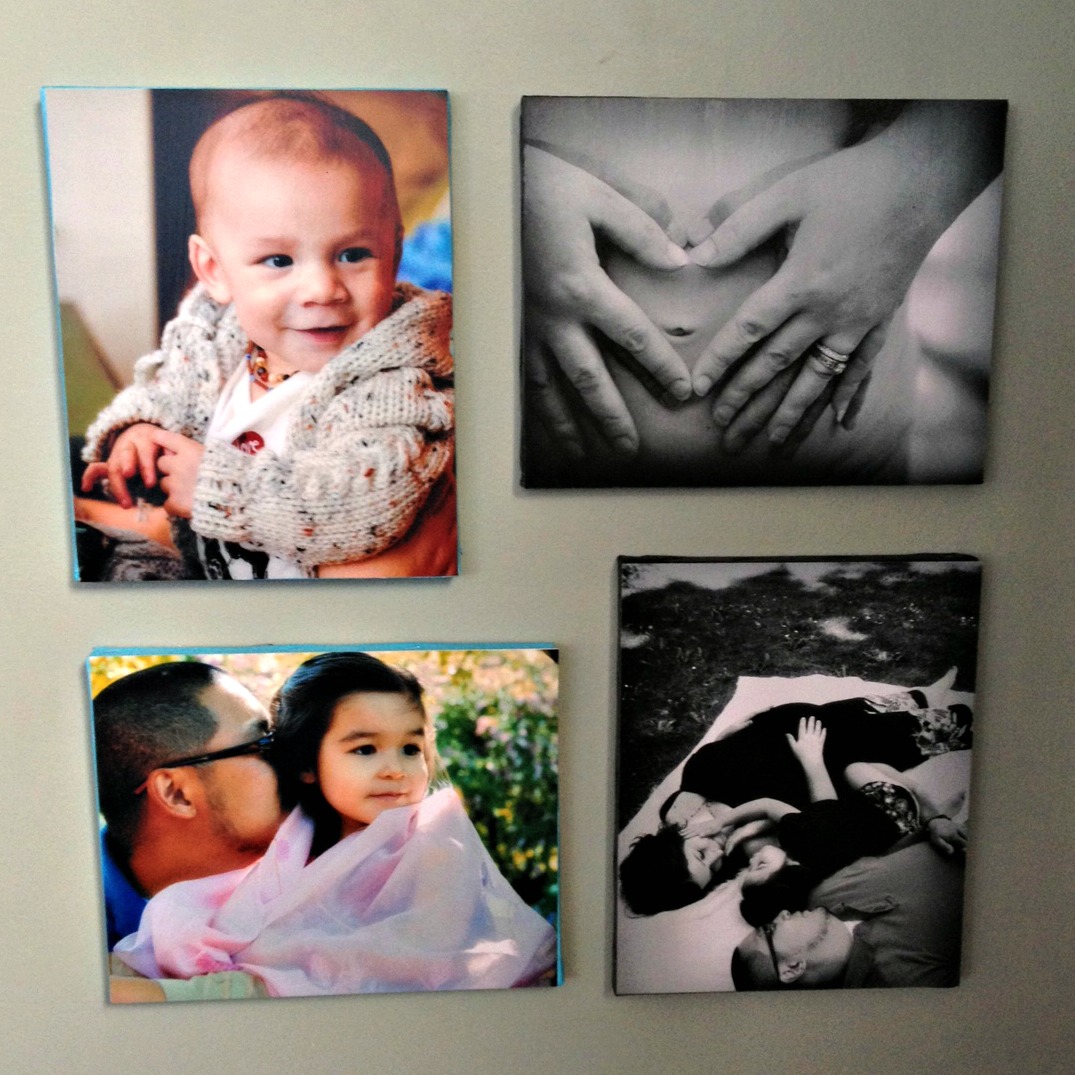
I’m making 8 different canvases right now in total (though I thought of a few more pictures that I want to do as well.) Most of them are photos from our maternity and new family sessions with Zuzu Photography.
If you like this tutorial make sure to check out our Photo to Wood Transfer Tutorial as well!


So easy!
Such a great idea to make a cohesive picture collection!
Love it – thanks for sharing.
Thank you so much Ronnie. I really do love the look of them, they are a little bit different from your usual frame so they catch your eye and they are so inexpensive and fast to make.
Thank you for stopping by.
Best Wishes,
Crystal
when I coated the finished product with mogpog it didn’t dry clear! it remained white… my image is ruined!
Hi Joanne,
Did you let the image dry completely before applying the mod podge? The mod podge itself shouldn’t have made the image appear cloudy (at least I’ve never experienced mod podge drying any way but clear), however I have done this process before and thought that I had all the paper cleared off the image, then when it dried it was still white and I had re-wet it and “sand” it down again. I wonder if that’s what happened?
I would suggest sanding the image off and starting again. Fingers crossed. Let me know if you have any questions.
Best Wishes,
Crystal
This is awesome! I love how it looks. Such a wonderful idea that looks easy enough for even me. 🙂 Thanks for sharing…no, really! Visiting from SITS.
Awwww, thanks Laurie. I’m so glad that you like them. They are VERY easy to make. You’ll have to share pictures if you end up making some.
Best Wishes,
Crystal
These are lovely, I’ve been wanting to do this
What type of paper do you have the pictures printed on?
Hi Katy,
Thank you so much. I have to confess, I’m a bit addicted to making them right now. 🙂 I just have them printed on regular photo paper. I don’t usually print photos at home, I usually get them printed at Costco or Walmart.
Best Wishes,
Crystal
My photo wrinkled a bit. ..do u have any suggestions?
Hi Denise,
Were they professionally printed photos or printed from your computer? I haven’t had one wrinkle on me using ones printed at a photo lab but I tried printing them on my home computer and those wrinkled. If you are using photos from a photo lab, it might be that you are getting bubbles underneath your photo. Try taking a credit card and lightly running it along the top of your photo to push excess mod podge out.
Let me know if that works and thank you so much for visiting.
Best Wishes,
Crystal
Hi, can you pls tell me if you choose regular gloss finish or matte finish on your photos when printing?
Hi Natalie,
Do you mean what do I use gloss finish or matte finish mod podge or are those printer options? I don’t think that my printer has those options when printing. I just print them. 🙂 I think either would be fine. For mod podge I use a matte finish but that’s just personal preference.
Best Wishes,
Crystal
What a great tutorial! I absolutely love the canvas look, and I would love to have more photos done this way, but the cost was always more than I was willing to spend. This is perfect though!
I can’t believe it myself. This is such an excellent work that it is so hard to tell if it was done carefully. Thanks so much for sharing. I’ll try to make this at home if I have time.
Wow! Looks so good and easy, too. Even I can do this.
daisy
This is really a great tutorial, easy to do and very affordable also, you did an admirable work, i have enjoyed this great post, many thanks for sharing..
This is really a great idea to turn a photo onto canvas, i was looking for such idea, many thanks for sharing this great post..
I just love this idea! Great tutorial as well!
Love this!!!!
Thank you Julie!
I work at an adult community center and have Wednesday craft day. I’ve been looking for something to have for the ladies to do and I think this may be just the ticket! I’m going to make a couple to show them and let them take off from there. Thank you so much for the inspiration!
Hi Amy,
I would love for you to come back and tell me how the craft project went. I hope everyone likes it. 🙂 Take pictures of them doing the craft… and then you can mount them to canvas. 😉
Best Wishes,
Crystal
Just a suggestion – for just a few dollars more, you can shop at Michael’s or Hobby Lobby ( or similar ) and catch better canvas on sale. When they have a “half off” sale ( or you get a Michael’s 40% off coupon on your phone or from their website) you can get canvas like these for about $2.50 each – but without the staples in the side. They are “back stapled” and the staples are hidden. Just a thought. 🙂 Nice step by step! Thanks!
Thank you so much for the suggestions. I’m in Canada and we don’t have Hobby Lobby and the canvases are really expensive at Michaels but I completely agree… If you have ones without staples available for a good price point… or even if you just want to spend a bit extra to not have staples it’s worth looking further than the dollar store.
Best Wishes,
Crystal
There is a product I picked up today from the dollar tree.. it’s to use for puzzles to secure them to mount o. The wall etc. Would it work?
Hi Lysandra,
Thank you so much for visiting. Based on what you are describing it sounds like it would work! Give it a try and let me know if it turns out!
Best Wishes,
Crystal
This is PERFECT!!
Thank you Cari. 🙂
These look fantastic and the tutorial is great! My family just moved into a new house and I’m dying to try something different to decorate. I was curious though, what are the pictures printed on? Are the photos printed at the store on photo paper, or do I have to print the pictures at home on regular computer paper?
Hi Mallory,
Thank you so much for visiting. They are printed on photo paper. I tried making them using regular printer paper and the paper crinkled up. It might work if you printed on cardstock. I will update the post to suggest printing on photo paper. Thank you for the catch.
Best Wishes,
Crystal
great idea and thanks for sharing – are the photos printed on matt or gloss finish?
Hi Connie,
I had them printed with a matte finish and used a matte finish mod podge on them. I think they would look great with a gloss finish and gloss mod podge as well though. Up to personal preference. If you try gloss I’d love to hear how it goes. Even if you try matte I’d love to hear how you found the project. 🙂
Thanks for visiting!
Crystal
Was in such a hurry to do this that I bought the glossy Mod Podge. It turned out great, but I’m a little anal and I’m worried about the glare when it’s done on the walls. I did this as a baby shower gift for my brother and his wife, and did it on 16×20 canvases. It’s definitely as easy as you said it was and thank you!
Hi Courtney. I’m so happy to hear that it worked well for you. If you end up wanting to give it a matte coat I’m sure that you could add a coat of matte mod podge over the layer of glossy you already have. Thanks so much for letting me know you tried it! I hope your brother and his wife love them.
Best Wishes,
Crystal
Those are gorgeous – great photos, and the mounting looks professional!
I put photos on cheap ceramic tioles. I make COASTERS
Thank you so much! I’m a seriously broke student and was hoping to do something like this for xmas pressies… everybody’s getting these this year!! I’ve seen a few different tutorials online but this is by far the simplest explanation of how to do it! A friend of mine tried it but she said her pictures came out as a mirror image on the canvas? Did she just see a different tutorial or are there different ways of doing it?
Thanks again!
Sarah
Hi Sarah,
I’m so happy you are using these for Christmas presents. I’d love to hear how they turn out. If you are in the US one other commenter said that you can get canvas without the staples on the side at Holly Hobbie for just a bit more money.
Your friend was probably transferring the photo to canvas or wood and didn’t print her image in reverse so was getting a mirror image. Since you are mounting the photo, face side up, there is not need to worry about printing in reverse.
Thank you so much for visiting!
Crystal
Have you tried to use an actual photo or does it just work better with a printed photo on paper?
Hi Megan,
It has to be a real photo for this (aka printed on photo paper instead of on regular paper). I tried using a photo printed on paper for this but it gets all crinkly. Not a good look. 🙂
Best Wishes,
Crystal