


DIY Smores Cart Made With The Cricut Joy
This post and the photos within it may contain Amazon or other affiliate links. If you purchase something through the link, I may receive a small commission at no extra charge to you.

Love Smores? Learn how to use your Cricut to make a gorgeous DIY Smores Cart that’s perfect for spring and summer campfires as well as fall and winter bonfires with this fun and easy craft tutorial! This rolling cart is filled with all the goodies you need to have an epic campfire dessert!

Disclosure: Thank you to Cricut for working with us on this sponsored post. As with every article on Hello Creative Family all thoughts and opinions are 100% my own.
Hi Crafty Friends! Today I’m sharing with you one of my very favorite Cricut projects that I have ever made! This one is SO MUCH FUN and I know that you are going to love it! Today we are making a DIY Smores Cart using my Cricut Joy!
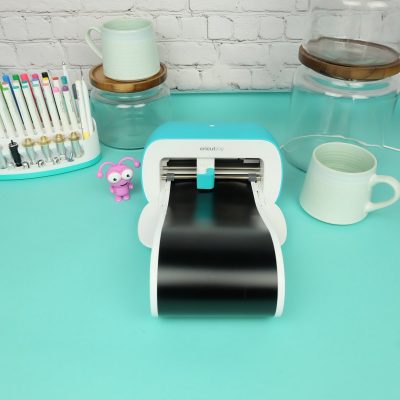
I love my Cricut Joy because it makes crafting anywhere a breeze! The Cricut Joy is Cricut’s mini but mighty cutting machine that makes crafting on the go easy– whether that means out and about crafting with friends, or in any room of your home!
Don’t let its small size fool you though! This little machine packs quite a crafting punch! It measures just 8 inches wide, 4 inches deep and 4 inches tall, but with it’s mat free cutting technology using Smart Materials you are able to cut a design that is 4 feet long, repeated up to 5 times for a total cutting area of up to 20 feet!
You can find Cricut Joy Smart Vinyl, Smart Iron-On and Smart Infusible Ink here.
September in Vancouver is an odd beast. One day it’s hot, hot, hot and the kids are begging you to take them to the beach and have ice cream for dinner, and then the next day serves up serious autumn vibes and everyone is cuddled up wearing their favorite cardigans and craving fall comfort food.
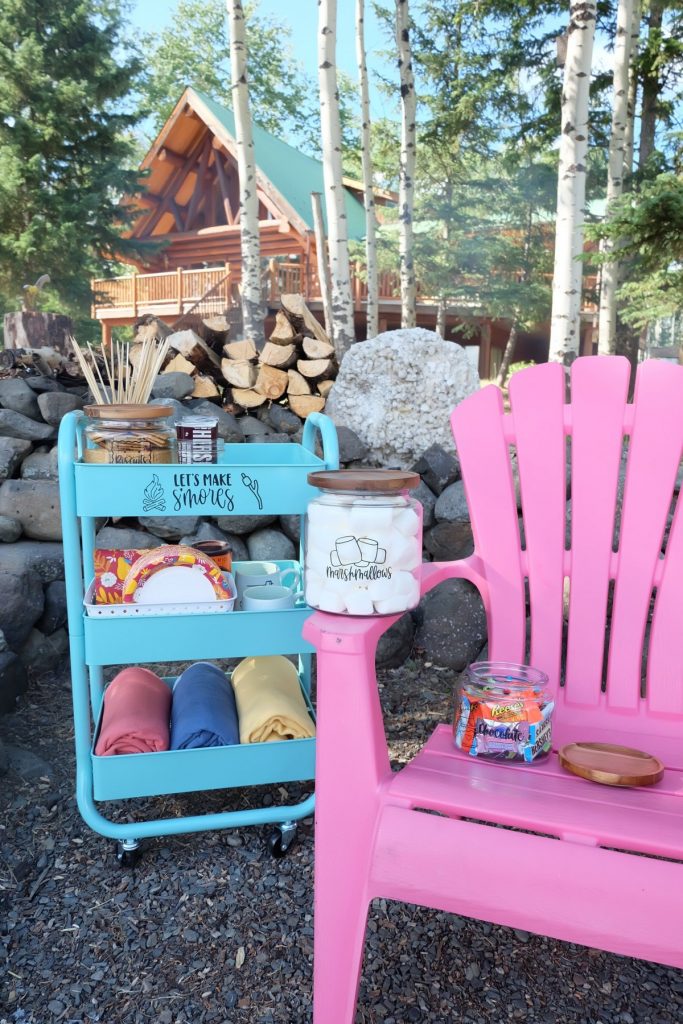
So far this month the weather has been flipping back and forth from summer, to autumn, to summer to autumn again! So I decided to make a project that can be used in both warm weather and hot!
Smores Cart!
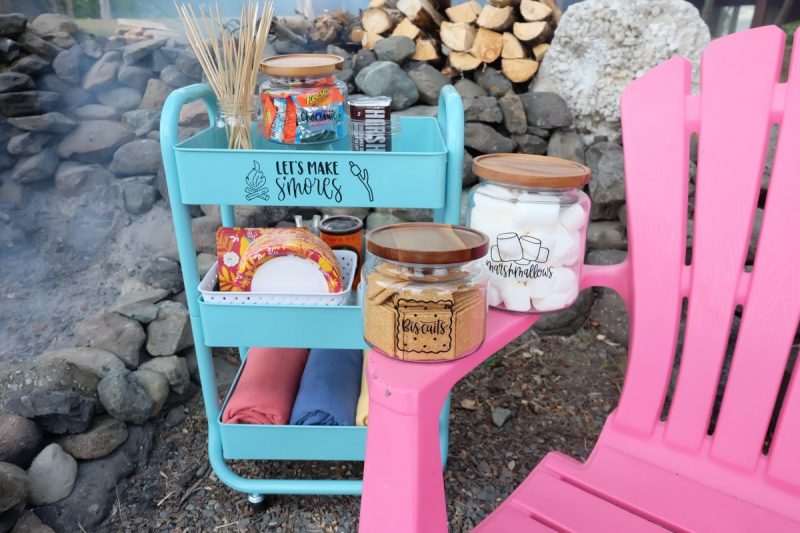
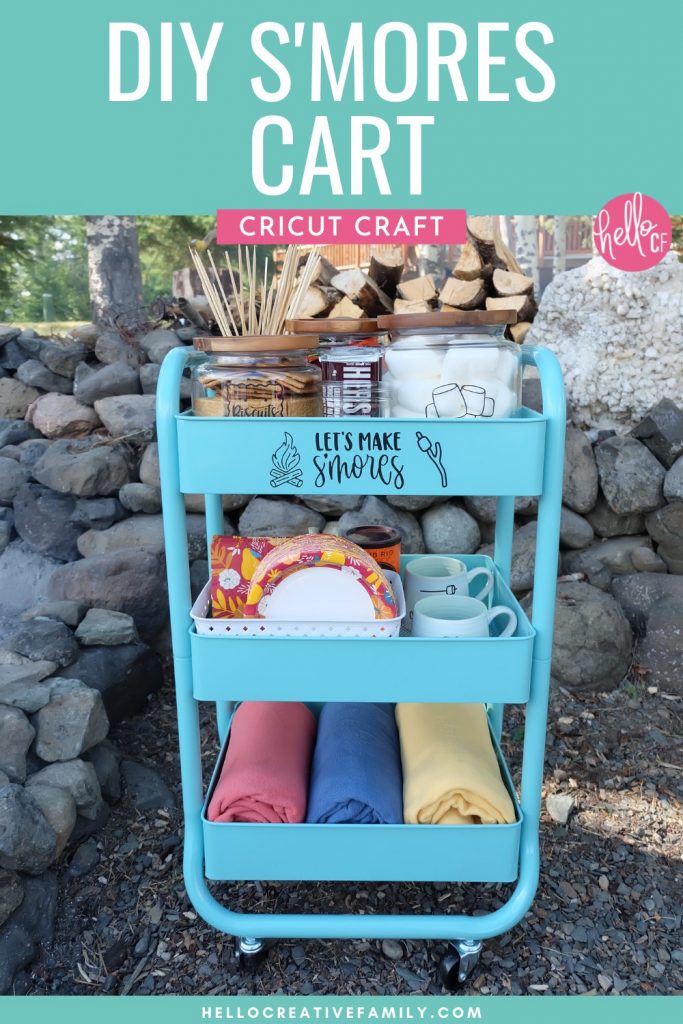
You know those gorgeous rolling craft carts that are all the rage with crafters? Well I’ve been wanting one for years, but I have absolutely no room in my craft room for it. I knew that I needed one in my life though so I decided to dream up alternative ways to use it and that’s when the idea of a Smores Cart came to me!
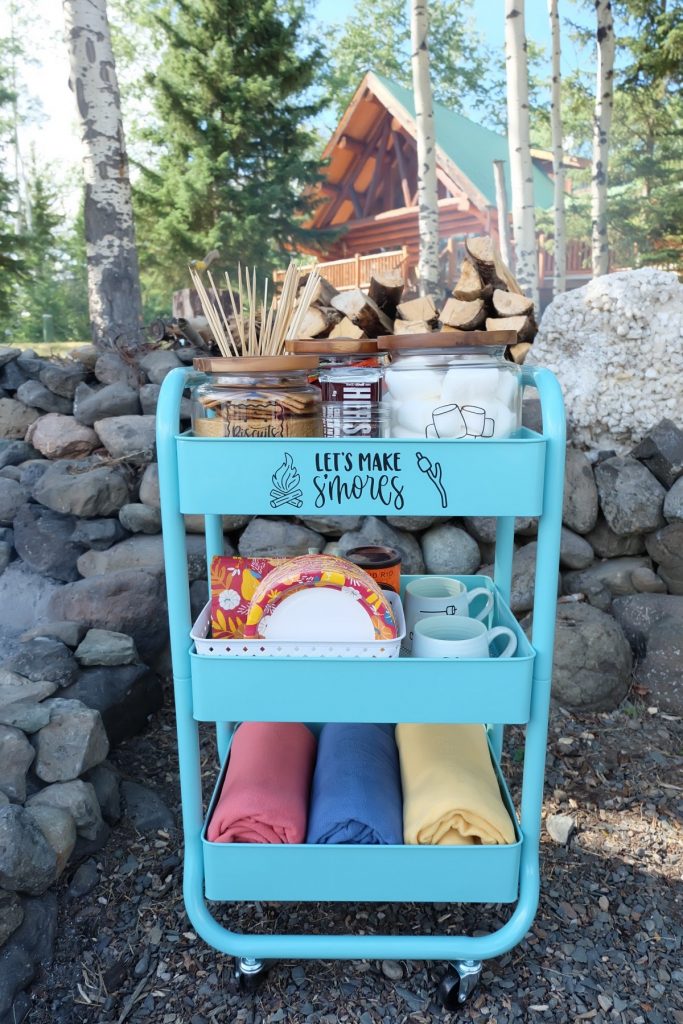
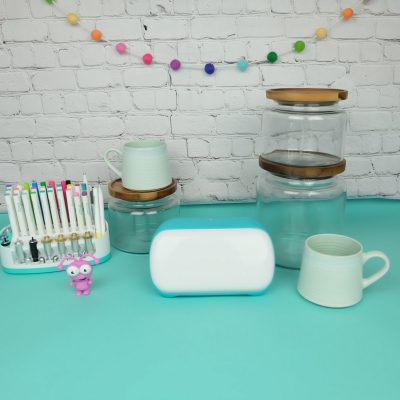
Filled with all the smores fixings along with paper plates, napkins and other goodies your smores cart can easily go from warm weather to cool depending on what you fill it with!
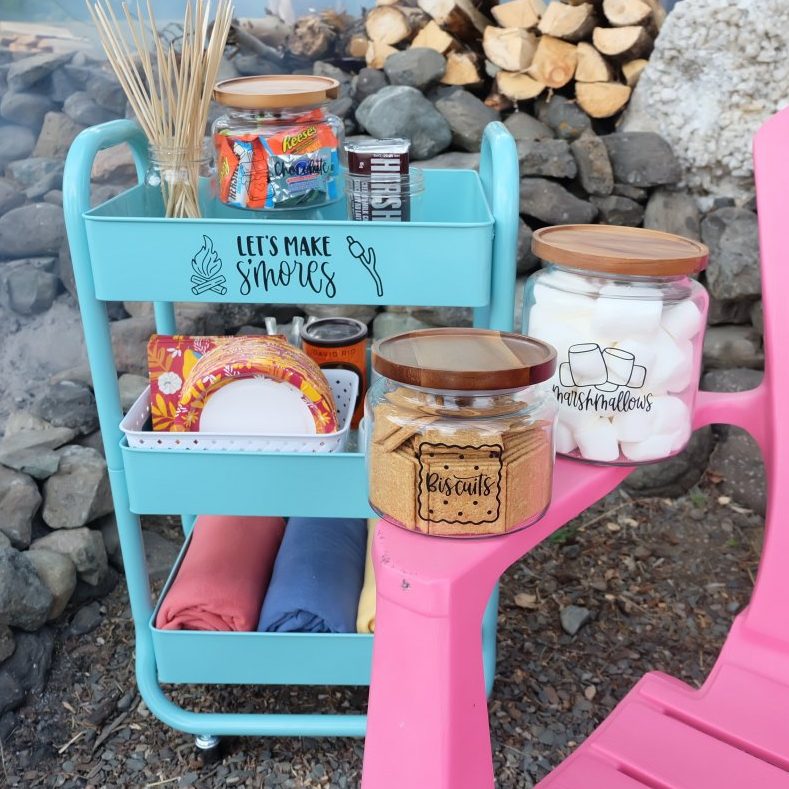
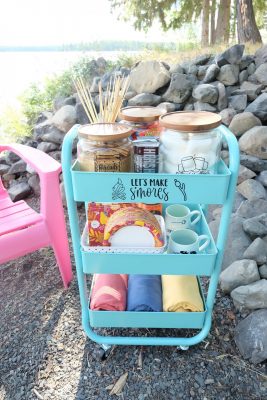
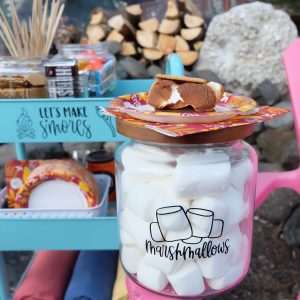
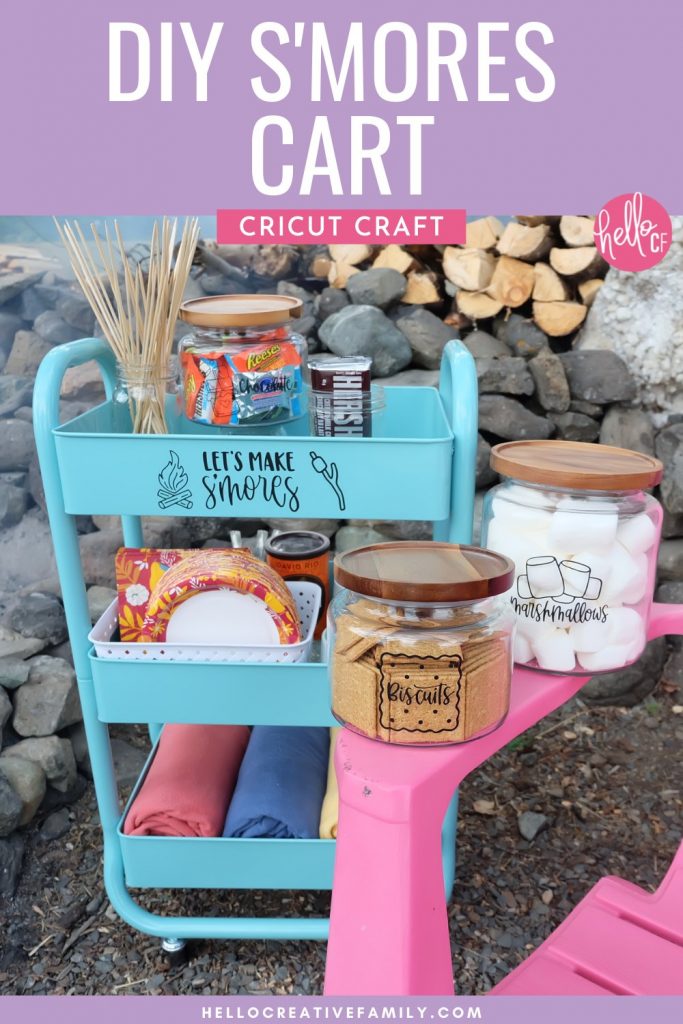
- On the top shelf I place cannisters filled with all the smores favorites– marshmallows, graham crackers, full sized Hershey bars and assorted mini chocolate bars like Reece’s Peanut Butter Cups, Hershey’s Cookies and Cream, York Peppermint Patties and dark chocolate for mama.
- The middle shelf can be changed from season to season. I fill it with pretty seasonal paper plates and napkins, wet wipes, adorably decorated cups, hot chocolate and chai tea in the fall/winter and ice tea or lemonade in the spring/summer.
- The bottom shelf I keep filled with rolled up blankets– because it’s always nice to snuggle up next to a campfire either on a cooler summer night or a chilly autumn evening.
How To Make A DIY Smores Cart Using A Cricut Joy
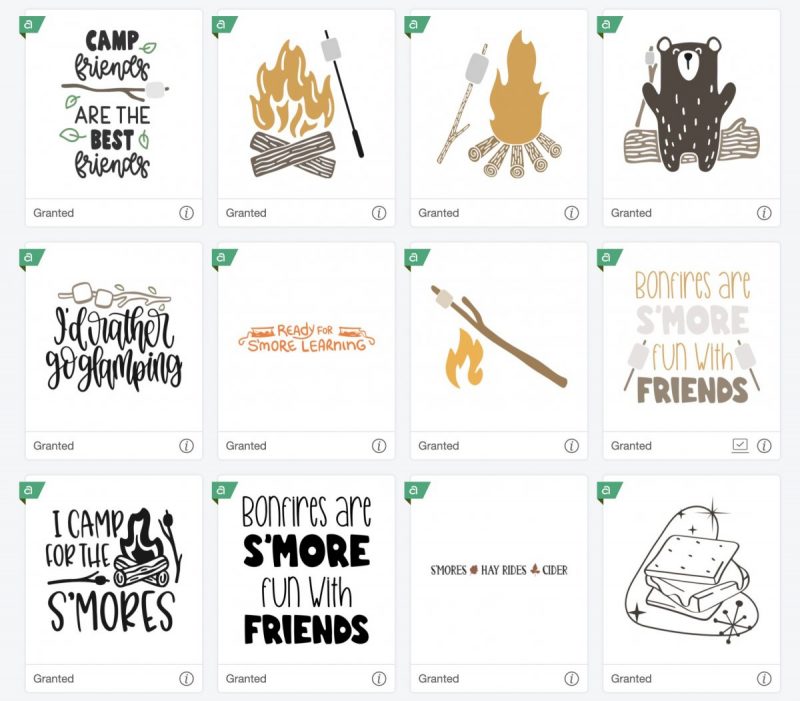
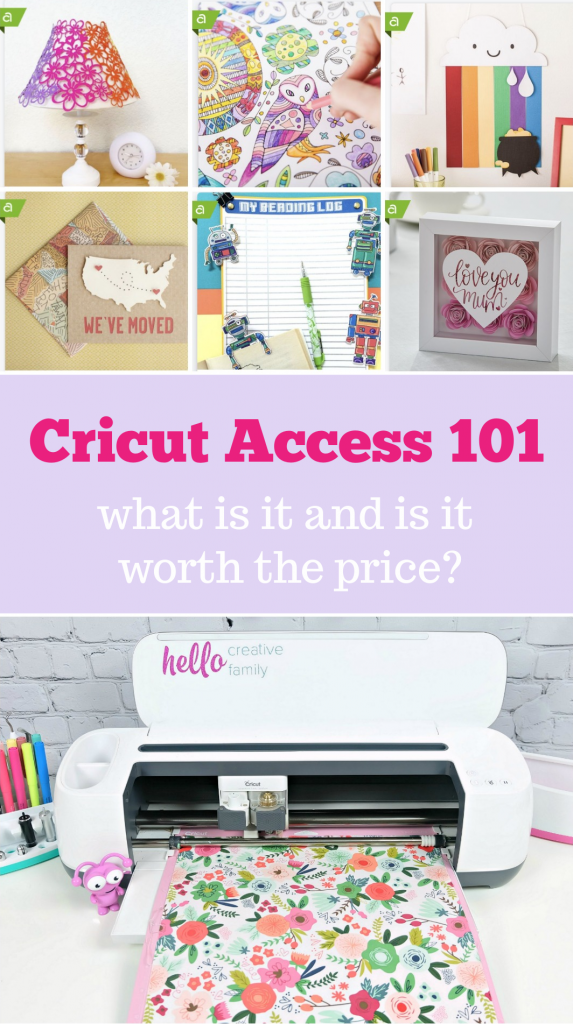
Have I told you lately how much I love Cricut Access? It makes creating gorgeous projects on the fly so easy. When I came up with the idea for this project, I wondered if I would have to design all of the images myself but then I started searching Cricut Access for smores and camping images and so many adorable options came up! There were so many cute options that it was hard to narrow it down!
You can read more about what Cricut Access is in my post called Cricut Access 101- Is It Worth The Price? here.
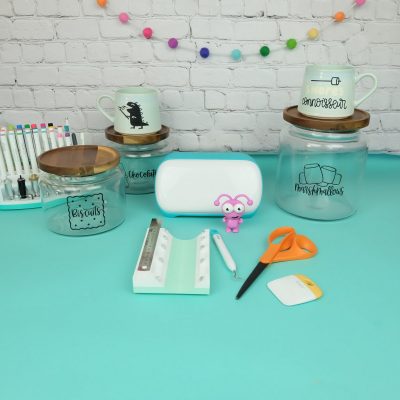
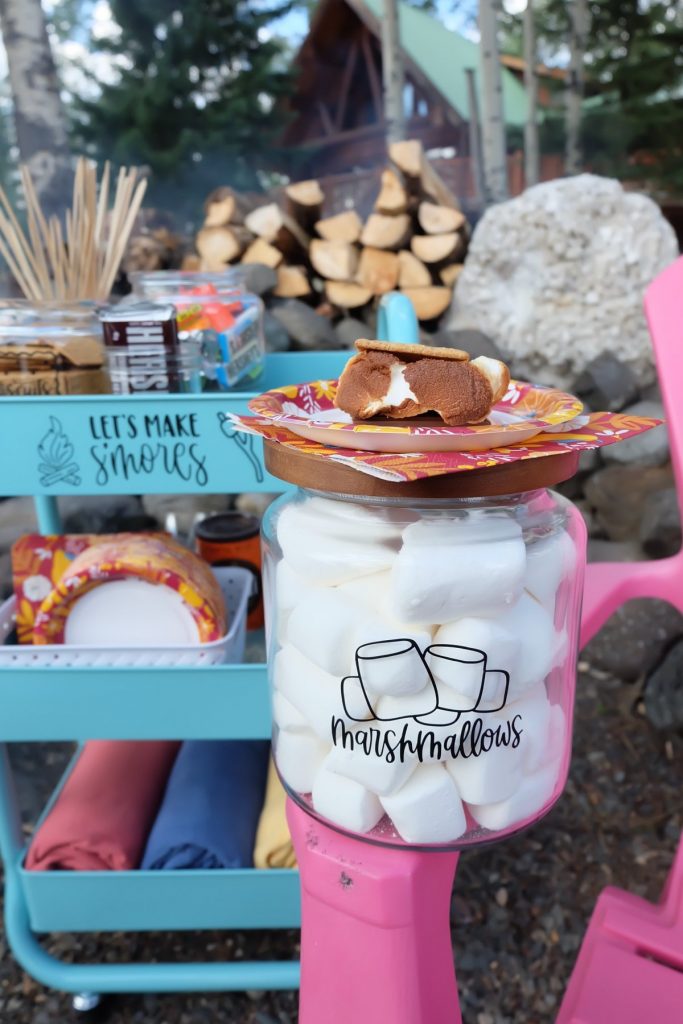
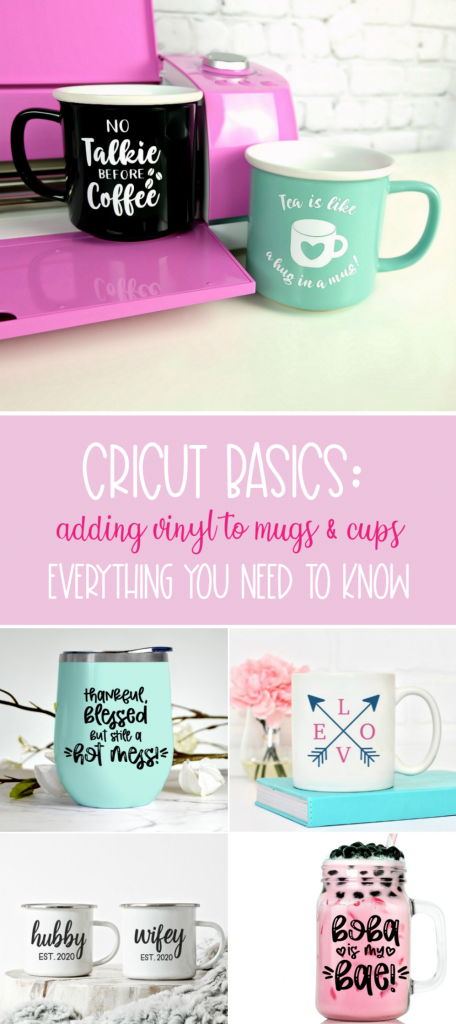
For this project I used my Cricut Joy to decorate three glass canisters, the smores cart itself and mugs for hot beverages.
I found really cute seasonal napkins for my cart, but if you purchased plain napkins you could also use your Cricut to cut cute designs out of iron-on and press it to paper napkins using your Cricut EasyPress.
Really the possibilities are endless for all the cute things you could make for your cart using your Cricut cutting machine!
Ready to learn how to make it? Read on!
DIY Smores Cart Using A Cricut Joy
Materials
- Cricut Joy
- Smores Cart Cut Files Found In Cricut Design Space
- Permanent Smart Vinyl in your favorite colors
- Measuring Tape
- Weeding Tools
- Cricut Transfer Tape
- Scraper (or Brayer)
- Cannisters in Assorted Sizes
- Mugs or Cups
- Cart to use for your Smores Cart
- Extras To Fill Your Cart With Including Plates, Napkins, Marshmallows, Graham Crackers and Chocolate
Instructions
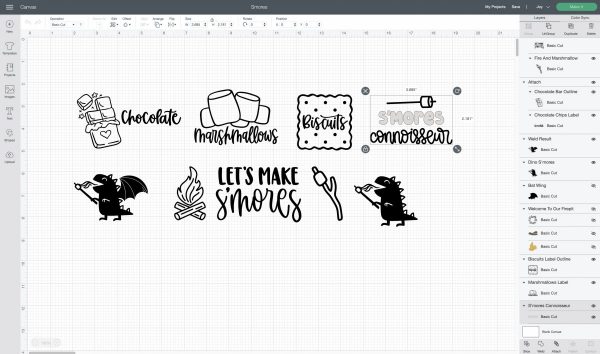
- Gather your materials. Open Cricut Design Space and log into your account. You can use the Cricut Design Files that I selected for my project using the link above or create your own.

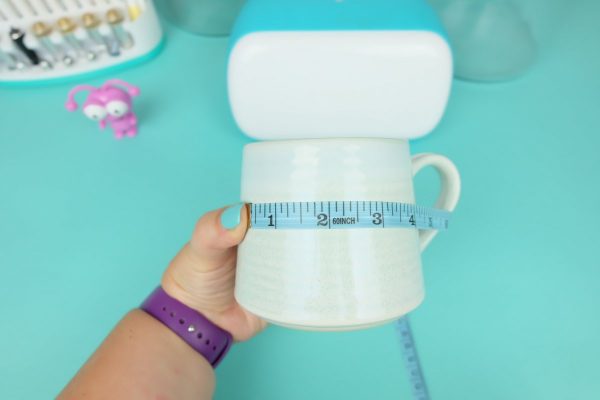
- Measure your canisters, mugs and cups to determine the size you would like each of the designs to cut.

- Size each of the designs by clicking on it and using either the arrow that appears in the bottom right-hand corner of the design or the Size tool in the top toolbar.

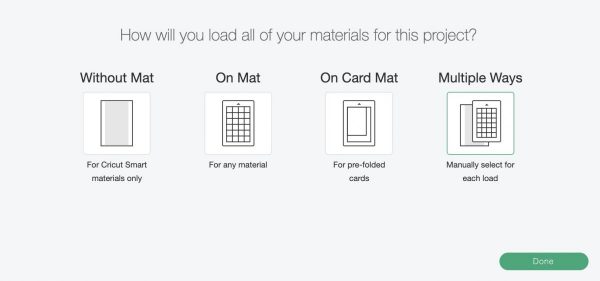
- Click Make It, then you'll be given the option to select whether you want to cut Without Mat (using Smart Materials), On Mat, On Cart Mat or Multiple Ways. Select the way you would like to cut and press done.

- Follow the prompts on the screen to select the type of cutting material you will be using, load your machine and click go.
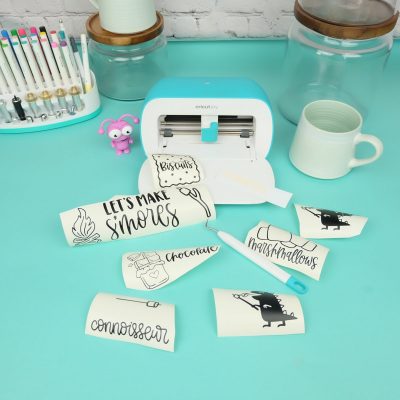
- Weed your vinyl, removing the excess vinyl around your design and leaving just the designs on the white paper backing.
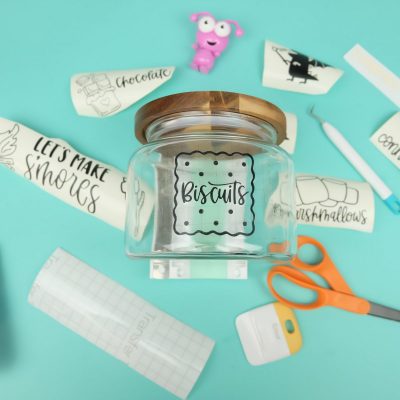
- Cut a piece of transfer tape a tiny bit bigger than your design. Peel the tape off the backing of the transfer tape and lay it on top of the design. Use your scraper tool or brayer to rub over the top of your transfer tape, pushing the tape against the vinyl. Peel the transfer tape up, lifting your vinyl design away from the paper backing.
- Select the first item you will be applying your vinyl design to. Carefully position and then lay the transfer tape onto the item where you would like the design to be. Run your scraper over the transfer tape, pushing the vinyl onto the item. Carefully peel away the transfer tape, leaving the design.
- Repeat this process for each item in for your smores cart including the cannisters, mugs and cart itself.
- Load your cart up with all your smores making goodies.

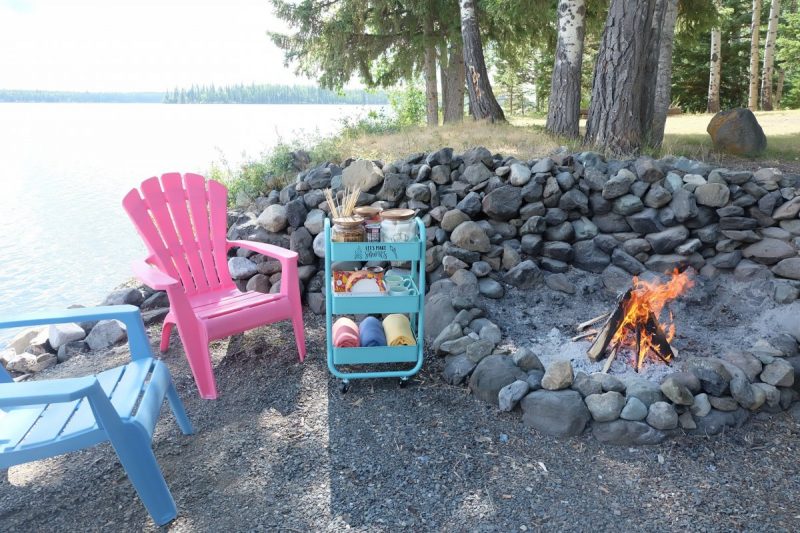
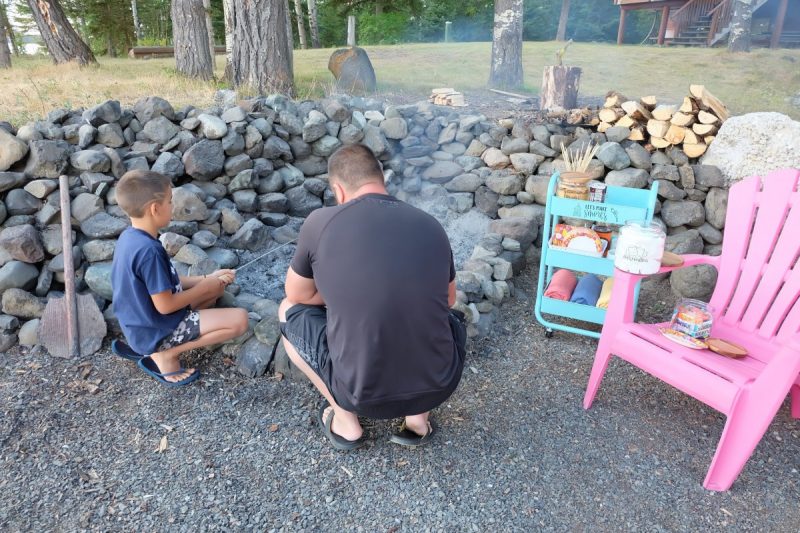
- Enjoy smores made using supplies from your smores cart at your next bonfire or campfire!
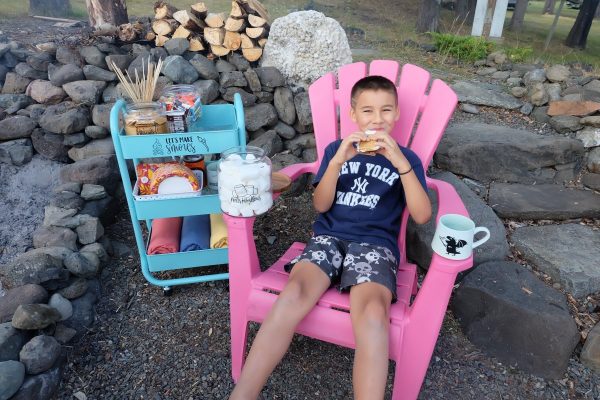
We took our Smores Cart to a friend’s cabin for an end of summer getaway and we had so much fun using it! We’ll be using it all autumn long in our driveway with friends using our propane fire pit too!
The Cricut Joy made this project so much fun to make and it was super easy too and because the Cricut Joy is so portable I could have even brought it to the cabin with me to make the smores cart there!

Need supplies to make all your amazing Cricut creations? Click here for the best prices on Cricut cutting machines, bundles, iron-On, vinyl, cardstock and more!
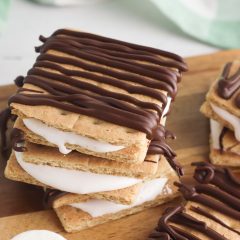
More S’mores and Frozen Treats to Try
Looking for more ways to enjoy s’mores or beat the heat with cool treats?
Here are a few of my favorites:

Craving more frozen desserts? Try these next:
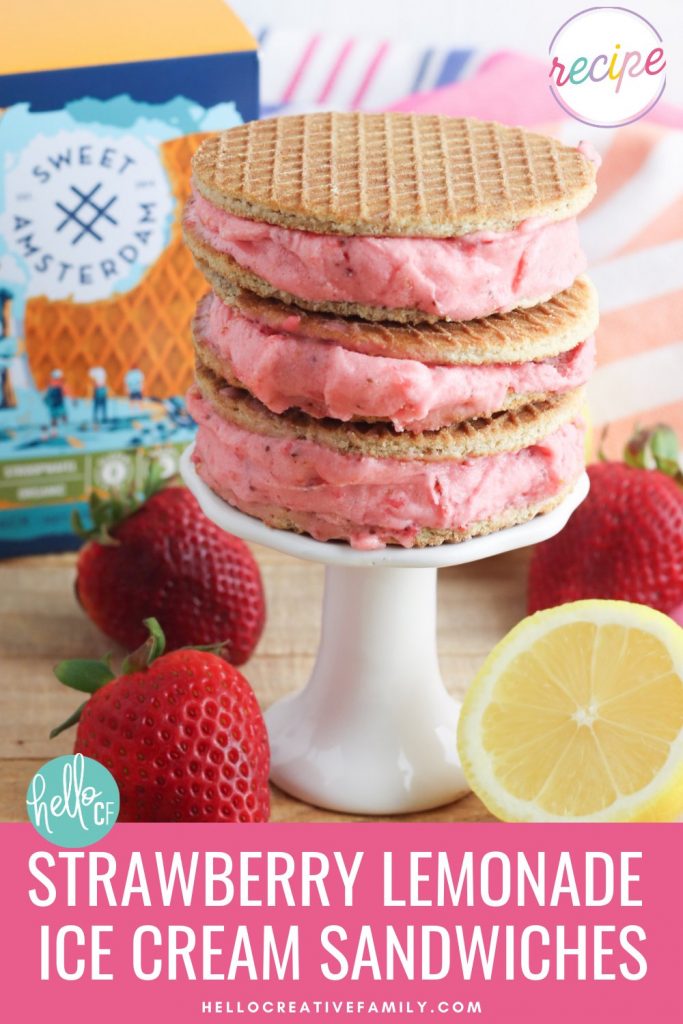
🍓 Strawberry Lemonade Sorbet Ice Cream Sandwiches
🍫 Waffle Brownie Ice Cream Sandwiches
Tell me… Do you have a Cricut Joy? What are some of your favorite things you’ve made with it? What would you like to see us make next?
If you like this DIY Smores Cart I would love for you to pin it! It helps others discover our site which helps us bring you more awesome content like this!
Looking for more Cricut projects, tutorials and 101’s? Make sure you check out our Cricut and Free SVG sections! Here are a few more posts you might like!


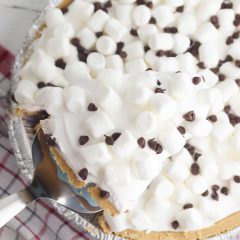
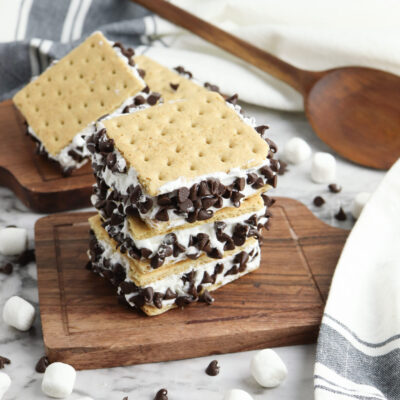
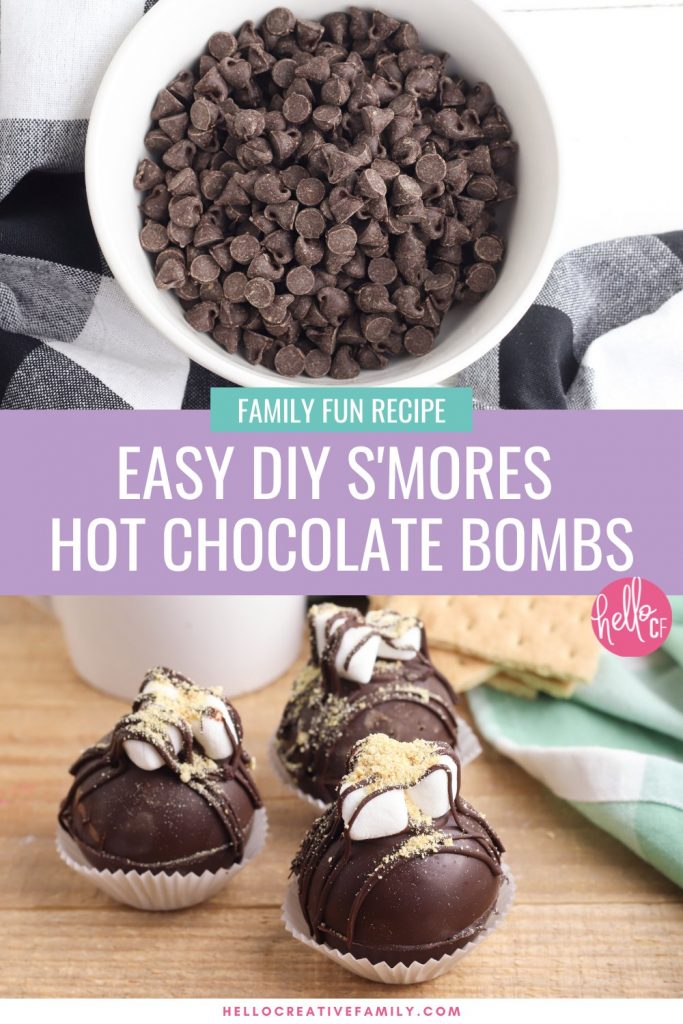
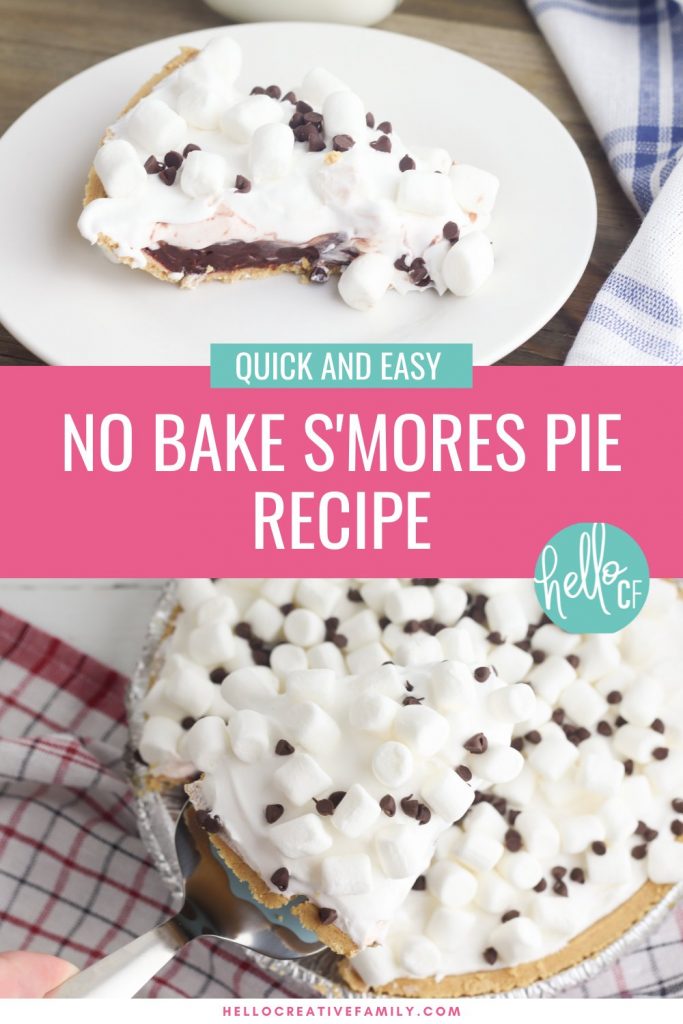
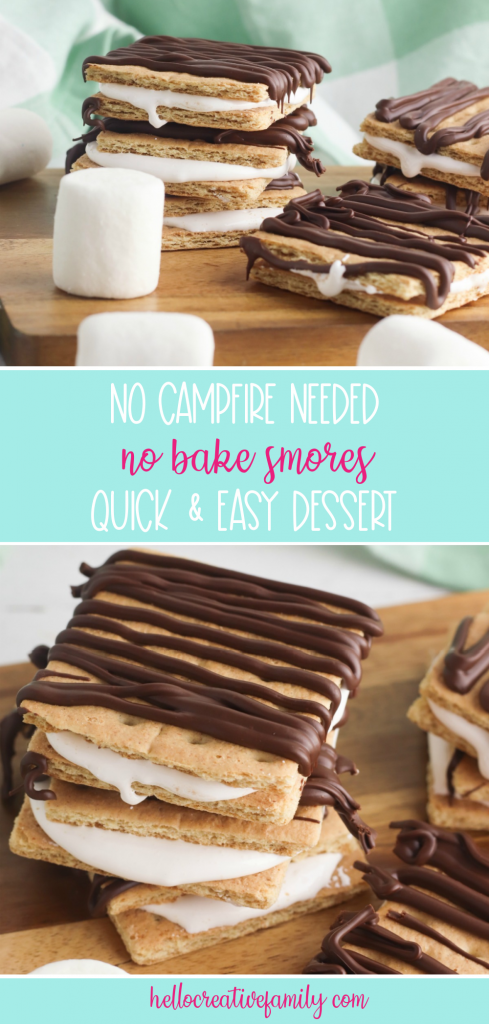
Love smores? Make sure you don’t miss these recipes!


This makes me want s’mores and purchase a Cricut ASAP! Too cute!
Super cute idea!