How To Reverse Weed Vinyl: The Cricut Hack You Need To Know
This post and the photos within it may contain Amazon or other affiliate links. If you purchase something through the link, I may receive a small commission at no extra charge to you.

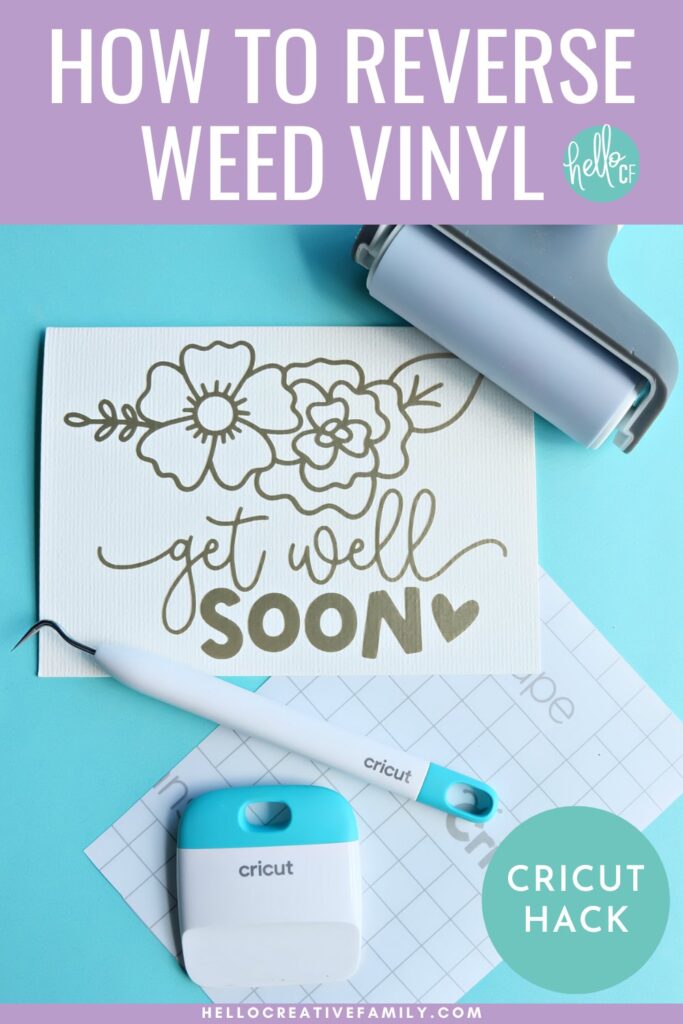
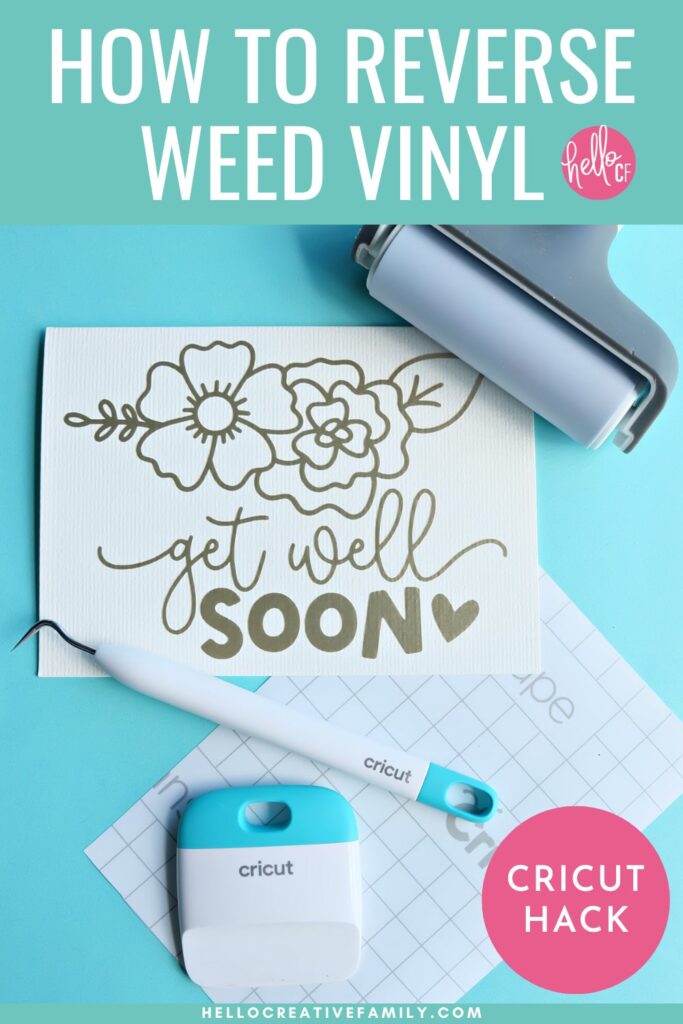
Want to take your Cricut vinyl crafting to the next level? This tutorial teaches you how to reverse weed vinyl—an essential trick for preserving small, intricate details during weeding. Whether you’re working with delicate decals, scripty fonts, or detailed SVGs, this Cricut hack will save your sanity and your vinyl. Plus, get expert tips, tool recommendations, and step-by-step instruction you can refer back to again and again!

Have you ever spent time designing the perfect project, only to lose your tiny letters and details during weeding? You’re not alone! One of the most frustrating moments in any Cricut crafter’s journey is watching delicate designs fall apart before they even make it to their final surface.
That’s where reverse weeding comes in.
This clever technique involves applying transfer tape to your unweeded adhesive vinyl, burnishing it well, and then weeding on the transfer tape instead of the vinyl backing.
It helps keep small, intricate pieces in place and can save you a ton of time, frustration, and vinyl.
In this post, we’ll walk through:
- What reverse weeding is (and what it isn’t)
- When and why you should use it
- How to do it step-by-step
- Tools that make it easier
- A few personal stories that show just how helpful it can be!
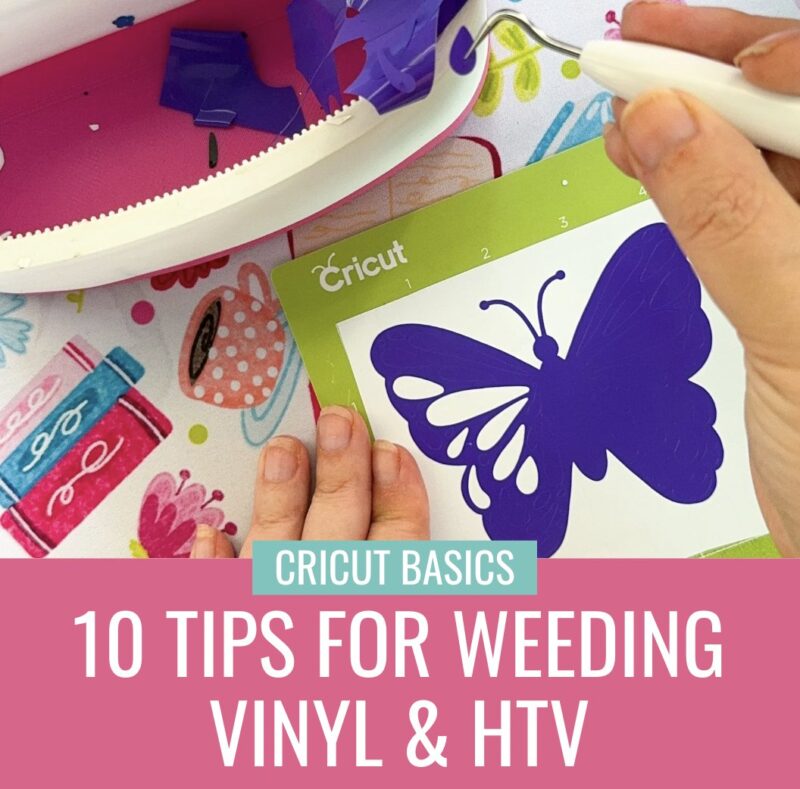
Make sure you also check out our post with 10 Tips For Weeding Vinyl & HTV.
What Is Reverse Weeding?

Reverse weeding is a vinyl technique that flips the traditional process on its head and kind of has you do everything backwards. Confused? Don’t be!
Instead of weeding your design while it’s still on the vinyl’s paper backing, you first apply transfer tape to the unweeded design. After burnishing it well, you weed your vinyl right on the transfer tape!
This process allows those teeny-tiny letters and swirly flourishes to stay perfectly in place when you weed away your excess material!
It’s especially helpful for:
- Thin script fonts
- Designs with lots of fine detail and smaller pieces
- Small-scale decals (like for mugs or cards)
Reverse weeding is a real game-changer and a skill that you’ll definitely want to add to your Cricut hack toolkit!
This skill can be used on any type of adhesive vinyl including:
- Permanent vinyl
- Removable vinyl
- Glitter vinyl
- Glow in the dark vinyl
- Color changing vinyl
- and more!
Additionally, this skill can be used with any brand of vinyl– Cricut, Oracal, Techwrap, HTVRont
How I Discovered Reverse Weeding

The first time I learned about reverse weeding, it wasn’t for my own project—it was for one of the incredible members of my Cricut Facebook Group.
(Side note you can join Cricut Canada Love and Learn here! It’s for Cricut crafter’s worldwide– us Canadian crafters are super friendly!)
She had shared a photo of her project and said she had tried cutting it several times but just couldn’t get it to weed properly. Every time she tried, the tiny pieces kept lifting off the vinyl backing and disappearing. Her frustration was so real, and I completely understood what she was feeling—I’ve been there too!
Helping Cricut users gain their Cricut confidence is one of my biggest passions, so I did a weeding deep dive to come up with suggestions of how to help.
That’s when I discovered reverse weeding—and wow, did it open my eyes!
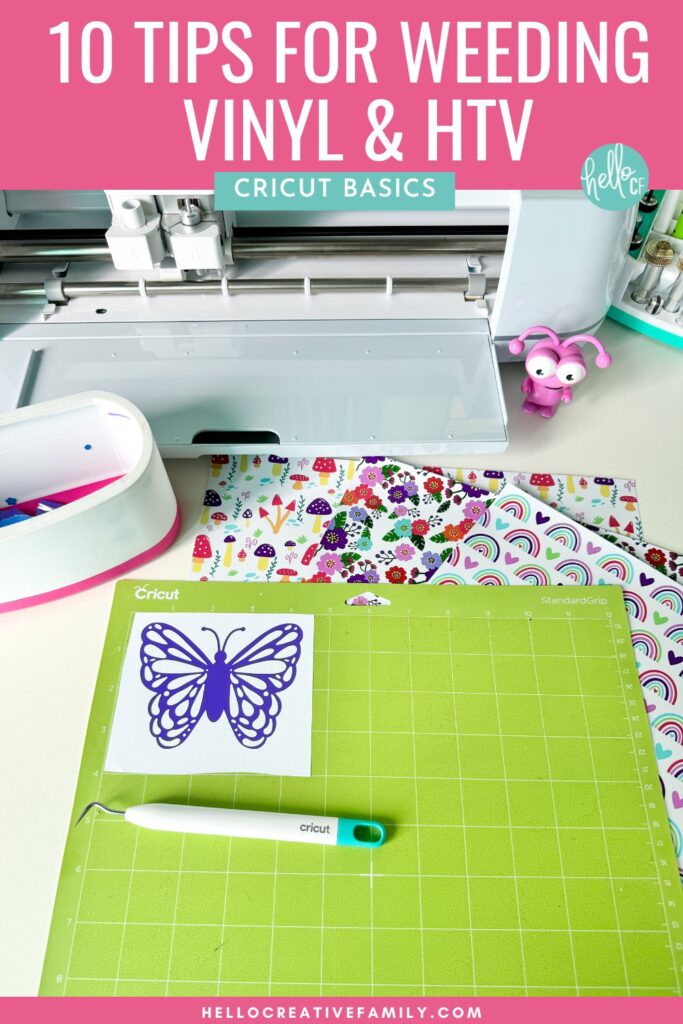
BTW, you can find even more of my favorite weeding tips, including my tip of how you can have your Cricut pre-draw your weeding lines on HTV here: 10 Cricut Weeding Tips for Vinyl and HTV
When Should You Use Reverse Weeding?
Reverse weeding works best when you’re working with:
- Tiny script fonts
- Highly detailed SVGs
- Small designs that lose detail when weeded traditionally
As someone who loves working with scripty fonts and pretty details, I’ve used this technique often for designs like my Stay Wild floral SVG or this Reading Is Magical book SVG.


When these are cut large—for shirts, tote bags and home décor like throw pillows — they’re pretty easy to weed. But shrink them down for a card or a small label and it’s a different story!
That’s when reverse weeding becomes a total lifesaver.
How To Reverse Weed: Step-by-Step

Want to take your Cricut vinyl crafting to the next level? Follow this step-by-step tutorial to learn how to reverse weed vinyl—an essential trick for preserving intricate designs, small details when weeding excess vinyl from a design.
Whether you’re working with delicate decals, scripty fonts, or detailed SVGs, this Cricut hack will save your sanity and your vinyl when weeding intricate cuts and make sure you don’t lose any small pieces.
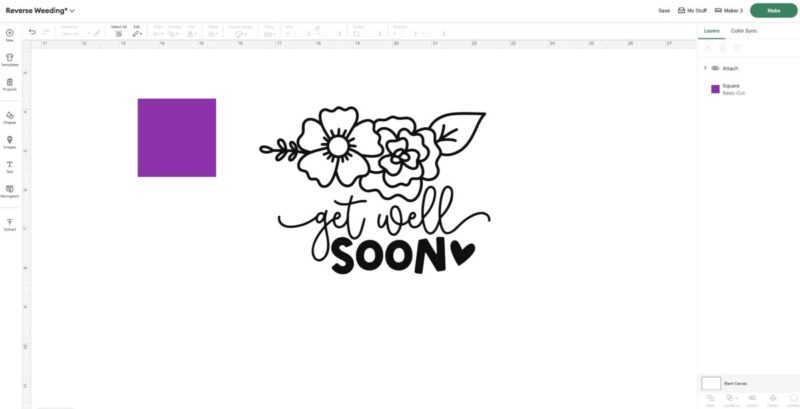
- Lay out and size your design in Cricut Design Space.
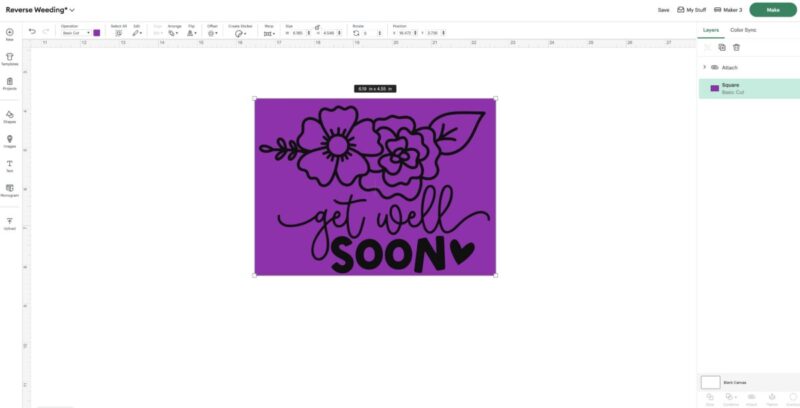
- Add a rectangle to your canvas. Move the rectangle to the back and size it so it’s surrounding your entire image / entire design.
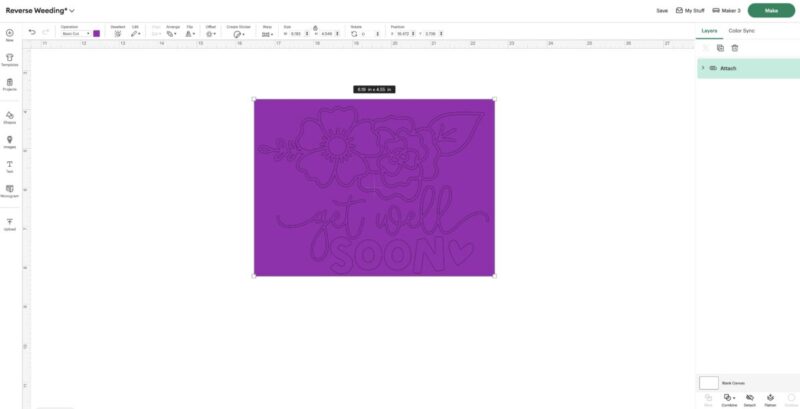
- Select both your design and the rectangle and click “Attach”. This will create a weeding box for you.

- Cut your design out of adhesive vinyl as usual. Make sure to use the proper cut settings for the type of vinyl you are using.
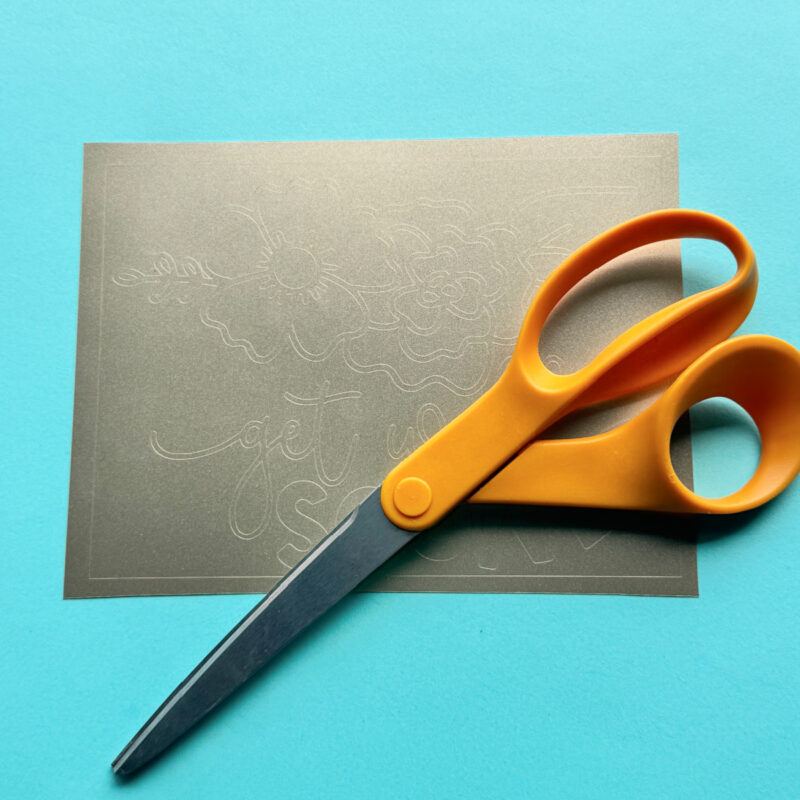
- Use a pair of scissors to cut your vinyl around the weeding box that you cut around your design. Remove the extra vinyl from around the box. I like to leave my vinyl on the Cricut Mat to help keep the design in place.
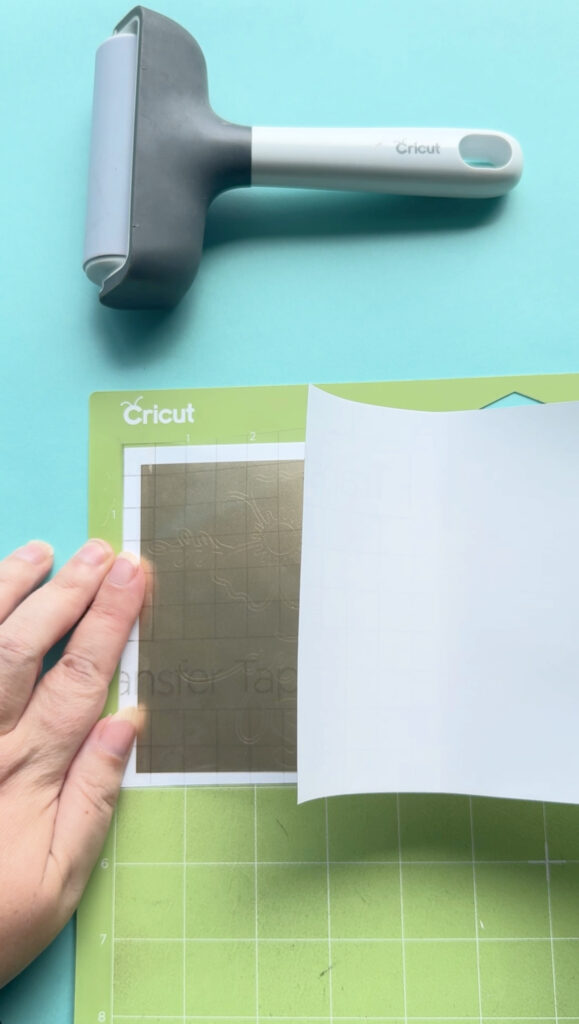
- Cut a piece of transfer tape slightly larger than your design. Peel off the paper backing and place the transfer tape directly over the entire cut design. You will now have a sandwich with the vinyl backing on the bottom, the vinyl design in the middle with the adhesive side facing down and the transfer tape on top.
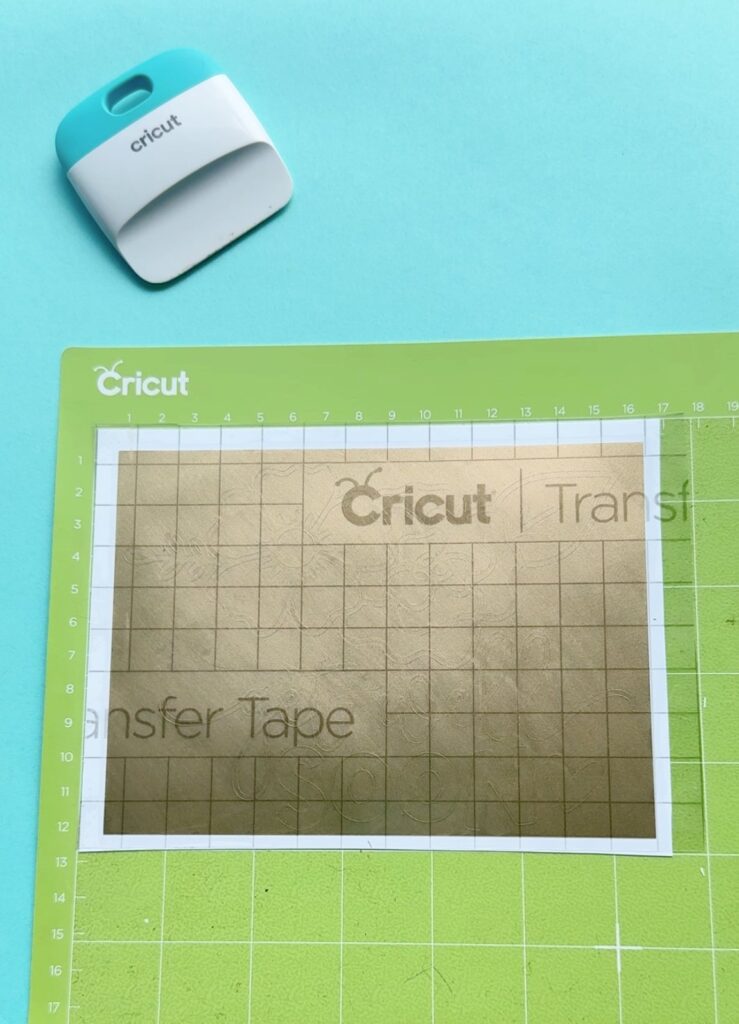
- Burnish well using a scraper (the XL one is great for large designs). Then flip your “sandwich” over on your mat so that the transfer tape is now on the bottom, the vinyl decal in the middle with the adhesive side facing up and the vinyl backing is on top. Burnish again.
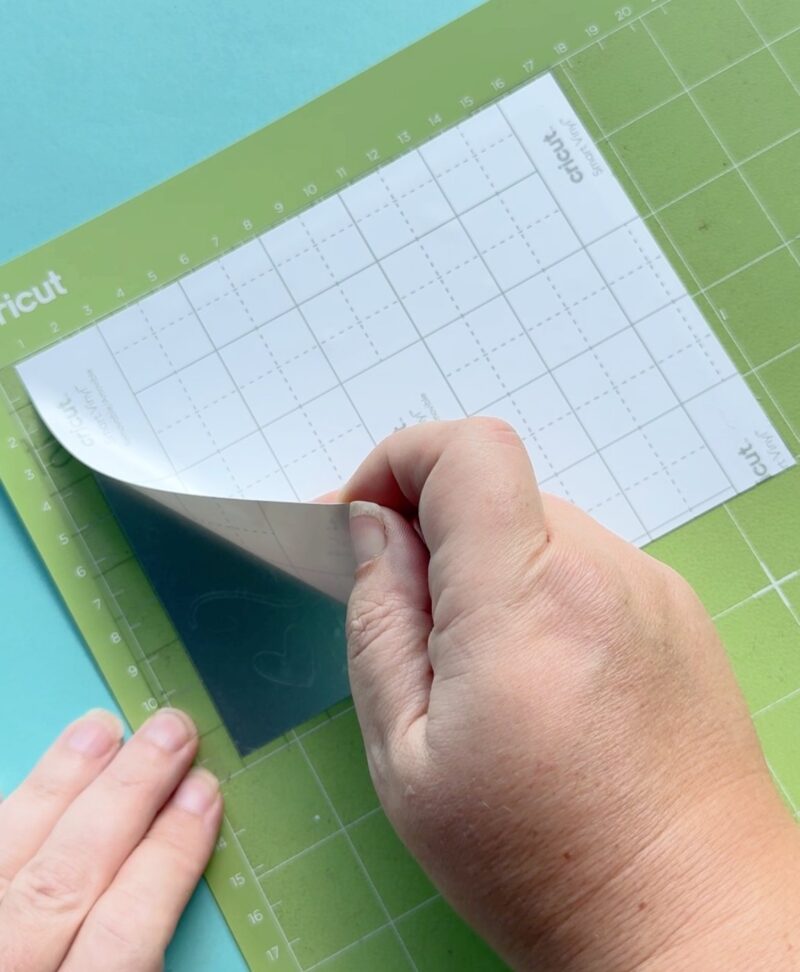
- Carefully peel off the vinyl backing, leaving the design stuck to the transfer tape. If any pieces of your vinyl lift you may want to use your scraper tool or weeding tool to push them down onto the transfer tape. You may notice as you peel up the vinyl backing that some “Pre-weeding is done for you and pieces that you would be removing stay behind on the vinyl backing. This is 100% ok, just double check that no pieces you need are being left on the backing.

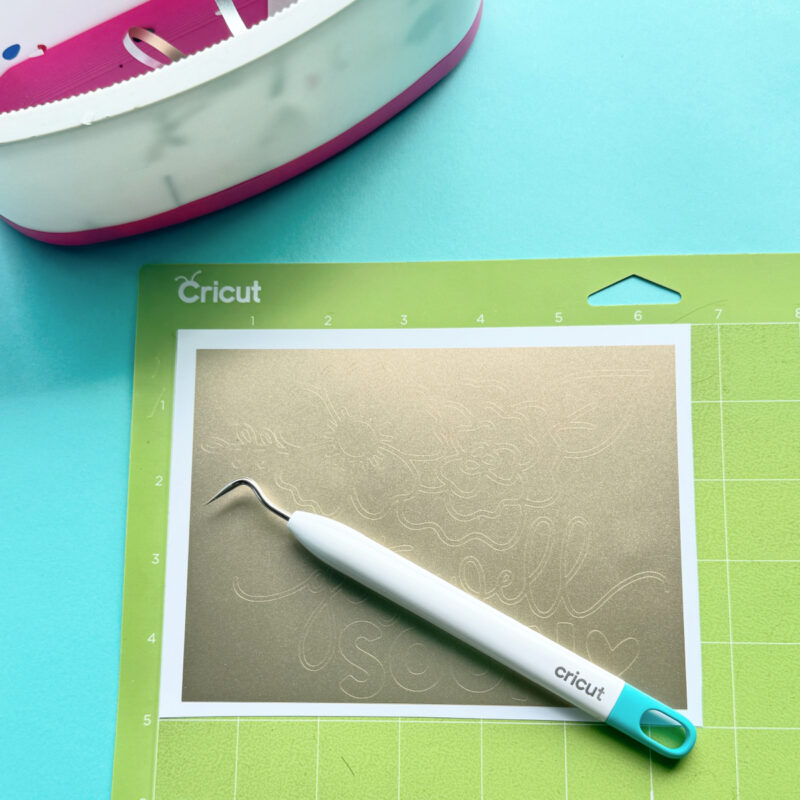
- Once you have completely removed the vinyl backing, begin weeding on top of the transfer tape, removing the negative space and leaving just your design behind on the transfer tape.
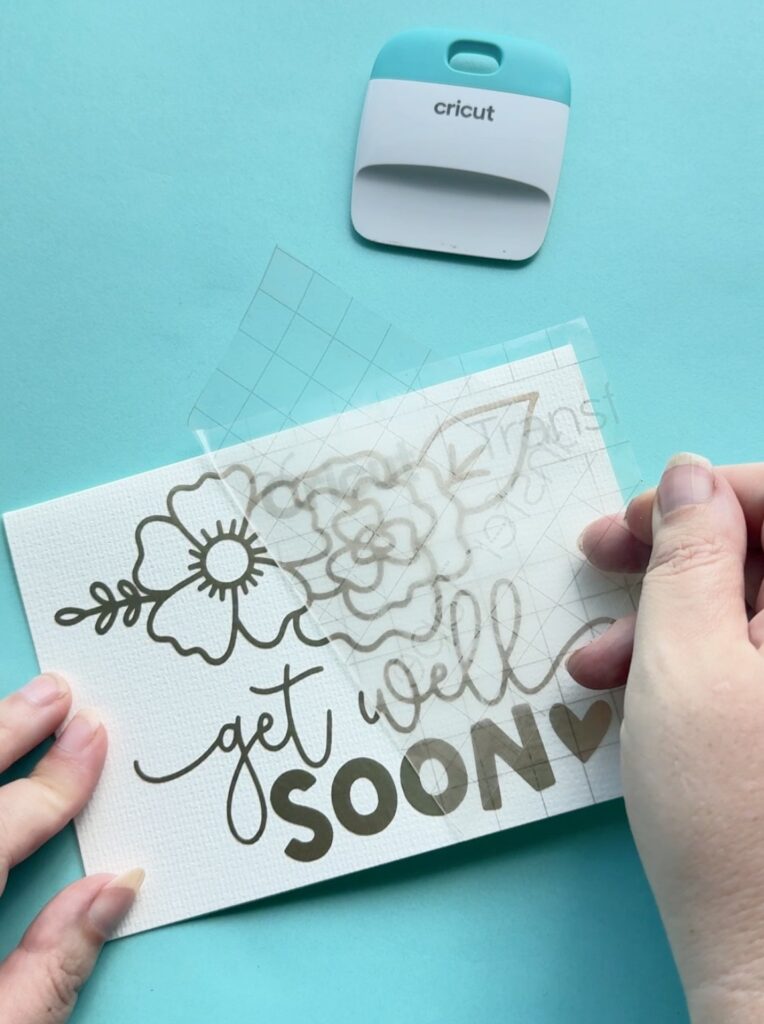
- When you have finished weeding, apply your transfer tape covered design as you usually would. Burnish it with your scraper and remove the transfer tape leaving your vinyl decal on the surface you are applying it to.
Watch a slightly simplified version of weeding vinyl below:
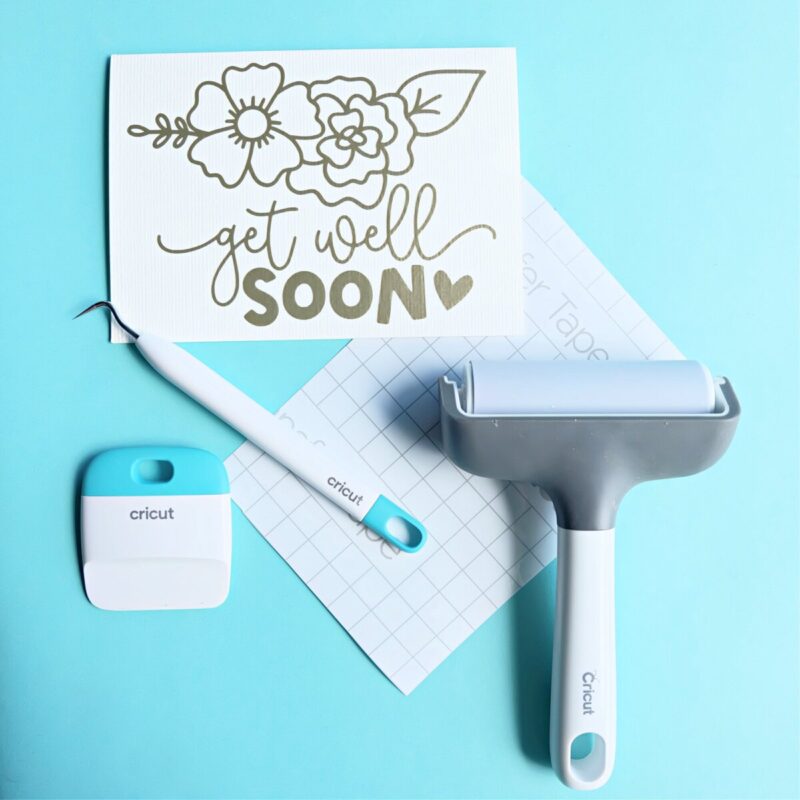
Tools That Make It Easier
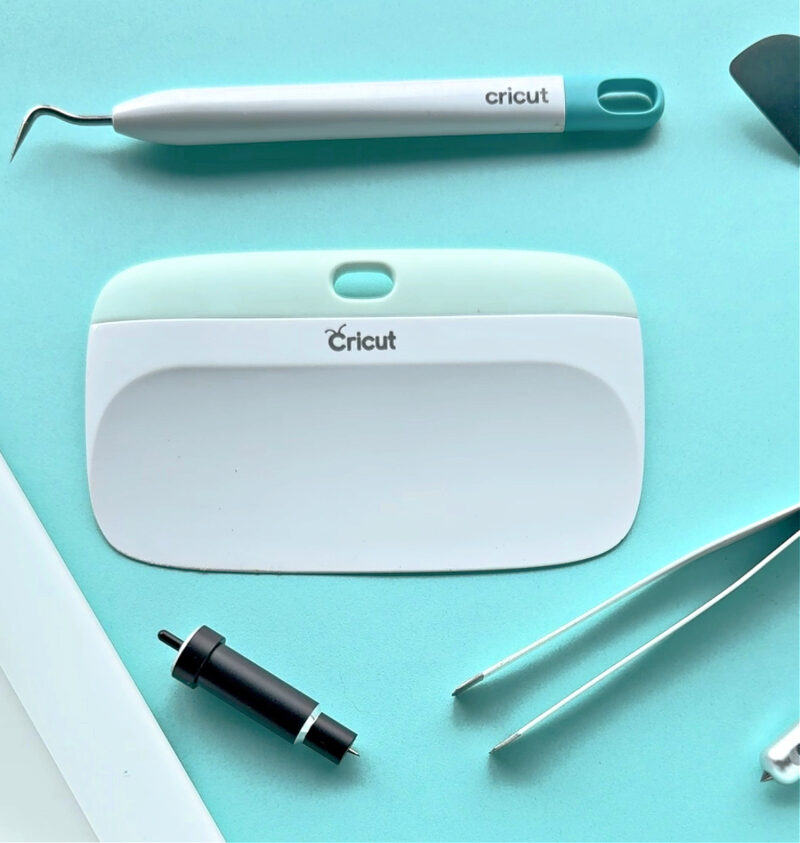
To get the best results from reverse weeding, here are a few favorite tools and materials I always keep on hand:
- Weeding tool
- Cricut transfer tape
- Scraper or XL scraper
- Cricut cutting mat to stabilize everything
- Cricut Brayer
- Vinyl – My current obsession is Cricut Value Vinyl! It’s easy to weed and comes in fun color packs. Once I tried it, I was hooked.
Can You Reverse Weed HTV?
This is a common question—and the answer is no but also kind of yes?
You can’t reverse weed HTV in the traditional sense. That’s because HTV (heat transfer vinyl) already comes attached to a sticky carrier sheet—which acts like built-in transfer tape. You don’t remove HTV from its backing until after it’s been pressed onto your project.
Which brings us to the yes. Every time you weed HTV, you’re technically reverse weeding since it’s already on the carrier sheet you’re going to use to transfer it… but there’s no special technique to apply, since the carrier sheet does the job for you!
If you’re looking for HTV-specific weeding tips, make sure to check out this post: 10 Cricut Weeding Tips for Vinyl and HTV
A Personal Oops… and a Lesson Learned
Before I discovered reverse weeding, I had so many Cricut projects go sideways. The most memorable? My DIY Christmas word art sign from 2018.
If you scroll down to the step-by-step photos, you’ll see crooked letters all over the place! That’s because I kept losing pieces—those fine details and small vinyl letters were popping off while I was weeding them. It was so frustrating.
Reverse weeding would have saved the day—and now, it’s a technique I use again and again.
Don’t Be Afraid to Try It!
Trying a new technique can feel scary at first, but trust me—you’ve got this! Just follow the step-by-step guide above, and it’ll feel like I’m right there crafting alongside you.
Once you try this amazing weeding hack, I think it’ll become one of your go-to tricks for beautiful, frustration-free projects.
Ready to Grow Your Cricut Confidence?

Reverse weeding is just one of the many tricks that can help you create beautiful, professional-looking projects with ease. If you loved learning this technique and want to keep building your Cricut confidence, I’d love to invite you to join me in Cricut Craft Club!
Each month, we craft together live on Zoom and explore a new technique or project together in a fun, supportive environment.

Every class includes:
- A live monthly Zoom class (with access to the replay!)
- An amazing collection of free SVG files designed to perfectly match that month’s project theme
- A clickable supply list with everything linked to make shopping fun, fast, and frustration-free
- The class recording so you can craft on your schedule—with lifetime access to all classes from the months you’re a member
- Step-by-step guidance + creative encouragement from yours truly!
Whether you’re a beginner or just love learning new techniques, Cricut Craft Club is all about helping you build your Cricut confidence while having fun and making something you’re proud of.
If you like this tutorial I’d love for you to pin it for later! It will help other’s discover the creative content and tutorials on my site, plus make it easy for you to refer to this post later!