


Photo to Wood Transfer Tutorial With Step By Step Photos and Instructions
This post and the photos within it may contain Amazon or other affiliate links. If you purchase something through the link, I may receive a small commission at no extra charge to you.


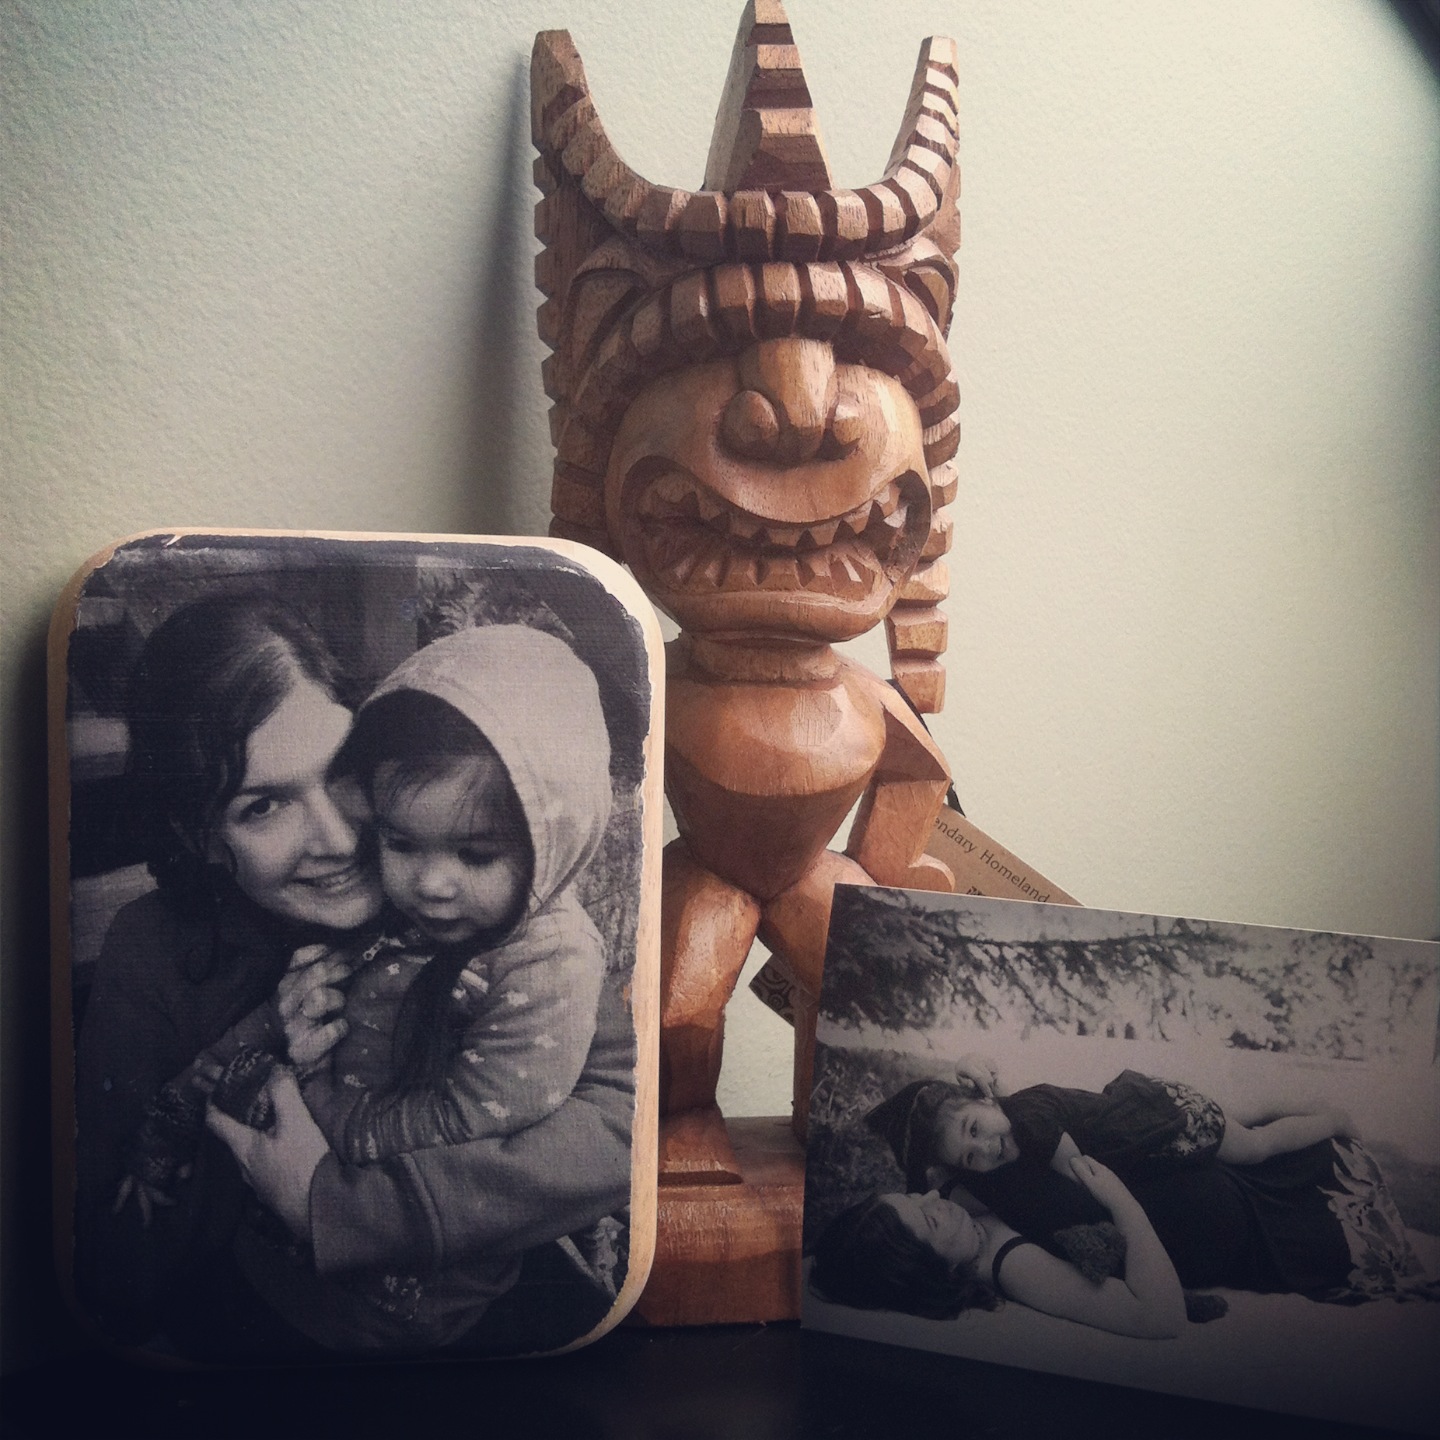
This photo to wood transfer tutorial is one of the most popular posts on Hello Creative Family. It was one of the very first projects that I did on my original blog, Sew Creative. I think people love it so much because of the step by step photos and instructions. It’s a fun project, but does require a bit of patience. You’ll notice as you go through my instructions that I actually did this project twice. I wasn’t completely satisfied with how it turned out the first time, so I scraped the wood and tried again. It’s not a fast project, but if you have patience and stick with it, you’ll get beautiful results. Enjoy and please let me know if you have any questions! -Crystal
UPDATE: I’ve recently discovered a much easier way to transfer photos to wood. It takes about 15 minutes to do my new project and isn’t nearly as challenging as the original way I shared below. Curious to see my new method? Check out my post The Easiest Way To Transfer Photos To Wood In Minutes.

Still want to try my original method? Read on!
Photo to Wood Transfer Tutorial With Step By Step Photos
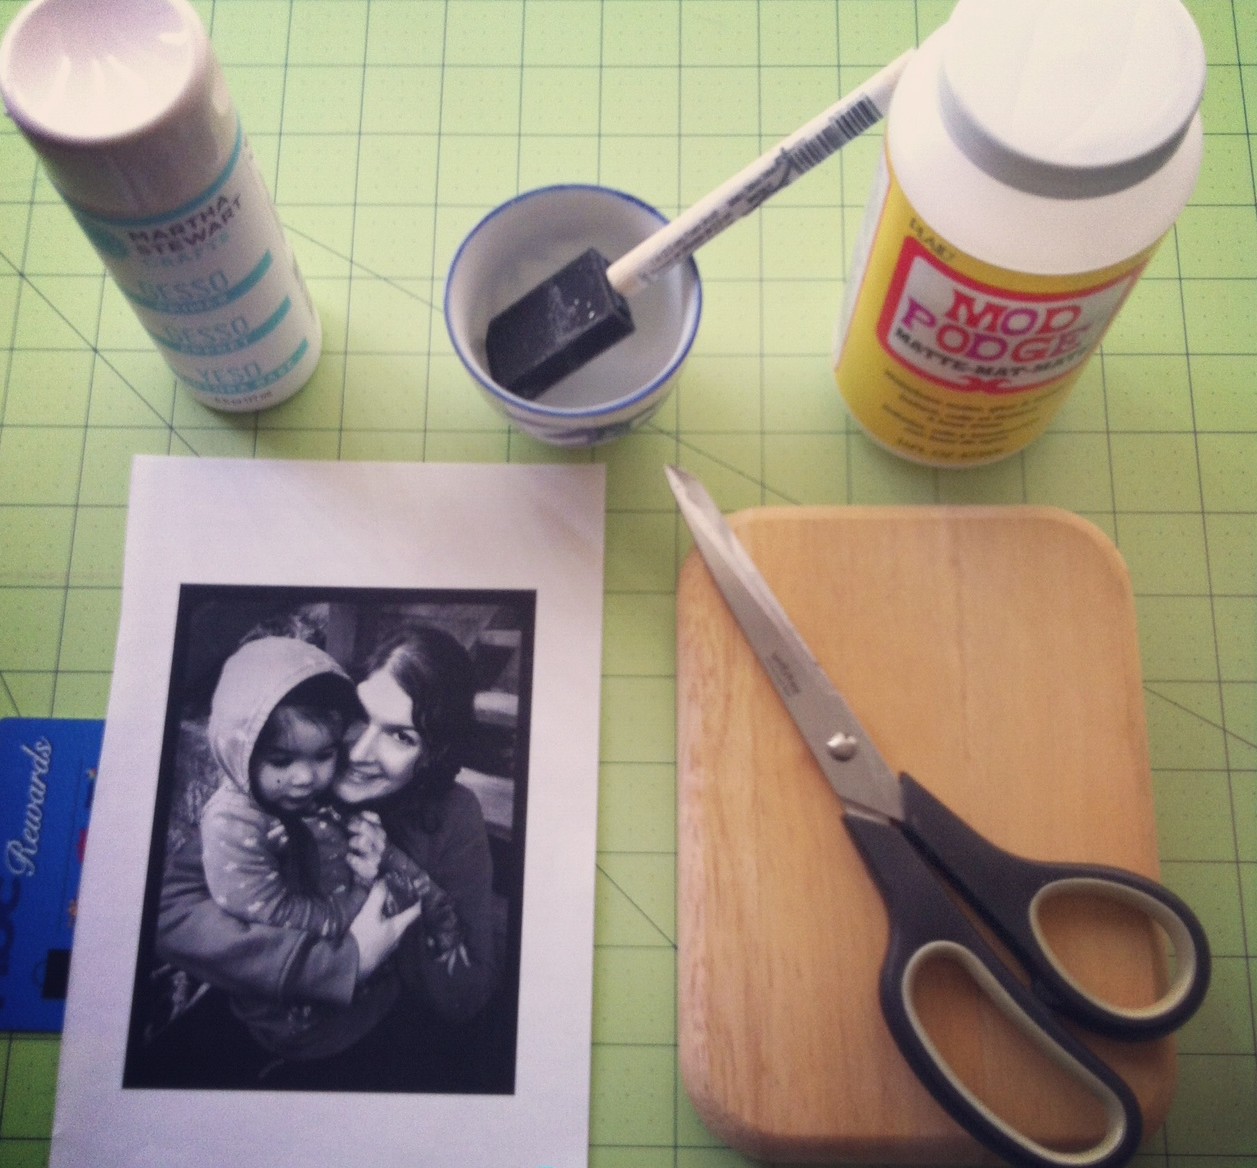
What you need:
-A piece of wood (mine was a small cutting board from the thrift store)
-A laser printed copy of your photo on copier paper, the copy should be the mirror image of how you would like it to appear on the wood. This ONLY works with laser copies. It won’t work with ink jet. (Make sure this is printed on regular paper, not photo paper.)
–Gel Medium (I used Martha Stewart’s Gesso but Mod Podge also makes this photo transfer medium now. You can find Gel Medium at any Michael’s or Joann’s stores… don’t forget to bring your coupons!)
-Scissors to cut out your photo
-A rag to soak your photo
-A cup or plate to pour your gel medium and mod podge into
-A boning tool or plastic card to get the air bubbles out with
Step 1: Print out the image you would like to transfer using a laser printer. Unfortunately ink jet printouts won’t work for this project. Most copy stores (Kinko’s, Staples) use laser printers. You may want to mirror your image as the transfer will make your image the reverse of how it is printed.
Step 2: Trim your image to the size that you want it to be on the wood.
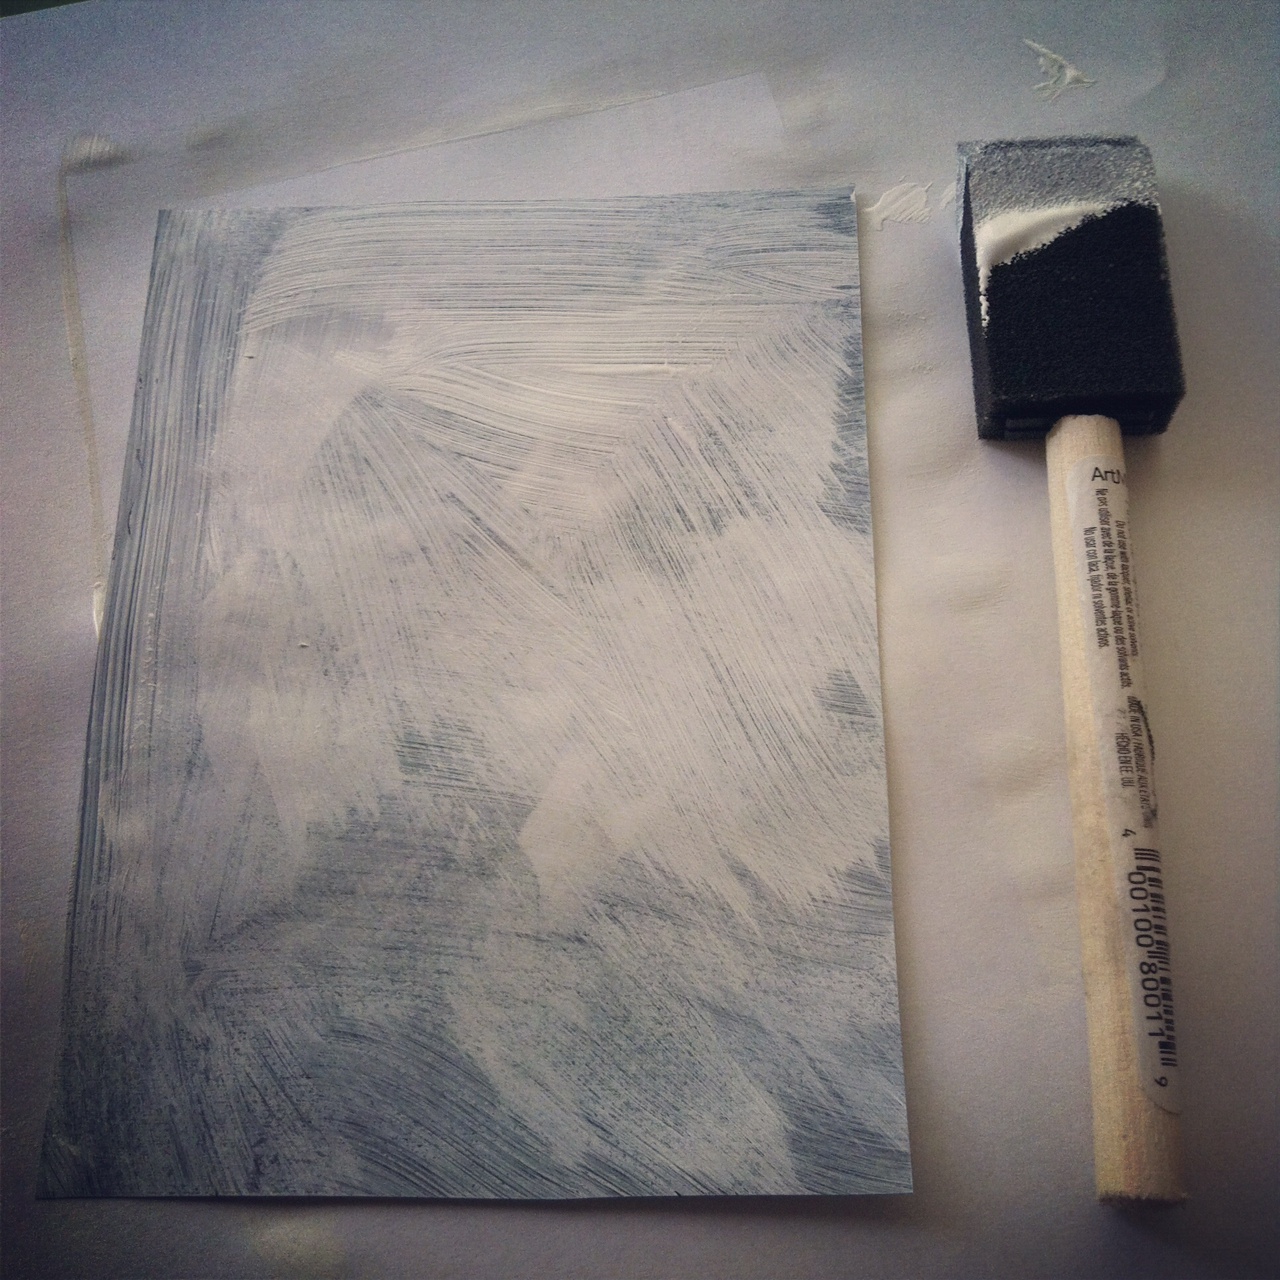
Step 3: Put a layer of gel medium on the printed side of your photo.
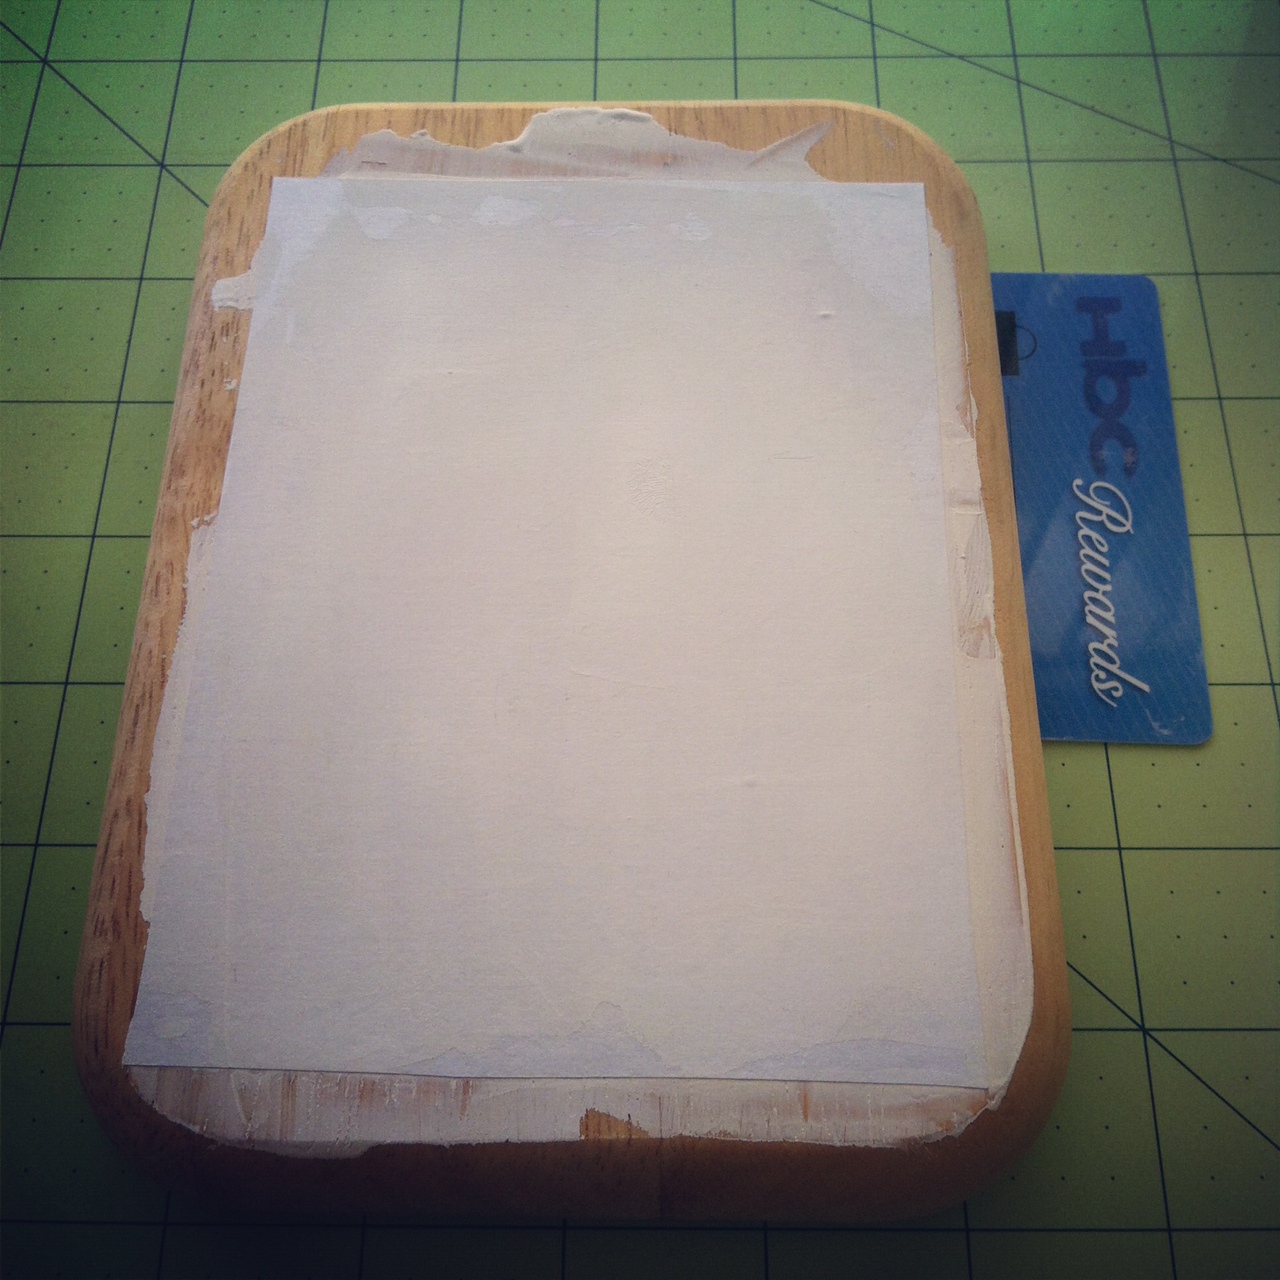
Step 4: Put a layer of gel medium on the wood, then lay the paper photo side down onto the wood. Use your plastic card or boning tool to remove any bubbles of gel medium from between the paper and wood by smoothing the card over the paper pushing excess to the outer edges. Make sure all of your corners are stuck to the wood with the gel medium. If it’s not stuck it won’t transfer.
Step 5: Wipe away excess gel medium from around photo then leave to dry for at least 4 hours.
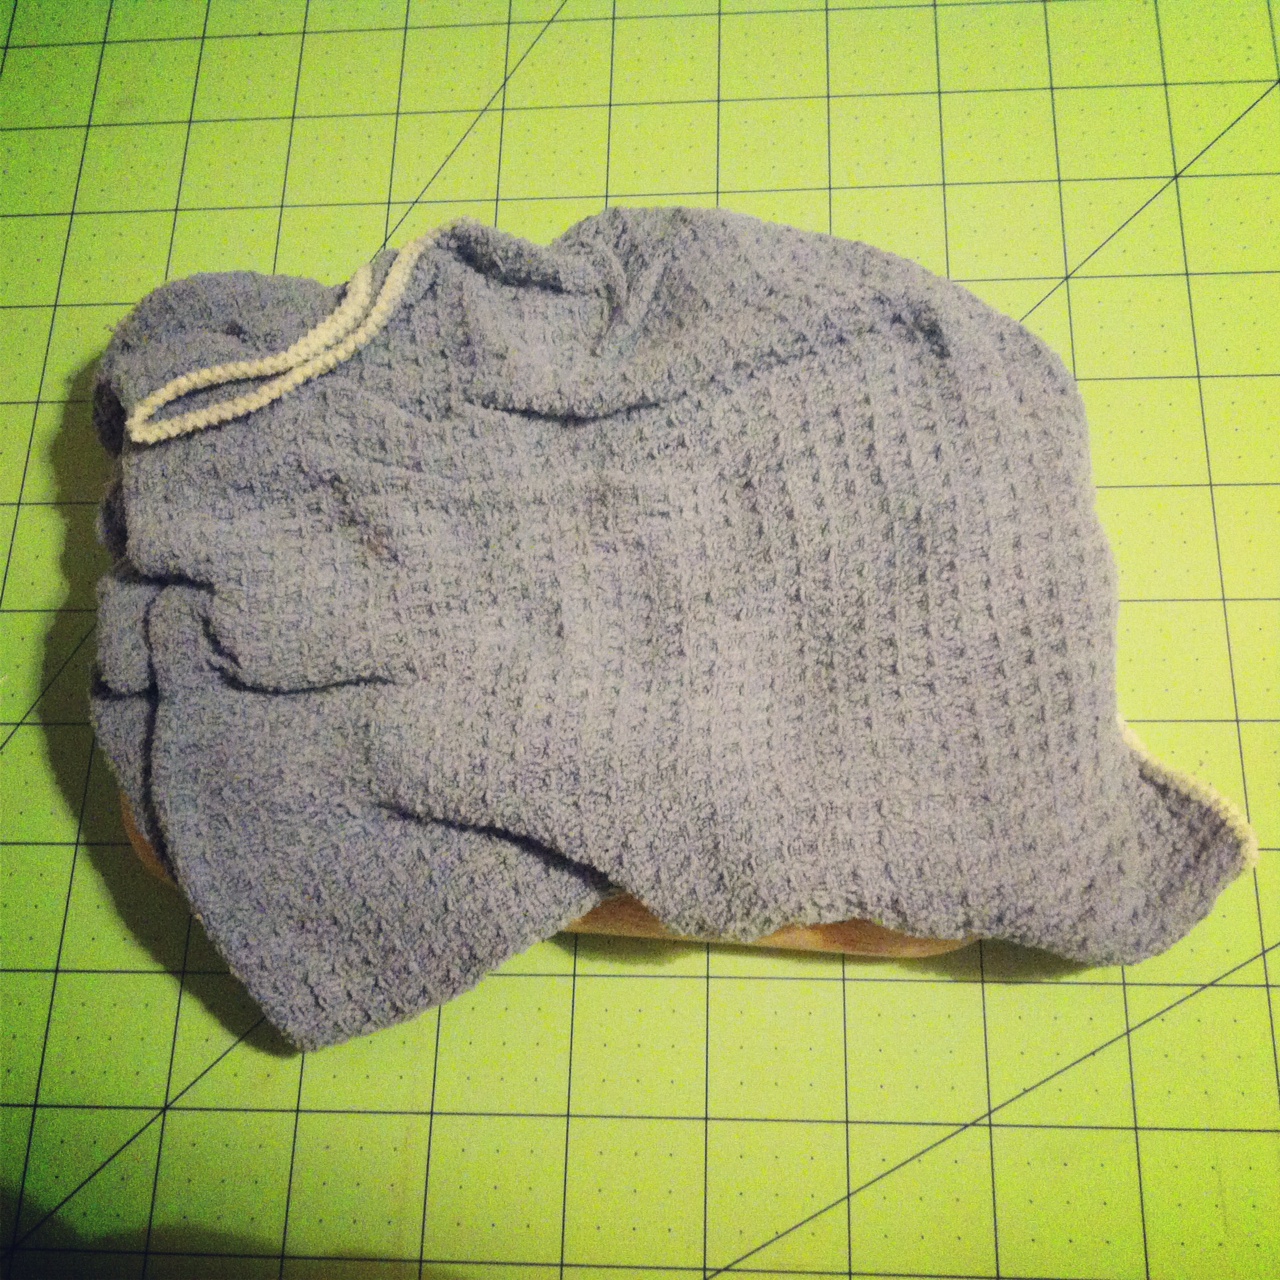
Step 6: 4 plus hours later, once the paper has completely dried, dampen a rag with warm water and and lay it over top of your photo. Leave for approximately 5 minutes.
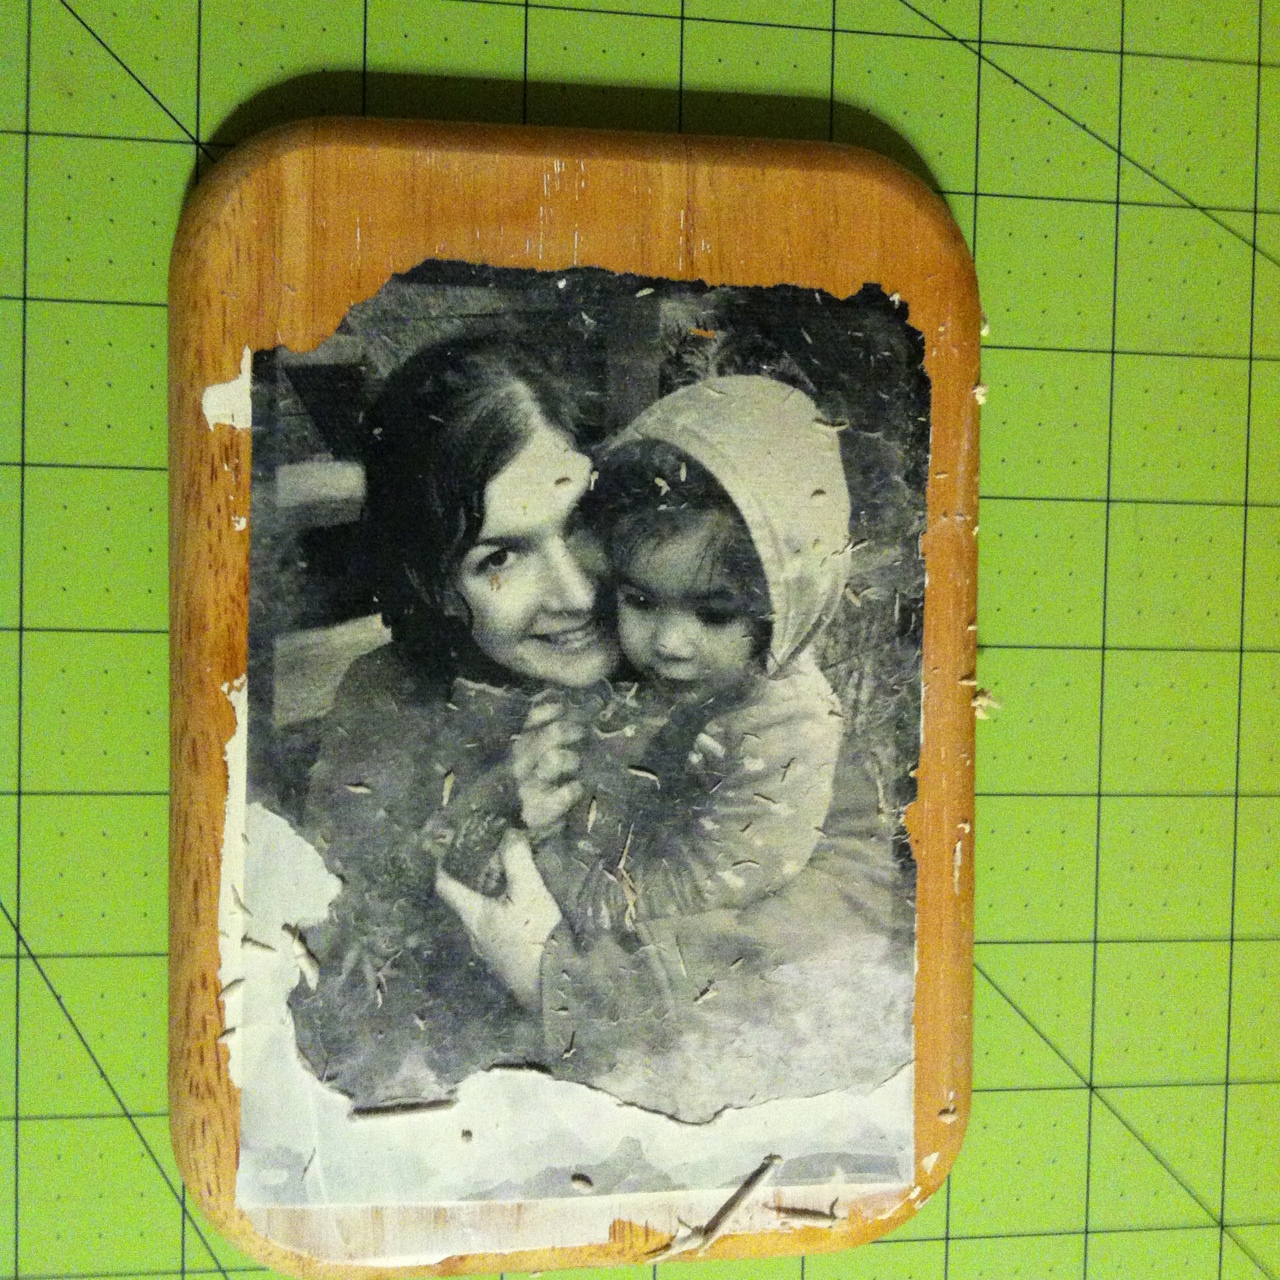
Step 7: Once the paper is damp comes the fun, but time intensive part of this project. Stand over a sink, wet your fingers and slowly start rubbing your finger over the paper, almost using your finger like sand paper. The photo copy is going to appear to split in half. The white part of the paper will start to lift away and the paper with the ink will stick to the wood. Take this part very, very slow. If you go to fast the ink will lift away from the wood and you will be left with bare patches.
*Note- having done this step several times now I have come up with the following technique. I stand at the sink and slowly remove the top layer of paper using circular motions with my fingers. I am constantly wetting my fingers and lightly rinsing the wood under the sink to wash off clumps of paper. Once I think I have the first layer of paper off I set the wood down for a couple of minutes and clean up all of the paper bits. This will give the transfer time to dry. When you look at it you will probably see that there are still places where there is a thin layer of paper left, the image will look cloudy. Wet down your fingers and start “sanding” away again. When you can’t see any white cloudy bits anymore set aside again, clean up a bit while it dries, pick it up again and “sand” some more. I wet down and let me project dry 5-10 times before I was done.
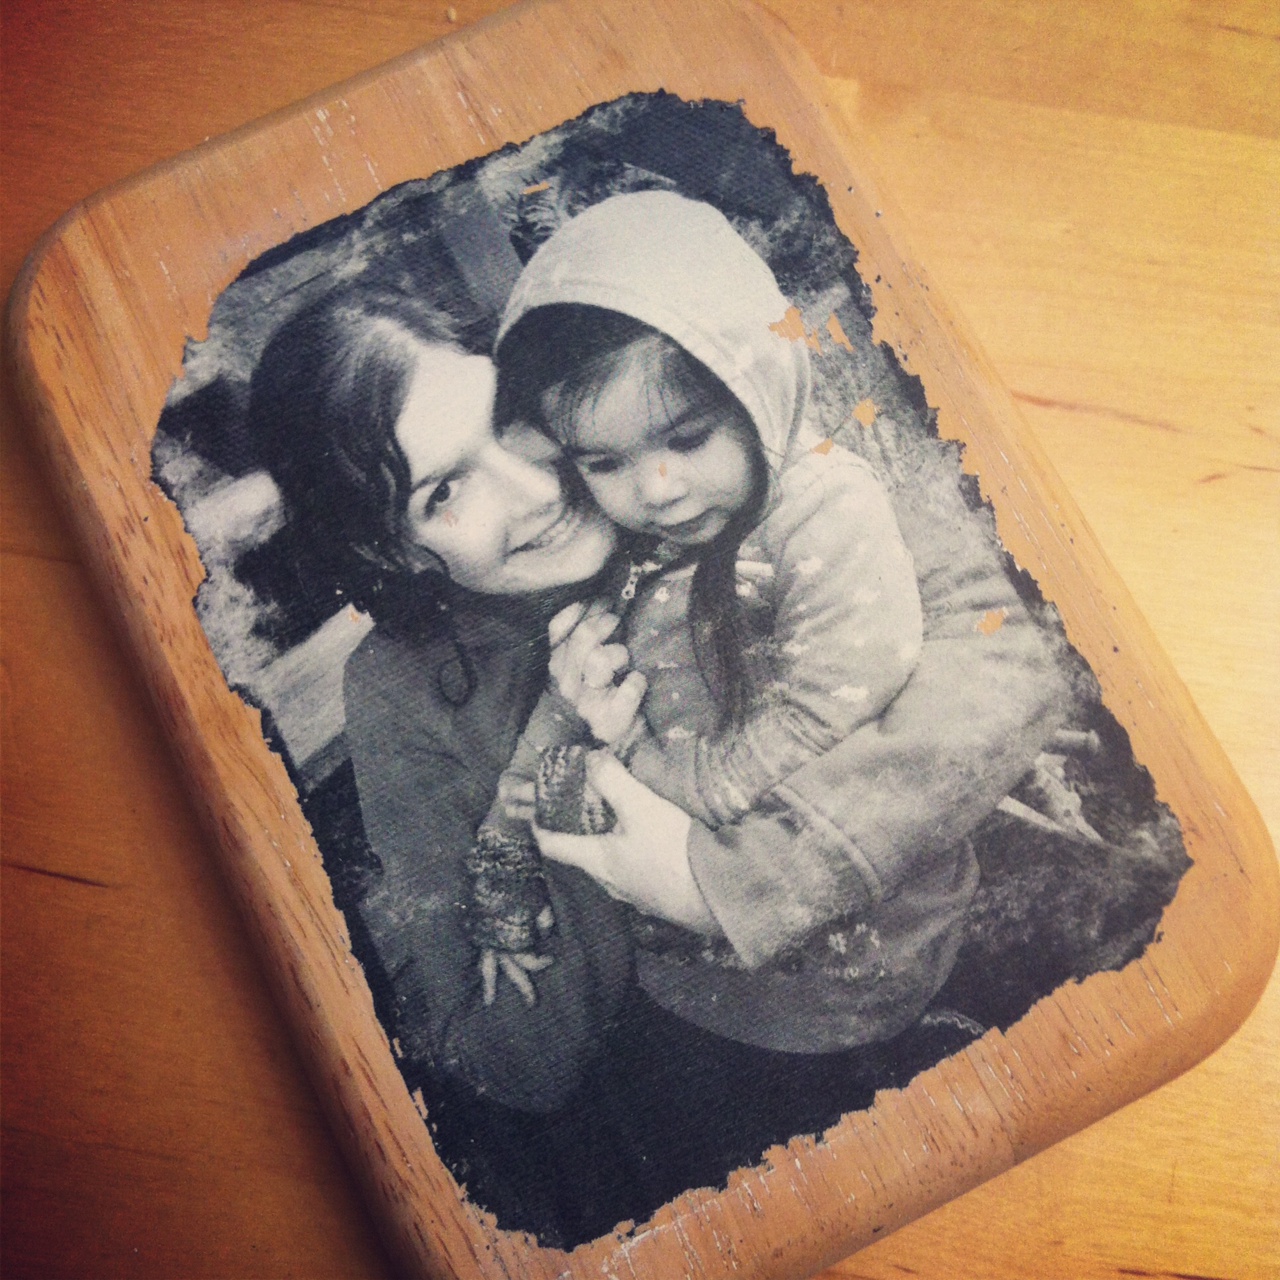
Step 7: Leave your project to dry for about an hour then look at it to see if you are satisfied. Grab your boning tool and rough up the edges a bit if you like. You can take a gray sharpie marker and lightly dot in areas where the transfer doesn’t look quite right. If you need to you can wet it down and “sand” down some more if there are bits of paper that you missed. In my case I decided that I would prefer if my photo filled the entire front of the wood so I wet the wood down, scraped the project off and redid it.
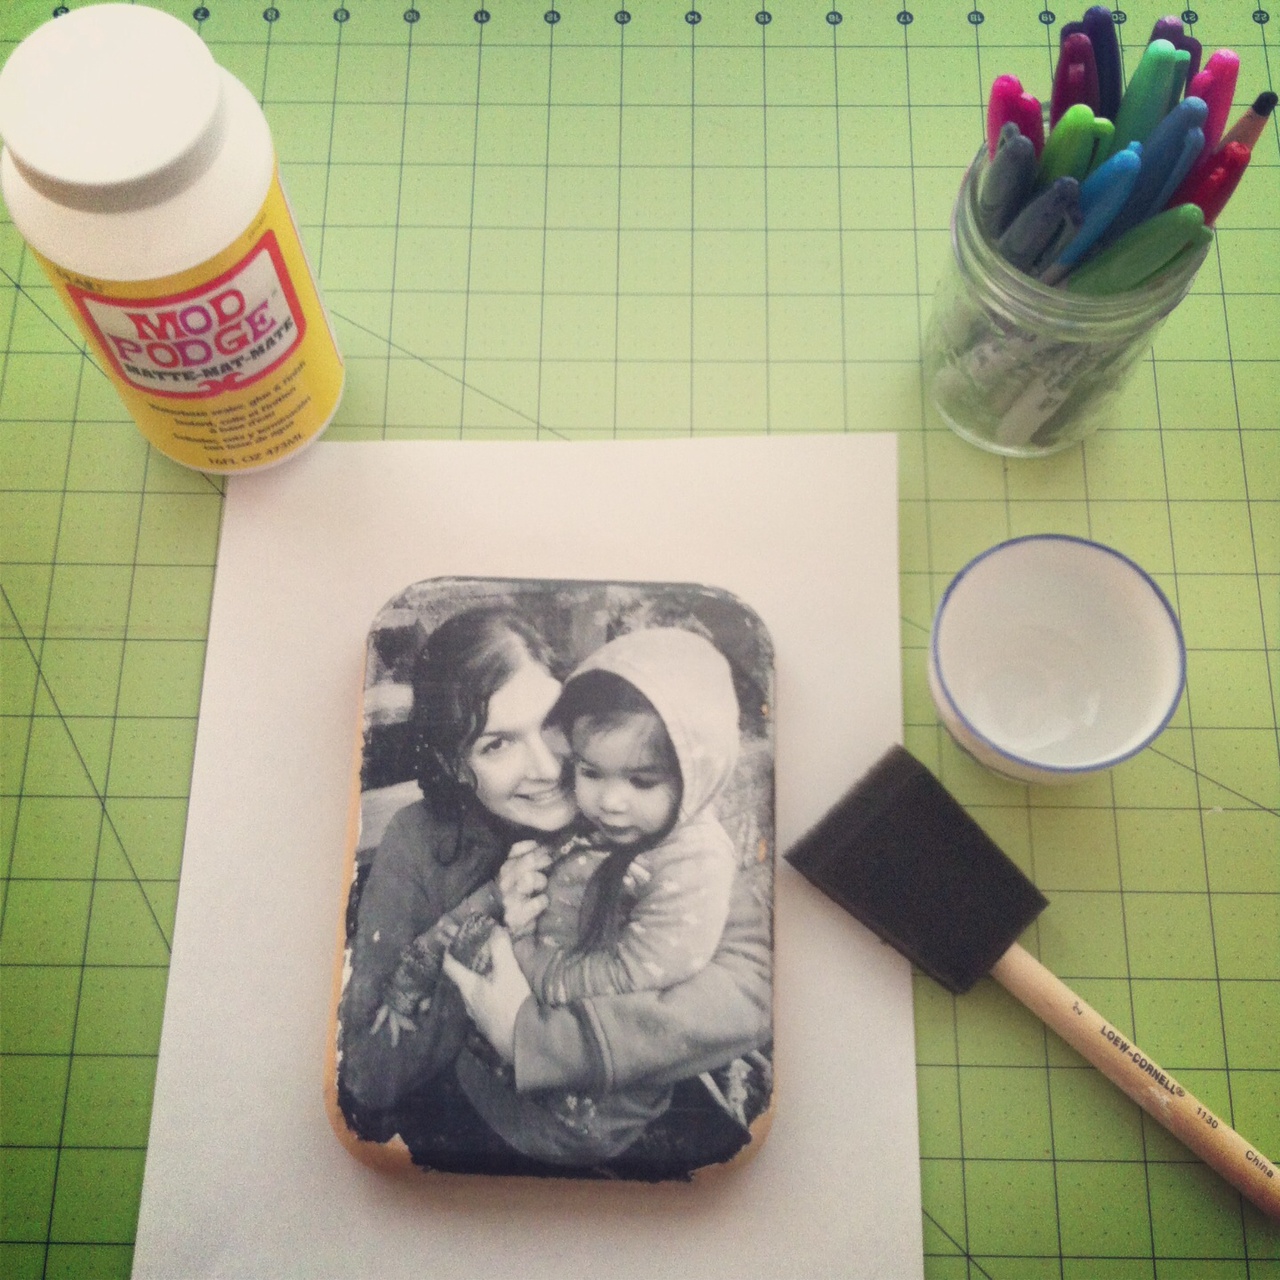
Step 8: When you are satisfied with the look of your transfer put a small amount of mod podge into a cup, and using a sponge brush apply a thin layer of mod podge all over your photo, including the edges. Use smooth, even strokes. Allow to dry for at least 15 minutes then repeat 2 more times.
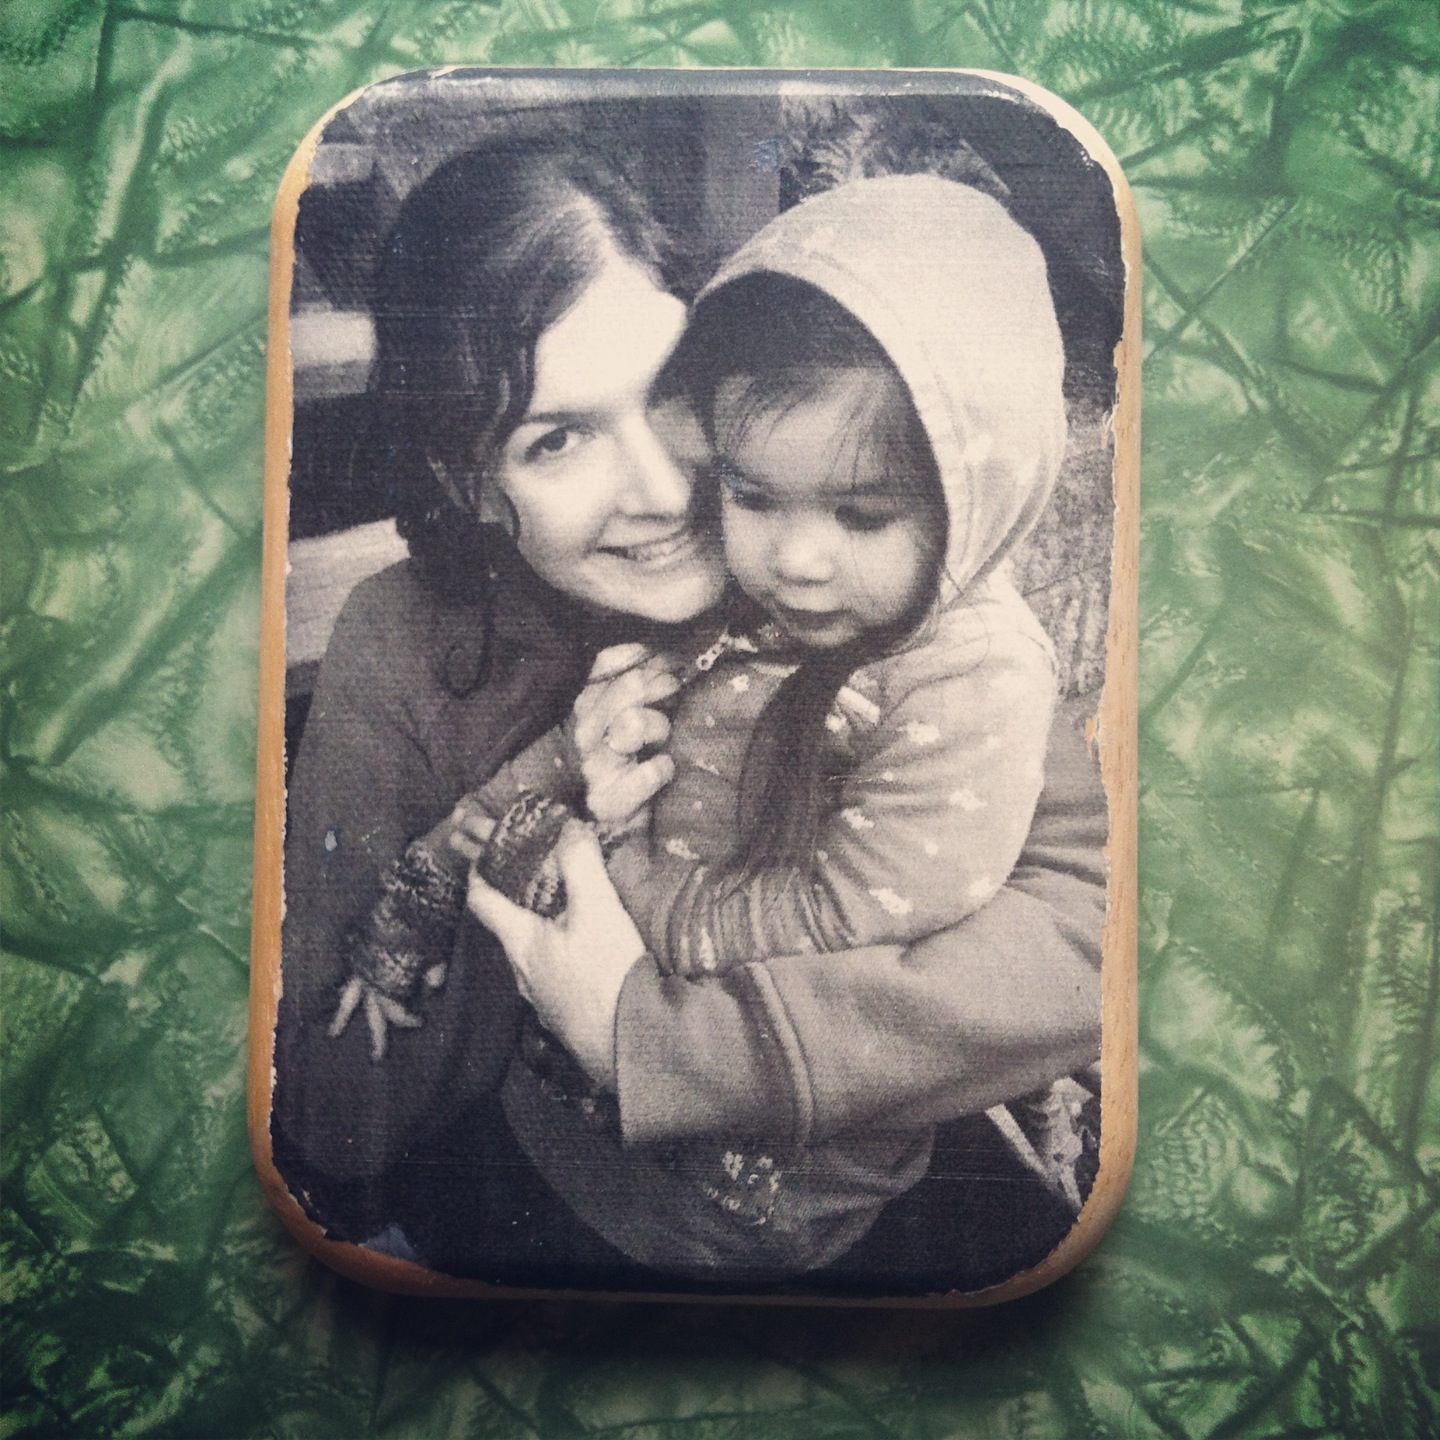
Once your mod podge has dried you have a beautiful photo impact piece that will be commented on by everyone who enters your home. They also make great gifts!
I hope you enjoyed our Photo To Wood Transfer Tutorial. If you have any questions please ask and I’d be more than happy to try to answer. I would love to see the results of your Photo to Wood Transfer projects. Amy Anderson from Mod Podge Rocks recently wrote a great post on 5 Tips for Using Mod Podge Photo Transfer Medium! I’d highly suggest giving it a read if you are having any problems.
If you like this post, we think you’ll love:
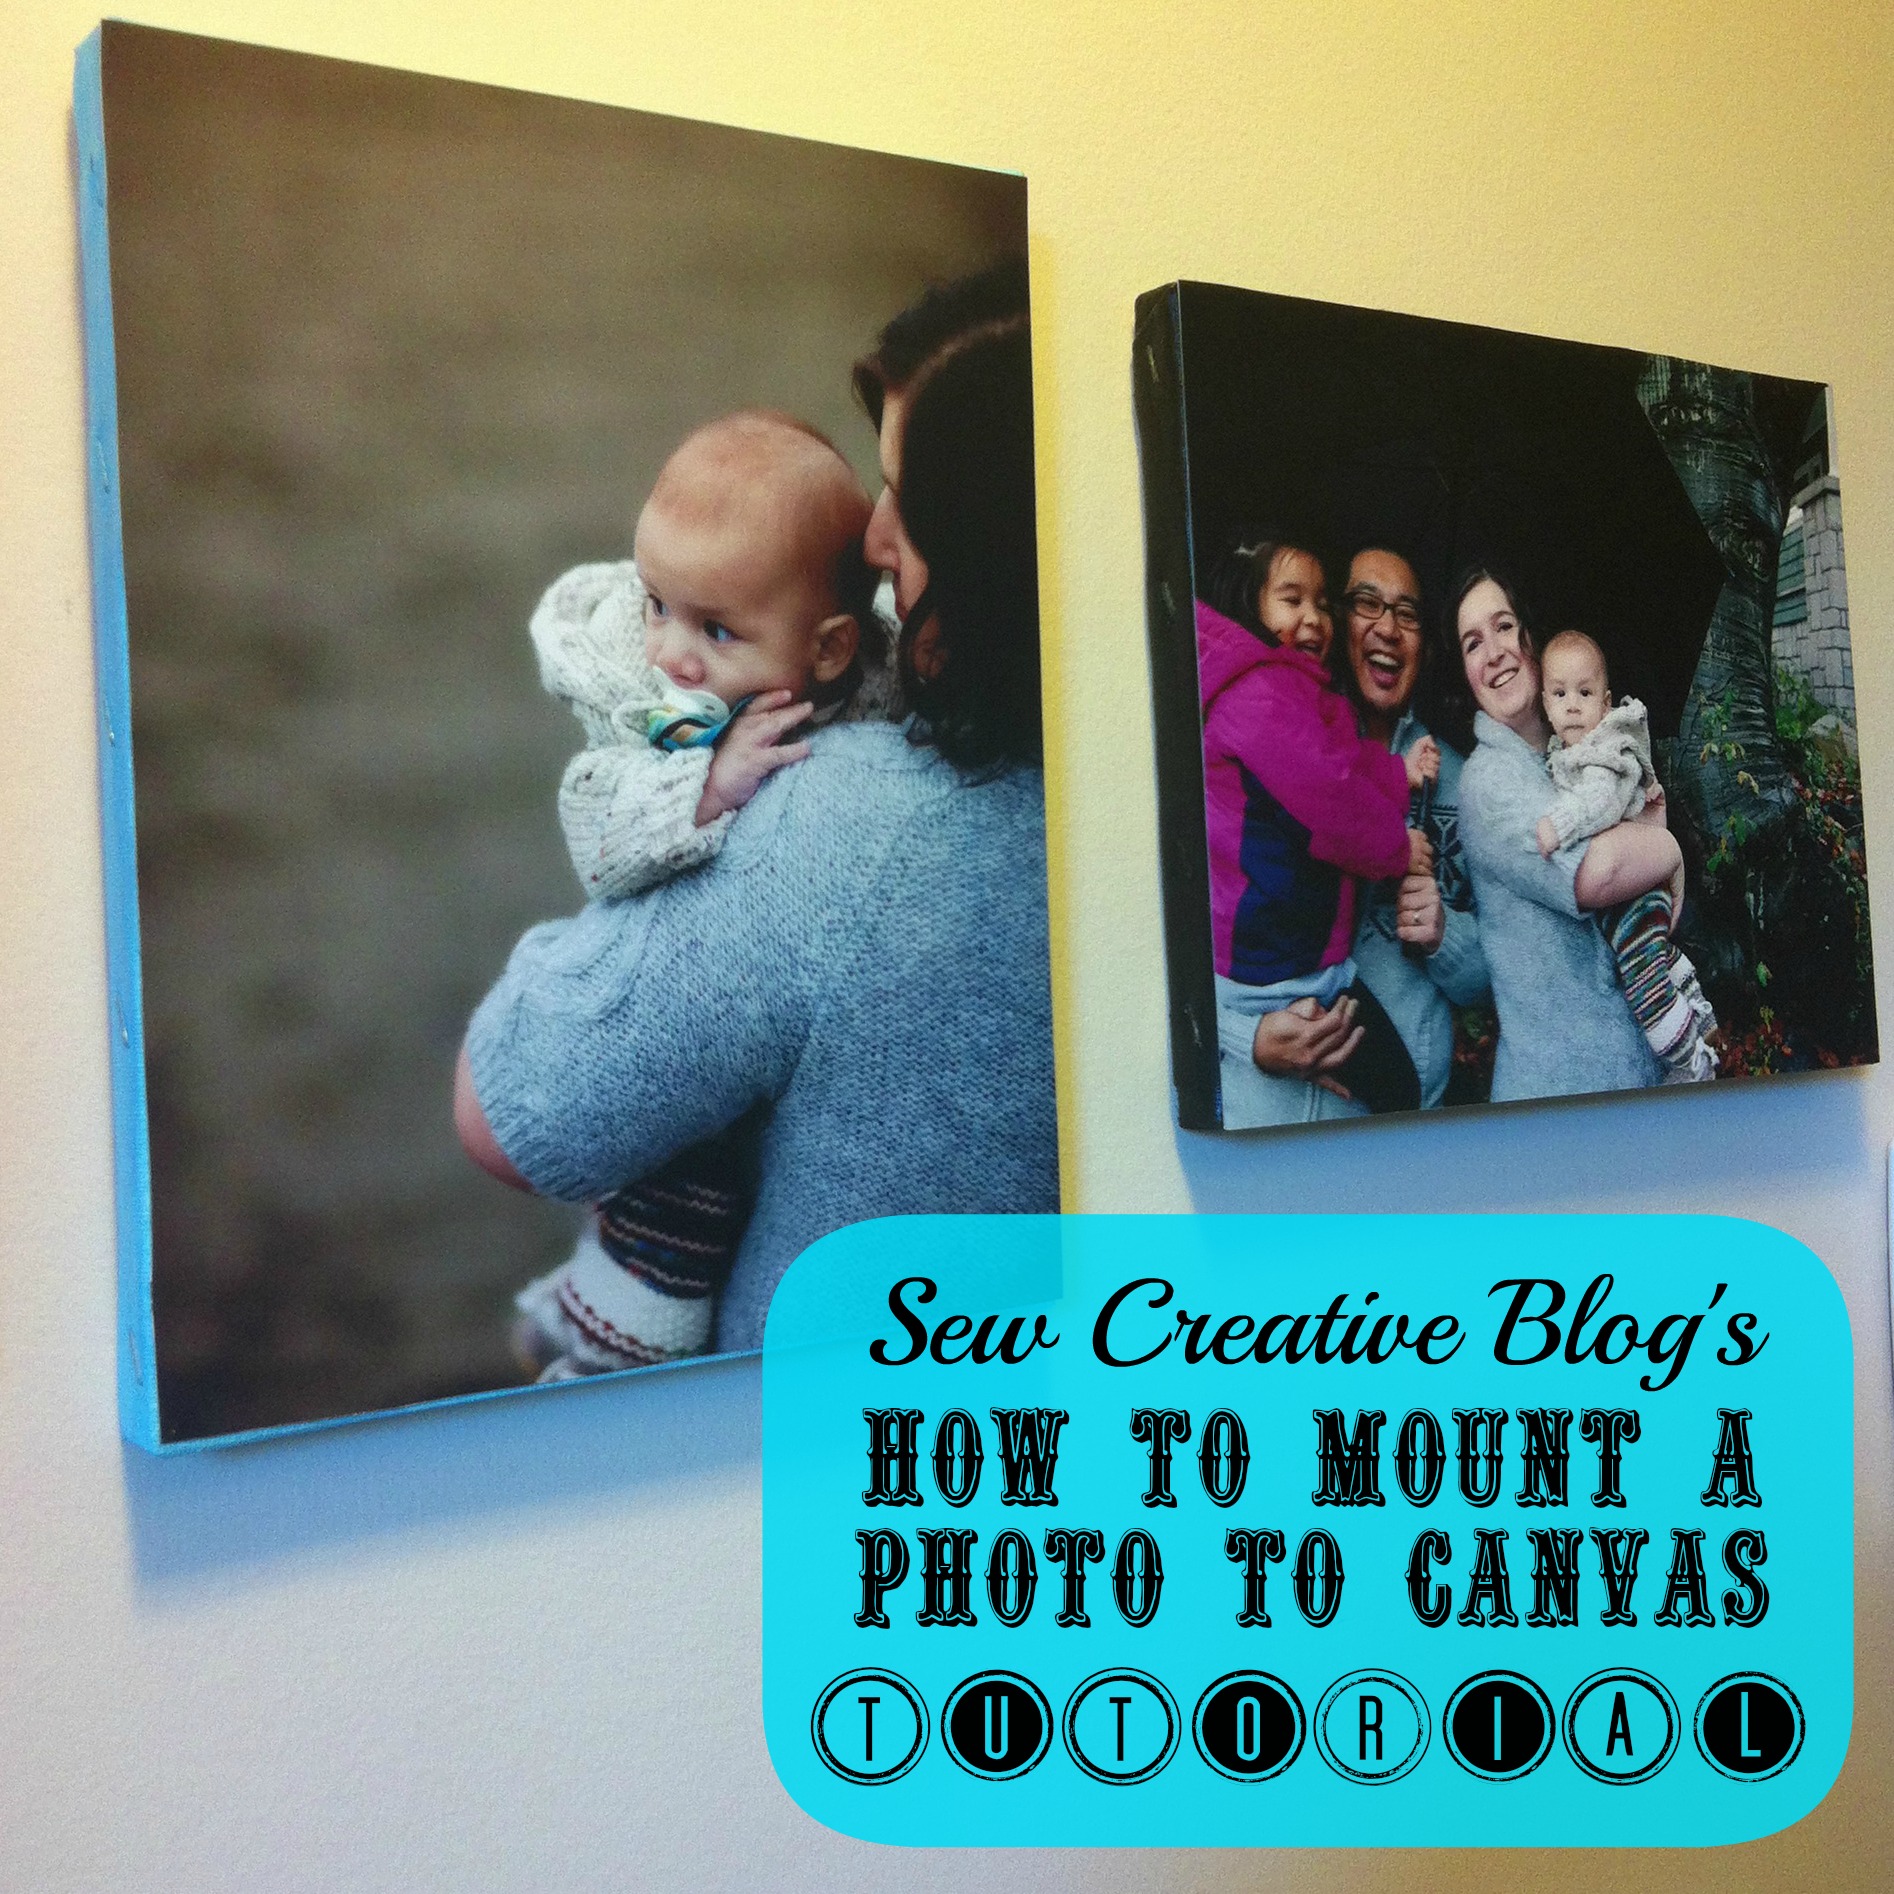
How to mount a photo to canvas.

How To Make Easy DIY Photo Coasters
The Easiest Way To Transfer Photos To Wood For Perfect Results Every Time


Hi visiting from the blog hop. I love this, I may try it . New follower.
htp://fitandbeyond40.com
I thought this was amazing and I will try it. I hope I can get it to come out like you did.it was beautiful. I would like to give as gifts. Thanks for the idea. And will be reading more.
Marla thank you so much for your very kind comment! I really appreciate you stopping by to read the site. I’d love for you to stop back and let me know if you try this project or another from the site.
Best Wishes,
Crystal
Oh, this is so neat! 🙂
This might be a dumb question, but how do you make the image a mirror image of the original photo?
Hi Paula,
Not a dumb question at all. I’m clueless about these types of things. My husband printed it for me using a MAC. He said that on his computer if you go into the print dialogue screen that there is an option in the settings to flip vertical or flip horizontal. He said this option flips it on the vertical or horizontal access resulting in a mirror image print.
I’m not sure what the easiest way to do it on a PC is. You might need to use a program to do it. I’ll try googling and see what I can find.
Best Wishes,
Crystal
Ok I figured out the answer. Apparently a lot of the newer printers no longer have the option to flip horizontal or vertical in the printer settings. The workaround is: Open a word document. Copy and paste the picture into ms word, or “insert” from menu. Then under format, go to “ROTATE.” Drop down menu to “FLIP HORIZONTAL.” Your image will be mirrored and then you can print. 🙂
I just tried it on my computer and it’s super fast and easy and does indeed work. Hope that helps.
Best Wishes,
Crystal
If your computer has a photo or art program such as Paint or Photoshop, you can open up the photo through it and one of the command options is to flip photo either horizontal or vertical.
hie!!! In my place i can’t find the mod podge but i have seen about home made mod podge. Can you ssuggest me whether i can use home maade mod podge for this tutorial or not??
Hi Panisha,
I’ve often looked at the tutorials for homemade mod podge but have never tried making it or using it myself. What I’ve heard is that over time the “homemade” stuff tends to yellow so they don’t usually suggest using it with photos. However if it’s all you have access to I would give it a try. 🙂
Best Wishes,
Crystal
Thanks fo ur reply….and yes yesterday i tried using homemade mod podge but it didn’t came up with the best result……..this is so sad 🙁 In Nepal we don’t find modpodge…………….
Oh no. Hmmmm. I wonder if there is some other kind of sealer that you could use? Maybe something from a hardware store? You basically just want it sealed… maybe even a varnish?
Are you sure about varnish???? do you really think it will work???? As you suggest to use varnish then let me give a try….
LOL. No I’m not sure about varnish at all. But I’m just thinking that you basically want some kind of clear sealer over top of it. If you had a clear varnish it might work… I’ve never actually worked with varnish though so I have no idea. Sorry. 🙁
It’s ok you don’t need to feel sorry. I will jus give it a try. 🙂 🙂
Please do let me know how it turns out. My dad is a builder and does a lot of woodwork. Let me ask him this weekend on Father’s Day if he has any suggestions.
Varnish does work well! Make sure to not continually brush varnish, as it can ruin or smear the transfer. I recommend spray varnish or buy polycrylic to seal with. You can even make the entire thing waterproof(!) by using spar varnish. Any marine store will carry it. Even Lowes or Home Depot. If you want to place your image transfer outdoors, say on a wreath, you can use Spar varnish. I recommend 6 coats, or whatever the manufacturer directions state. I recommend Epifanes Clear Spar Varnish. It is pricey, but goes a long way, the coating will last forever, and it has the highest UV protection (as far as I’ve found through countless hours of extensive research.) you can buy. Most require re-coating frequently, every year or two, opposed to Epifanes’ 6 years or so…. depending on exposure and other factors. I use it on my hand painted signs by the pool. We live in Michigan near one of the many lakeshores, and receive tremendous amounts of precipitation in many different forms!
Hobby Lobby
It is a very easy fix if you can’t find Mod Podge in your area.. just buy it online at any craft website such as Hobby Lobby and have it sent to you rather than risking the whole project with varnish or home made stuff. 🙂
Happy SITS Day! Neat tutorial. Did you know that Mod Podge has photo transfer medium now that does basically the same thing? I’ve done something similar with that.
This is a great project, I might have to try it out with some of my wedding photos!
Nice blog. Looks like an easy craft. Thanks for sharing. Enjoy your SITS Day.
What a neat idea! It looks great!
This looks like a really cool project. I’m hoping I have the patience for it once it comes to the “sanding”. 🙂 Pinning it for future reference.
Happy SITS Day!
It’s beautiful! And your tutorial is so easy to understand and follow. Can’t wait to give it a try.
I have been wanting to try this. You make it look doable. Thanks! Enjoy your SITS day!
This is really interesting. I would have never thought of something like this. Thanks for sharing!
Those are so cute! Great tutorial!
This is something I’ve been wanting to do for a while! I forgot about it, but I’m glad I read your post and it brought my inspiration back!
What a great idea…and so old school I LOVE IT!! I have to admit…you really know how to grab a reader’s attention!!! xoxo
This is so pretty! it would make a great gift. Can’t wait to try it!
I pinned something like this along time ago as a future project. I love that you walked through it step by step. Happy SITS day!
How wonderful! Do you have any idea if this works on stone?
thank you!
Hi Tara,
I’ve never tried it on stone. I’m thinking that it probably would work though. If you try it I’d love to hear what the results are like. 🙂
Best Wishes,
Crystal
Hi Crystal,
Can I still transfer the picture if i want to paint the wood first? i want to try it in some plaques.
Thank you!! great tutorial
Hi Ericka,
That is a really great question that I actually don’t know the answer to… I’ve only tried it on raw wood. I don’t know how the transfer would adhere to a painted surface. If you give it a try, I’d love to know how it turns out.
Best Wishes,
Crystal
I will try it for sure. My plan is to create a memory box and to turn the new wood into old and transfer the pictures. my final for my creative class. let see how goes.
Thank you! 🙂
Thank you so much to everyone who came to visit me for my SITS day! I had such a fantastic day being the featured SITS blogger. I hope you will all come back to visit again, be inspired and inspire me as well. 🙂
Lots of love,
Crystal
Great blog! Thanks for sharing these ideas!
Would the same process work for transferring photos and words onto canvas? I saw your post about mounting pictures on canvas, but I am trying to do something with multiple pictures and printed text.
Thanks!
Shilpa
Hi Shilpa,
Thank you so much for checking it out. To be honest I’m not sure if it would work on canvas or not. I suspect that it might but I know that you get the wood quite wet during the peeling process and I’m not sure how the canvas would hold up to it. If you try it I would love to hear what your results are like!
Best Wishes,
Crystal