


DIY Hipster Rudolph Shirt Made with the Cricut
This post and the photos within it may contain Amazon or other affiliate links. If you purchase something through the link, I may receive a small commission at no extra charge to you.
I love Christmas. Without a doubt it is my favorite time of the year. Christmas music, holiday cheer, searching for the perfect gift… and the magic. Becoming a parent allows me to see the magic of Christmas in a whole new light. Bean is 6 years old this year, and the magic of Christmas is alive in her heart. She can’t wait to see Santa this year for photos, she’s over the moon excited for Elf on the Shelf and she’s already trying to decide what to put out for Santa and Rudolph on Christmas Eve.
I love giving handmade gifts at Christmas, both gifts that I make myself and gifts that I buy that someone else has made by hand. I have a hard time keeping the gifts a secret. I want to show them off the moment that they are ready.
Christmas Crafts With Cricut
This month is our final month of the Cricut Designs Space Star Challenge. Our theme was “The 13th Day of Christmsa”. I thought long and hard about what I would make for my project. I decided it had to be a gift for my girl who keeps the magic of Christmas alive and well in her heart. When people talk about how many reindeer Santa has they say he has 8 reindeer, people forget about the 9th reindeer, Rudolph. Similarly no one talks about the 13th Day of Christmas 😉 so I decided to make a Rudolph design.
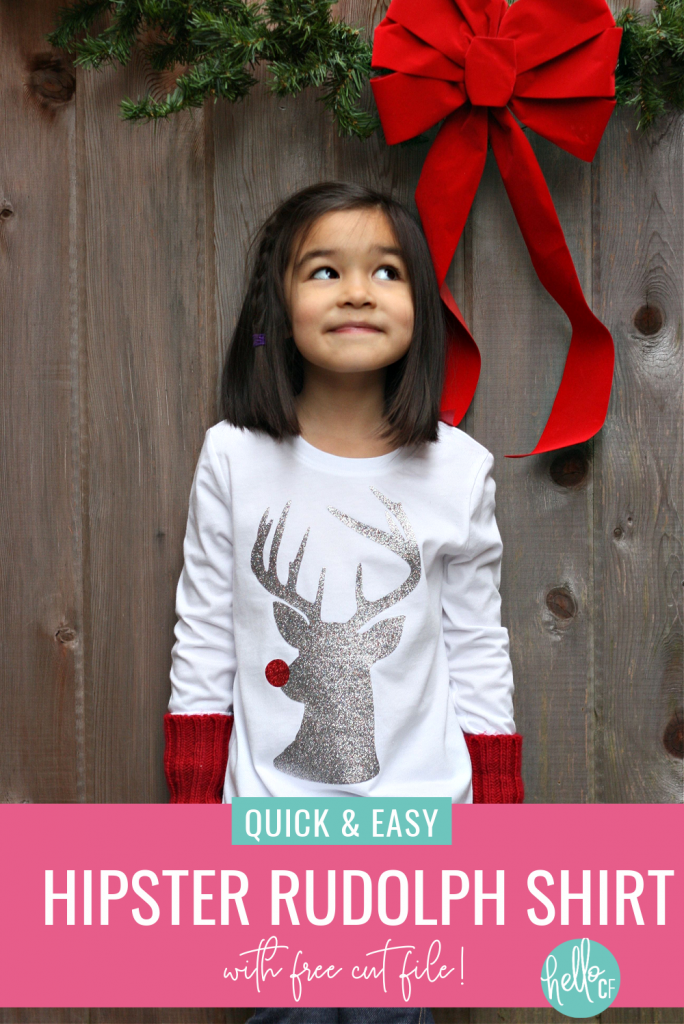
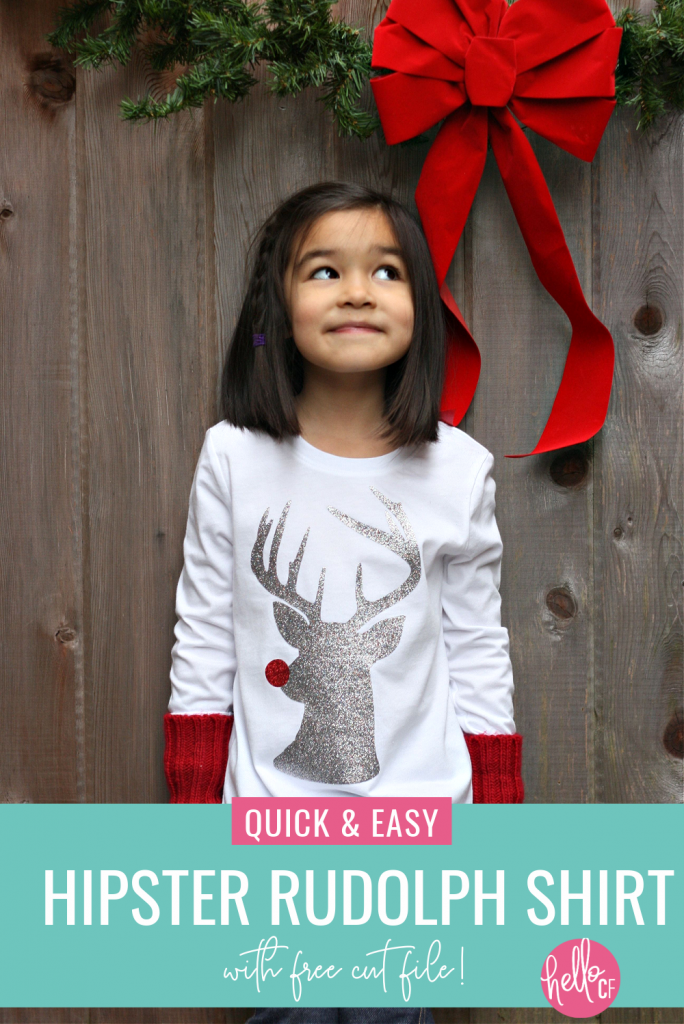
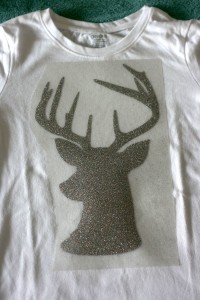
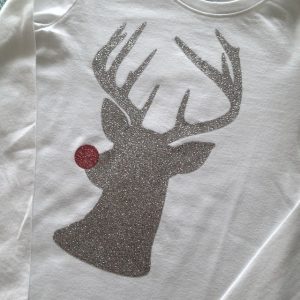
I wanted to put a new twist on Rudolph. I love how bucks and faux antlers have become such a decorating trend. The whole hipster ski lodge vibe is alive and well in the Pacific Northwest so I decided to give Rudolph a hipster twist by making him a dashing buck in silhouette with a glittery red nose. Cricut has a beautiful selection of Iron On Vinyl. I decided to make Rudolph’s body in Silver Iron On Glitter and his nose in Red Iron On Glitter.
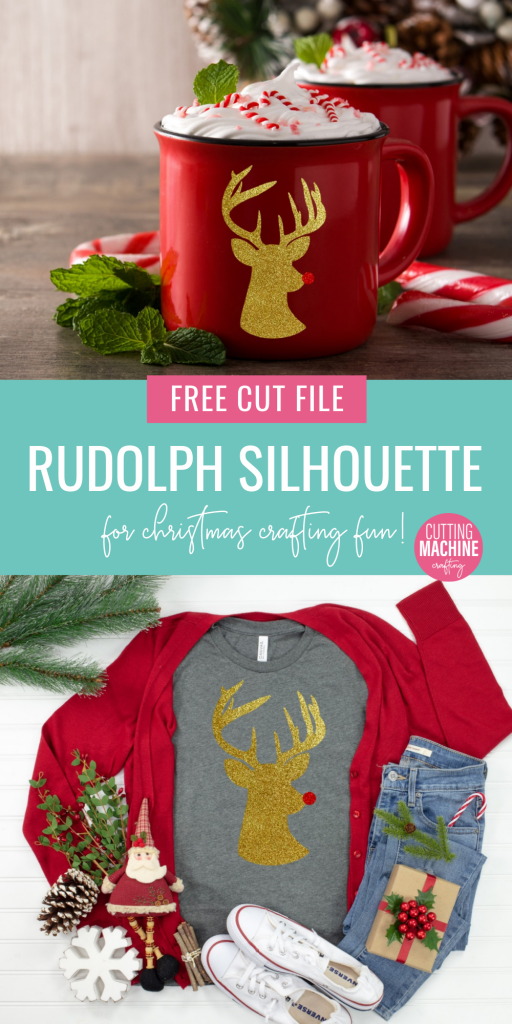
Want to learn how to make a Hipster Rudolph shirt of your own? Read on, and hop over to Cutting Machine Crafting to get this free cut file! It’s great for so many Christmas crafts, not just shirts!

Need supplies to make all your amazing Cricut creations? Click here for the best prices on Cricut cutting machines, bundles, iron-On, vinyl, cardstock and more!

Hipster Rudolph Shirt
Instructions
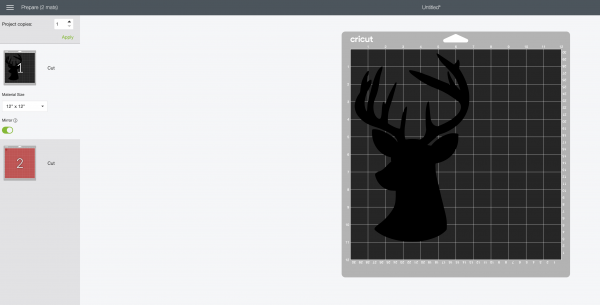
- Upload the Rudolph Cut File from Cutting Machine Crafting to Cricut Design Space. Measure your shirt to see how big you want your image to be cut. Size your image accordingly by clicking on the image and using the arrow button that appears in the bottom corner to size, or by using the sizing boxes in the toolbar. Click "Make It" and follow the prompts on the screen. If you care about what direction your reindeer is facing, you will want to use the mirror slider under the cutting mat on the left hand side of the screen. You will want it facing in the opposite direction that you want it on your shirt since HTV cuts from the back.

- Cut Rudolph’s body out of silver glitter heat transfer vinyl (or the color you would prefer), and Rudolph's nose out of red glitter heat transfer vinyl (or the color you would prefer).
- Weed out the vinyl that isn’t part of your design leaving your design on the clear plastic backing
- Position your design on your shirt vinyl side down (sparkle and plastic backing faced up). Use your Cricut EasyPress or Iron to adhere the HTV to your shirt using the heat settings recommended for the HTV you are using.

- Once Rudolph's body is firmly adhered to your shirt, remove the clear plastic barrier and repeat step 4 with Rudolph's nose.

Equipment
- Rudolph Cut File from Cutting Machine Crafting. See link above.
- Long sleeved shirt
- Silver Iron On Glitter
- Red Iron On Glitter
- Cricut EasyPress or Iron
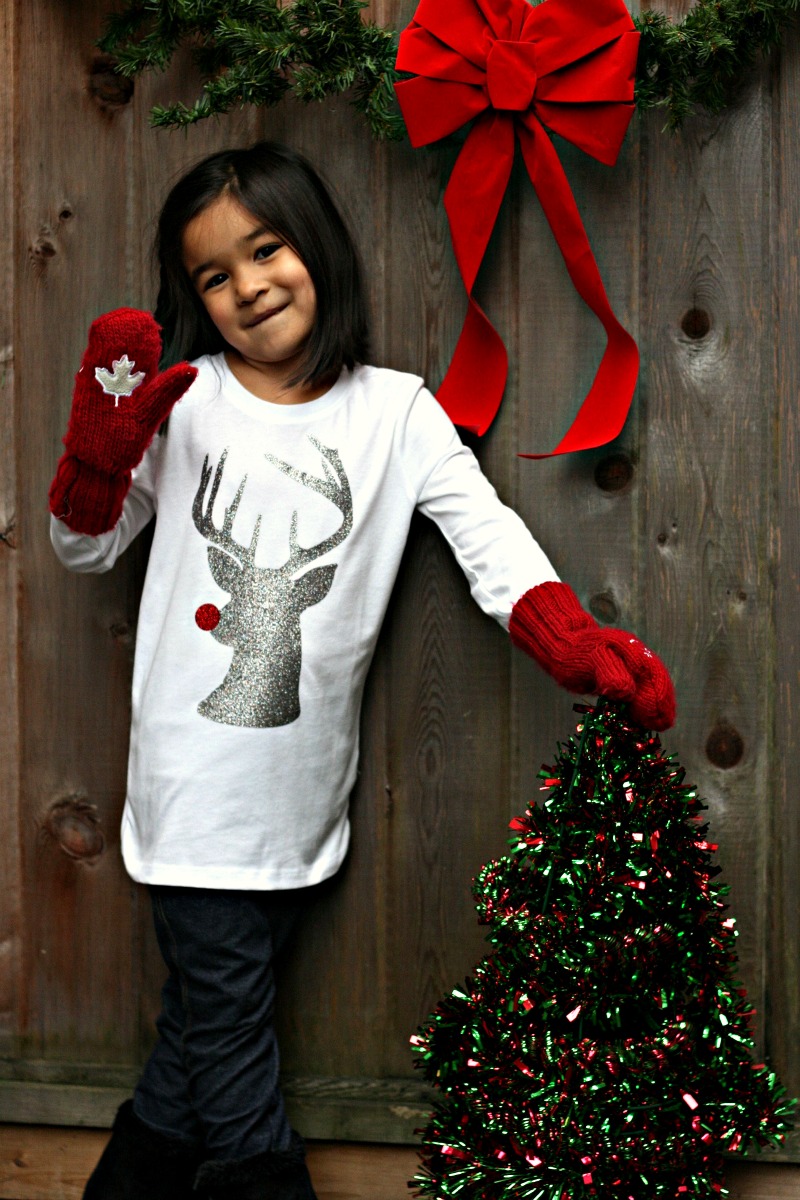
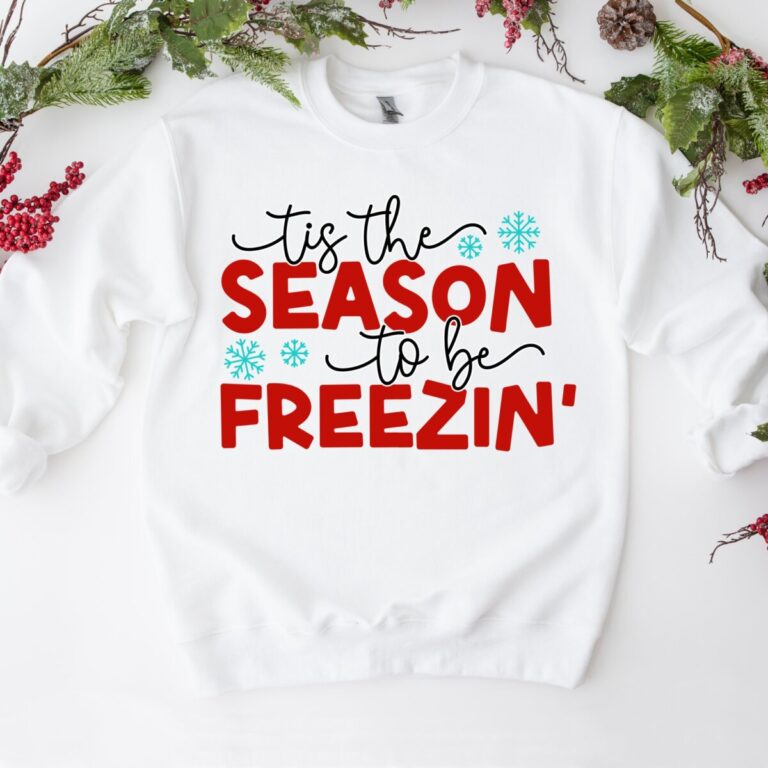
I love the way the shirt turned out and was even happier once I saw it on Bean. She didn’t want to take it off and wore it to school the day after our photo shoot. When her teacher told her how much she liked her shirt she exclaimed “My Mommy made it for me!” Her teacher was blown away that it was custom designed and handmade.
This easy 15 minute project is perfect for beginners and is so cute for Christmas!
Ready to see all the awesome projects my crafty friends made?
My Cricut Design Star Challenge team, Team Lucky #13 all put together some amazing DIY gift ideas! Please visit all of their posts to be inspired for some great DIY Christmas gifts.
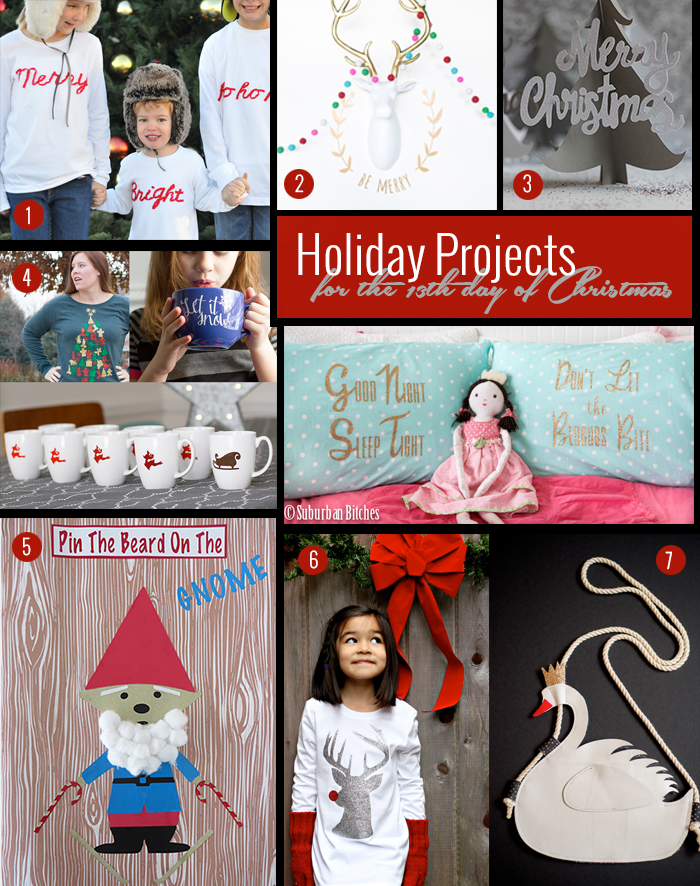
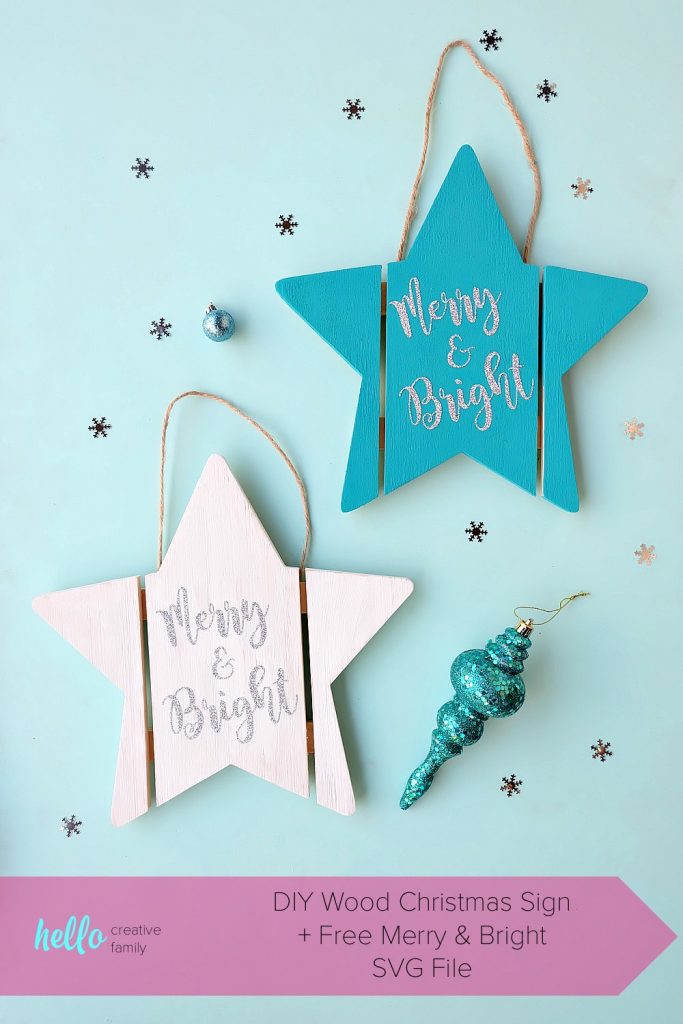
1. Merry & Bright t-shirts from Tricia of Suburban Bitches
2. Holiday Wall Decal from Melissa of The Sweet Escape
3. Paper Christmas Trees from MJ of Pars Caeli
4. DIY Vinyl Mugs & Ugly Christmas Sweater from Andrea at Andrea’s Notebook
5. Pin the Beard on the Gnome game by Katie of That Girl Katie
6. Hipster Rudolph The Red Nosed Reindeer Shirt by Crystal of Sew Creative
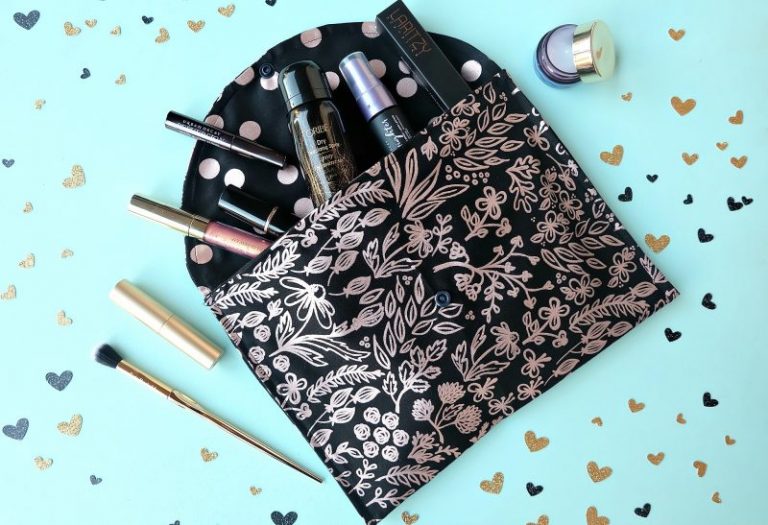
7. Swans a Swimming Purse by Celina of Petit a Petit and Family

Tell me… Which of these projects will you try to make first?
If you like our DIY Hipster Rudolph Shirt I would love for you to pin it! It helps others discover our site which helps us bring you more awesome content like this!
If you like this project make sure you check out our Cricut section as well as our brand new sister site, Cutting Machine Crafting!


i never win anything. a new cricut would be great to add to my craft room 🙂 i want to make signs, t-shirts, and cards for christmas gifts!!
My first project would be learning to cut vinyl and fabric monograms for my daughters. It’s our southern family tradition to give monogrammed gifts, and I would love to personalize their gifts. And we start afresh with school supplies at the break too. Notebooks, pencils, tumblers, backpacks, electronics covers – I’d hit it all!!!!
The reindeer shirt is adorable! I would be excited if I won! Thanks for the opportunity!
First thing I would make: Cards- lots of cards, and anything to go on my “inspiration board!”
I would make anything… Just to get that bad boy in to my craft area and start creating!!!
Aloha,
Shar
I’m not sure exactly what the first project would be. I’d have to try to get the machine hooked up correctly as sometimes I’m mechanically challenged! Love your projects!
I think I would try to make a t-shirt
I would make the perfect ugly Christmas sweater.
The first thing I would do is personalize all of my brand new glassware the husband and I got for wedding gifts!!! I am in love with the simple but life changing project! Its so adorable and it would be very functional when taking dishes to potlucks!!! look at them…… So cute… (https://www.google.com/search?q=etched+glass+casserole+dish&source=lnms&tbm=isch&sa=X&ei=sbV0VPn4CoG_ggS04oKgDA&ved=0CAkQ_AUoAg&biw=1680&bih=925)
I have a few friends getting married soon and I would love to make some for them!!!
I love cake stands, and own many so the first thing I’d make is a some vinyl words for a few of my covers. Like “Let them eat cake!” Or “Have your cake & eat it too!”
Thanks for the contest.
Some butterflies for my girl’s room!!!
I would give vinyl a try.
In order to make up for lost time, I think I would be trying to make EVERYTHING!!!
I would love to make some shirts for my kids!!! and for christmas gifts 🙂
the first think I would do is to create various christmas project with my daughter. I love your idea on the t-shirt. can’t wait to try it out with my daughter.
Money is tight this year and I would love to win this so that I can make some wonderful gifts like you did…
I so would make pillows for my bed 🙂 LOVE THIS!!
I love Celina’s swan bag! I’d love to make something similar for my daughter 🙂
The first thing I would make would be his and hers pillow cases for our master bedroom makeover!
I will decorate all my glasses, cup of tea…all my dishes !!